- HR:+91-879-9184-787
- Sales:+91-908-163-7774

Are you ready to dive deep into the world of microservice in Node JS? In this comprehensive guide, we will explore everything you need to know about building, managing, and scaling microservices using Node JS. From understanding the basics to implementing communication between microservices and deploying them in production, this article will equip you with the knowledge and tools to master microservices in Node JS.
Before we delve into the specifics of microservices in Node JS, let’s first understand what microservices are. Microservices are a software development approach where applications are broken down into smaller, independent services that can be developed, deployed, and scaled individually. This architecture allows for greater flexibility, scalability, and resilience compared to monolithic applications.
Let’s jump onto the core concepts of microservices architecture in NodeJS.

Microservices architecture is a software development approach where an application is composed of small, independent, and loosely coupled services, each serving a specific business function. Each service runs in its own process and communicates with other services over a network protocol such as HTTP, typically via RESTful APIs or message queues.
When implementing microservices in Node, the principles remain the same, but Node.js offers certain advantages for building such architectures due to its non-blocking I/O model, lightweight footprint, and event-driven architecture. Here’s a detailed explanation of Nodejs microservice:
In Node.js, each microservice is typically implemented as a separate Node.js application or module. These services are developed and deployed independently of each other. Each service encapsulates a specific functionality or domain of the application, such as user management, product catalog, or payment processing.
Microservices communicate with each other through well-defined APIs. In Node js file, these API key are often implemented using frameworks like Express.js or Hapi.js to expose RESTful endpoints. Alternatively, services can use message brokers like RabbitMQ or Kafka for asynchronous communication. Node.js’ event-driven nature makes it well-suited for handling asynchronous messaging patterns.
Node.js is known for its scalability, making it a suitable choice for microservices architectures. Each microservice can be individually scaled based on its specific resource demands. Node.js’ lightweight nature and efficient event loop allow it to handle a large number of concurrent connections, making it ideal for high-throughput, scalable applications.
Node js and microservice are often deployed within containers using technologies like Docker. Containerization provides a lightweight, isolated environment for running microservices, making it easier to deploy and manage them across different environments. Container orchestration platforms like Kubernetes further simplify the management of microservices deployments in production.
One of the key benefits of microservices architecture is fault isolation. In Node.js, if one microservice encounters an error or becomes unresponsive, it doesn’t necessarily impact the entire application. Other microservices can continue to function independently, ensuring that the overall system remains resilient and available.
Node.js’ rapid development cycle and large ecosystem of npm packages facilitate agile development practices in microservices architectures. Developers can quickly build and deploy new microservices, iterate on existing ones, and integrate third-party services or libraries as needed.
Node.js offers various tools and libraries for monitoring and observing microservices deployments. Solutions like Prometheus, Grafana, and ELK stack (Elasticsearch, Logstash, Kibana) can be used to monitor performance metrics, track errors, and gain insights into the behavior of individual microservices.
While Node.js offers many advantages for building microservices architectures, it also presents certain challenges. Managing distributed systems can be complex, requiring careful consideration of issues such as service discovery, load balancing, fault tolerance, and data consistency. Additionally, breaking down monolithic applications into microservices may require significant refactoring and architectural changes.
Read More: The Ultimate Node Logger Handbook for Developers
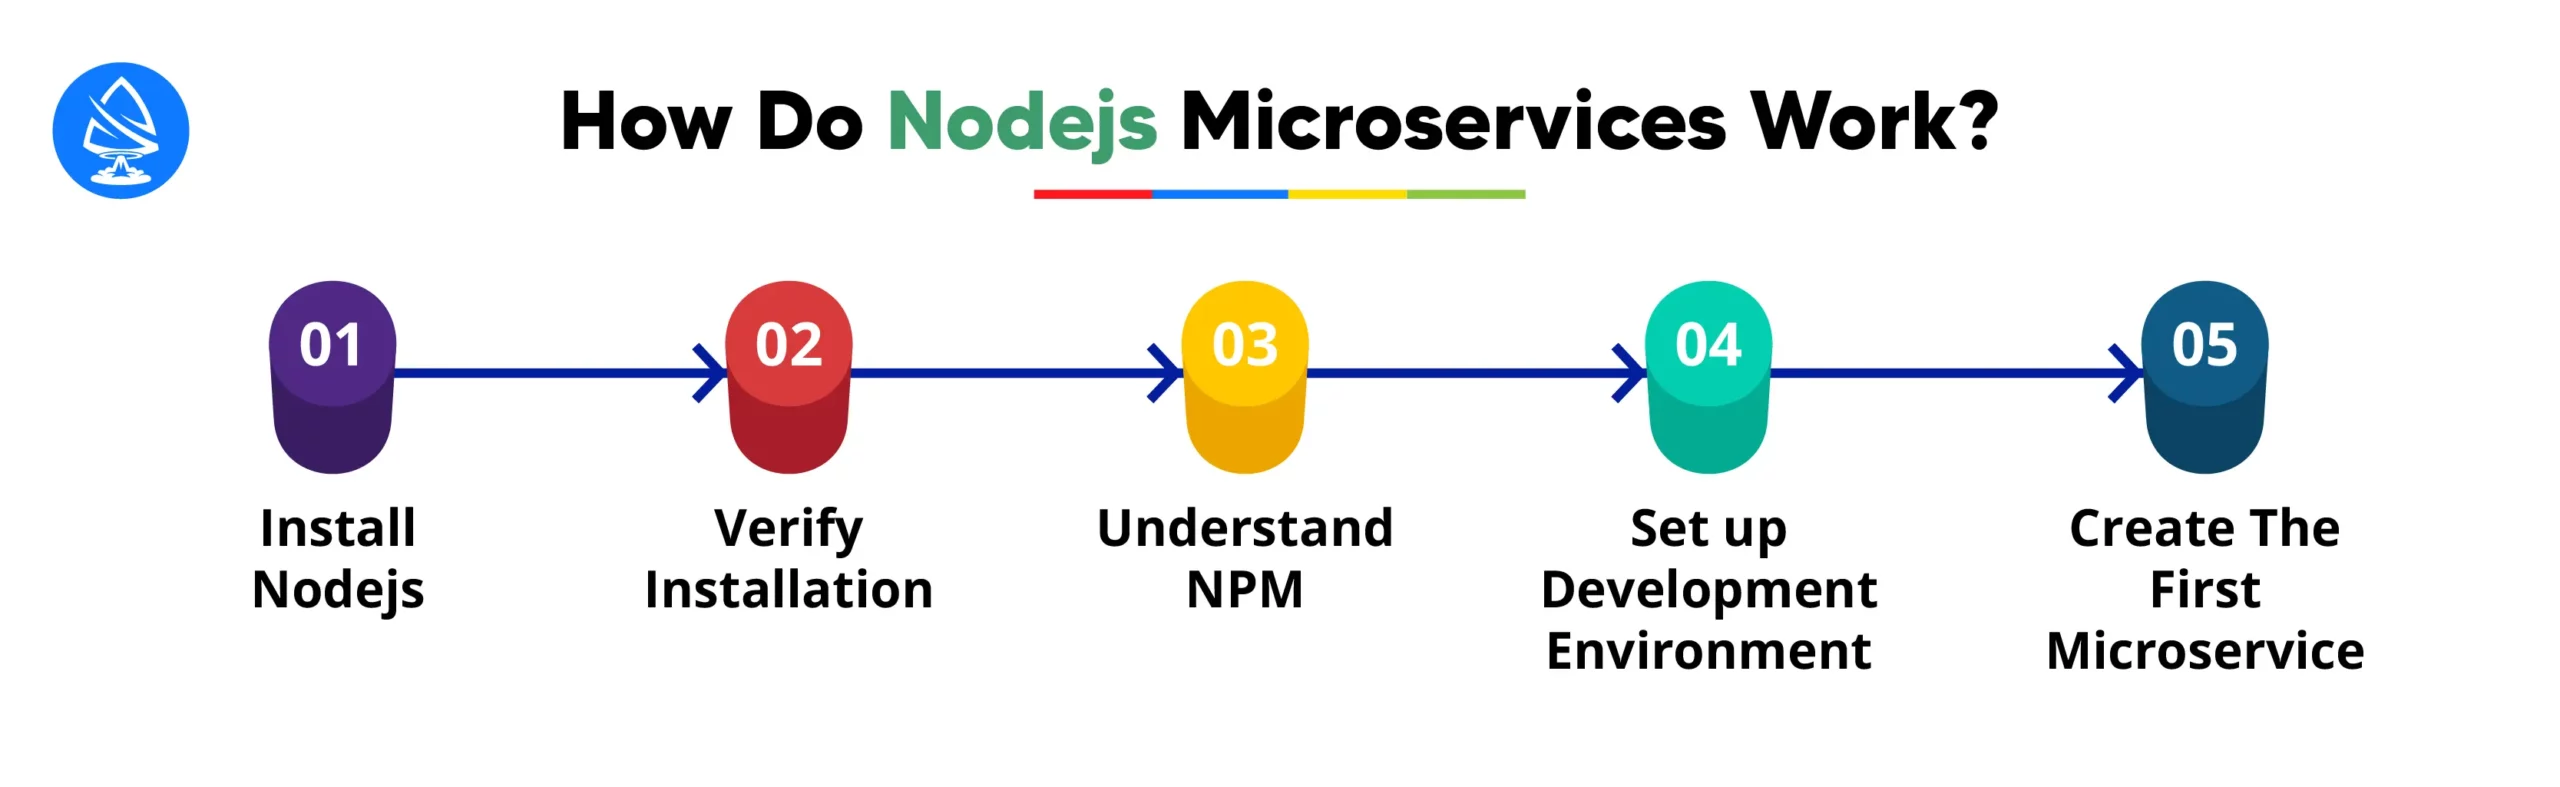
Getting started on microservice with Node JS involves several key steps, from setting up your development environment to understanding the basics of Node.js and npm. Below is a detailed guide on how to get started:
Before you can begin building microservices in Node, you need to have Node.js installed on your machine. You can download the installer from the official Node.js website (https://nodejs.org) and follow the installation instructions for your operating system.
Once Node.js is installed, you can verify the installation by opening a terminal or command prompt and running the following commands:
| node –version npm –version |
These commands should display the installed version of Node.js and npm respectively. If you see the version numbers, it means Node.js and npm are installed correctly with JSON file.
npm (Node Package Manager) is the default package manager for Node.js. It allows you to install, manage, and share packages or libraries of JavaScript code. Before you start building microservices, it’s essential to have a basic understanding of npm commands with request object.
Common npm commands:
Once Node.js and npm are installed, you can set up your development environment. You can use any text editor or Integrated Development Environment (IDE) of your choice. Popular options for Node.js development include Visual Studio Code, Sublime Text, Atom, and WebStorm to work with programming language.
Create a new directory for your microservices project and navigate into it using the terminal or command prompt.
With your environment variable and development environment set up, you can start building your first microservice. To create a new microservice, follow these steps:
As you start building Node microservice, you may encounter challenges or have questions along the way with an external API. Fortunately, there are plenty of resources available to help you learn and improve your skills with http post request nodejs:
“What is Nodejs Event Loop? Click here to Understand Nodejs in depth.”
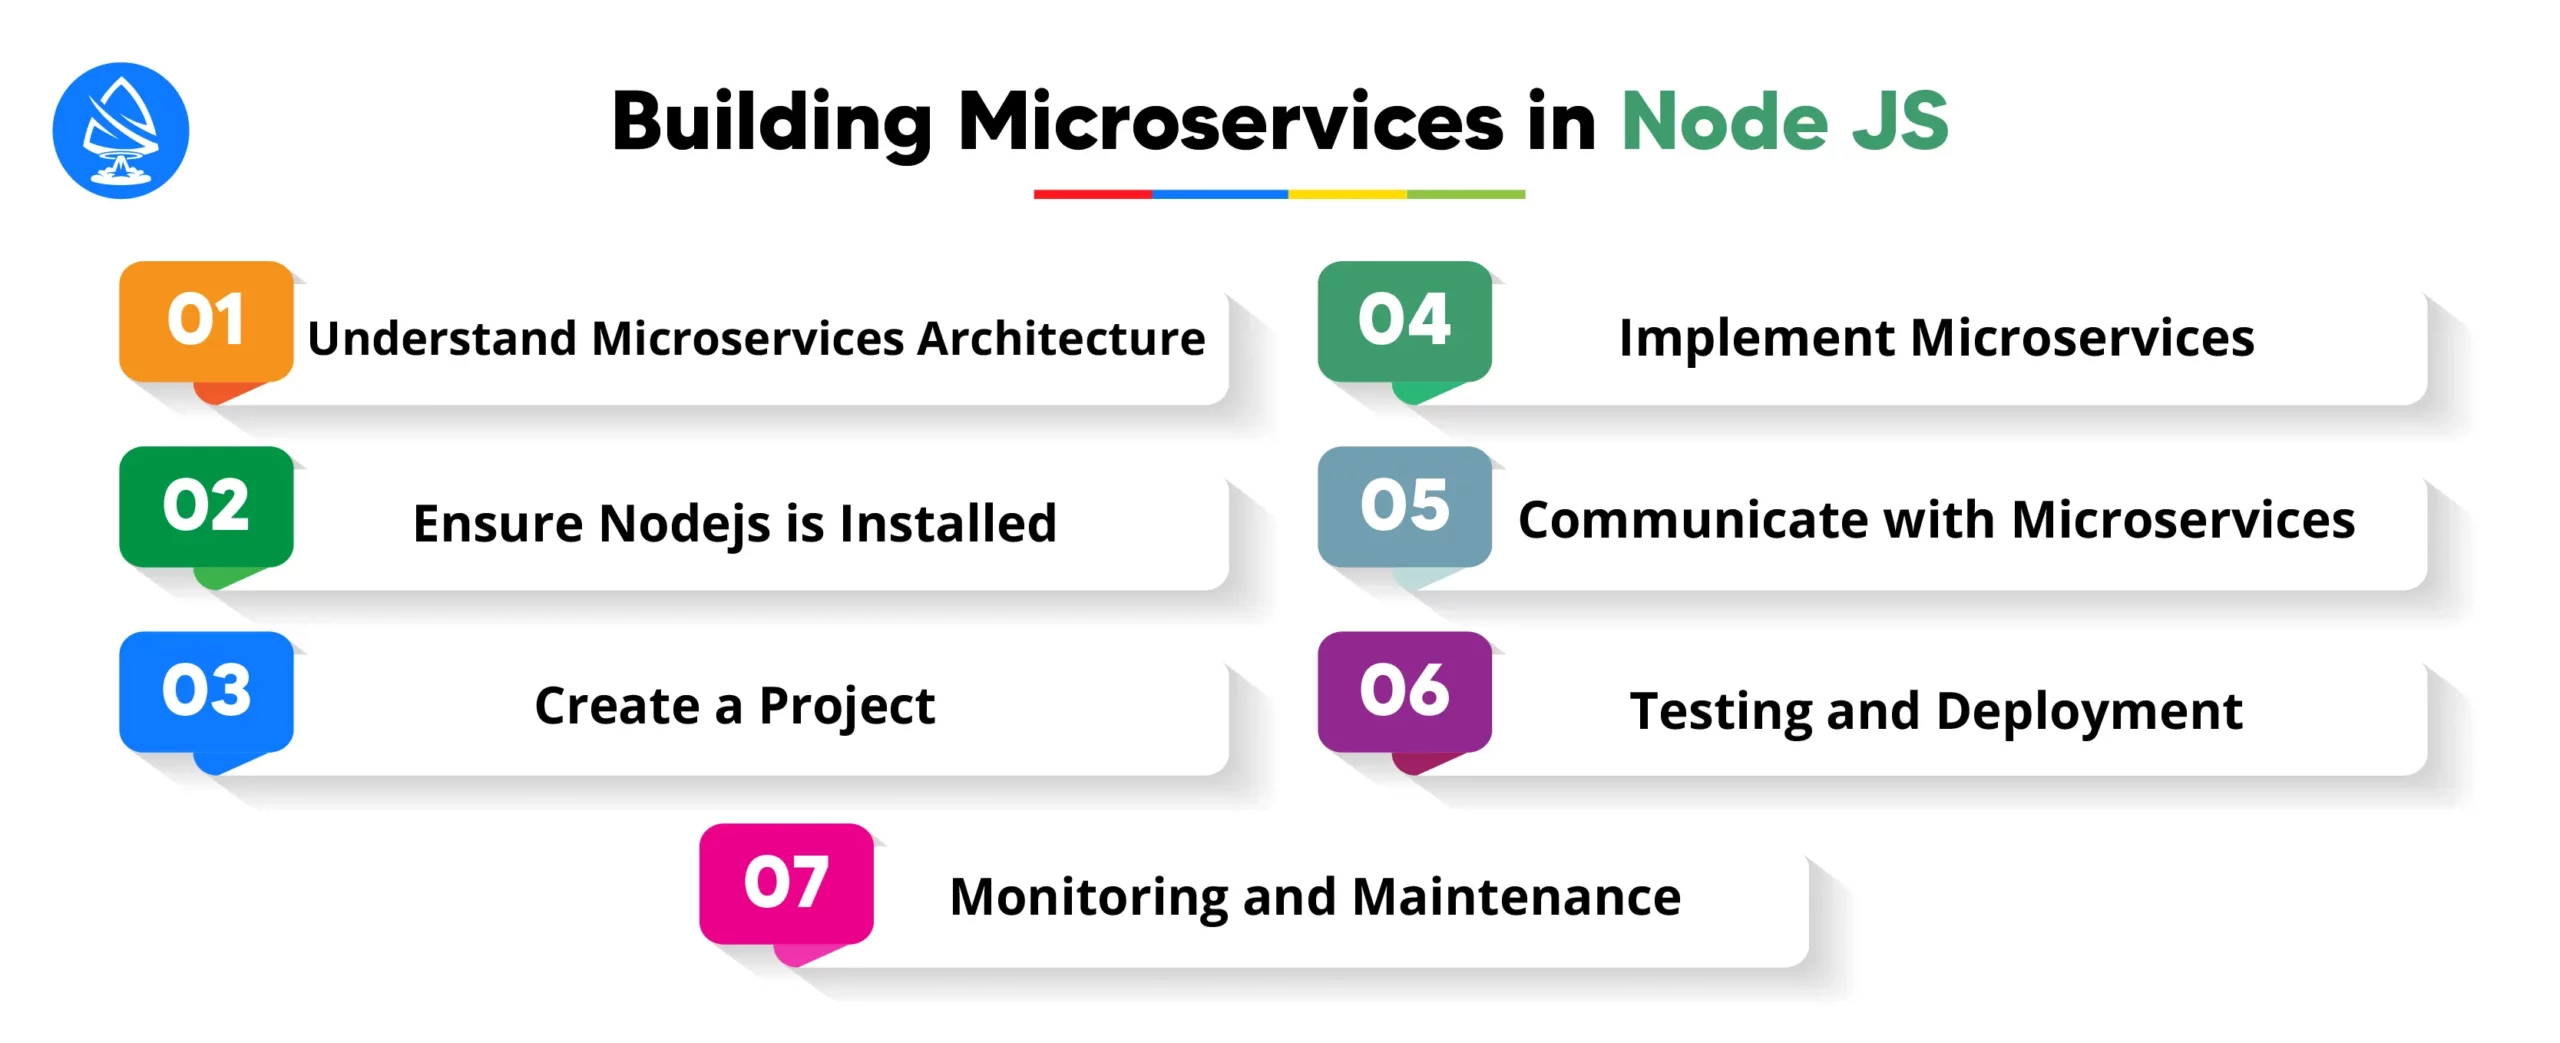
Building Node JS and microservice involves breaking down a monolithic application into smaller, independent services that communicate with each other to perform specific tasks. Here’s a detailed explanation of how to get started with building Node microservice:
Before diving into Node.js development, it’s essential to understand the principles and benefits of microservices architecture. Microservices promote modularity, scalability, and fault isolation by decomposing an application into smaller, manageable services.
Each microservice focuses on a single business function or domain, such as user authentication, product catalog, or order processing.
Communication between microservices typically occurs over HTTP(S) using RESTful APIs or through messaging protocols like MQTT, AMQP, or Kafka.
Ensure that Node.js is installed on your machine. You can download and install Node.js from the official website or use a package manager like npm (Node Package Manager) to install it.
Familiarize yourself with npm, the package manager for Node.js. npm allows you to install, manage, and publish packages and dependencies for your Node.js applications.
Choose a text editor or Integrated Development Environment (IDE) for writing Node.js code. Popular options include Visual Studio Code, Sublime Text, and WebStorm.
Start by creating a new directory for your microservices project.
Initialize a new Node.js project using npm. Open a terminal or command prompt, navigate to the project directory, and run the following command:
| npm init -y |
This command creates a `package.json` file with default values in the root folder.
Install any necessary dependencies for your microservices. You can use npm to install packages from the npm registry. For example:
| npm install express body-parser mongoose |
This command installs the Express.js framework for building web servers, the body-parser middleware for parsing request bodies, and the mongoose library for interacting with MongoDB databases.
Define the boundaries and responsibilities of each microservice based on your application’s requirements. Identify the functionality that needs to be encapsulated within each service.
Create separate directories or modules for each microservice within your project structure. Each microservice should have its own set of files for handling routes, controllers, models, and middleware.
Use frameworks like Express.js or Hapi.js to create HTTP(S) endpoints for your microservices. Define routes and handlers to process incoming requests and send appropriate responses.
Implement business logic, data validation, and error handling within each microservice. Use middleware functions to encapsulate common functionality such as authentication, input validation, and logging.
Consider using an Object-Document Mapper (ODM) or Object-Relational Mapper (ORM) library like Mongoose for interacting with databases in Node.js microservices. These libraries provide abstractions for working with databases and simplify data modeling and querying in controller object and controller file.
Read More: Nodejs Documentation Guide & Tips
Microservices need to communicate with each other to fulfill complex business workflows or exchange data. There are several approaches to inter-service communication, including synchronous RESTful APIs, asynchronous messaging, and event-driven architectures.
Choose the appropriate communication pattern based on the requirements of your application. For example, use synchronous HTTP requests for simple, request-response interactions and messaging queues like RabbitMQ or Kafka for asynchronous, event-driven communication.
Implement communication protocols and message formats to facilitate interoperability between microservices. Use standardized formats like JSON or Protocol Buffers for serializing data payloads, and define clear contracts or APIs for interacting with each service.
Write unit tests and integration tests to validate the functionality and behavior of your microservices. Use testing frameworks like Mocha, Chai, and Supertest to automate the testing process and ensure code quality and reliability.
Set up a deployment pipeline for deploying your microservices to production environments. Consider using containerization technologies like Docker for packaging and distributing microservices as lightweight, portable containers.
Deploy microservices to cloud platforms like AWS, Google Cloud Platform, or Microsoft Azure, or to self-managed infrastructure using tools like Kubernetes or Docker Swarm. Configure load balancers, auto-scaling, and monitoring solutions to ensure the reliability and scalability of your microservices in production.
Implement monitoring and observability tools to track the performance, availability, and health of your microservices in production. Use logging frameworks like Winston or Bunyan to capture application logs and metrics.
Set up alerting and logging mechanisms to notify you of any issues or anomalies in your microservices environment. Monitor key performance indicators (KPIs) such as response times, error rates, and throughput to identify and address performance bottlenecks or scalability issues.
Regularly update and maintain your microservices to incorporate bug fixes, security patches, and new features. Follow best practices for version control, continuous integration, and continuous deployment (CI/CD) to streamline the development and release process.
Now, we will take deep understanding of microservices in NodeJS with coding examples.
Let’s create a microservice architecture consisting of two services:

Create a new directory for the project and initialize a new NodeJS project using npm:
| mkdir microservices-nodejs cd microservices-nodejs npm init -y |
Create a directory named `auth-service` for the authorization service and initialize a new NodeJS project inside it.
| mkdir auth-service cd auth-service npm init -y |
Install necessary dependencies:
| npm install express body-parser bcryptjs jsonwebtoken |
Create an `index.js` file for the authorization service:
| const express = require(‘express’); const bodyParser = require(‘body-parser’); const bcrypt = require(‘bcryptjs’); const jwt = require(‘jsonwebtoken’); const app = express(); const PORT = 3000; // Middleware app.use(bodyParser.json()); // Mock user data (replace with database) const users = [ { id: 1, username: ‘user1’, password: ‘$2a$10$3yI/lkVtxdFq17a6AVRgyeGRU6zL3Zb.x8WeUmt4RPF5OLK31Rb16’ } // hashed password: ‘password’ ]; // Routes app.post(‘/login’, (req, res) => { const { username, password } = req.body; const user = users.find(u => u.username === username); if (!user) { return res.status(404).json({ message: ‘User not found’ }); } bcrypt.compare(password, user.password, (err, result) => { if (err) { return res.status(500).json({ message: ‘Internal Server Error’ }); } if (!result) { return res.status(401).json({ message: ‘Invalid credentials’ }); } const token = jwt.sign({ userId: user.id }, ‘secret_key’); res.json({ token }); }); }); // Start the server app.listen(PORT, () => { console.log(`Authentication service running on port ${PORT}`); }); |
This code sets up an authentication service with a `/login` endpoint for user authentication using JWT (JSON Web Tokens). It includes basic error handling and uses bcrypt for password hashing.
Create a directory named `product-service` for the product service and initialize a new NodeJS project inside it.
| mkdir ../product-service cd ../product-service npm init -y |
Install necessary dependencies:
| npm install express body-parser |
Create an `index.js` file for the product service:
| const express = require(‘express’); const bodyParser = require(‘body-parser’); const app = express(); const PORT = 4000; // Middleware app.use(bodyParser.json()); // Mock product data (replace with database) const products = [ { id: 1, name: ‘Product 1’, price: 10 }, { id: 2, name: ‘Product 2’, price: 20 }, { id: 3, name: ‘Product 3’, price: 30 } ]; // Routes app.get(‘/products’, (req, res) => { res.json(products); }); // Start the server app.listen(PORT, () => { console.log(`Product service running on port ${PORT}`); }); |
This code sets up a product service with a `/products` endpoint to retrieve a list of products. It does not include authentication or authorization logic for simplicity.
Start both services in separate terminal windows:
| cd auth-service node index.js |
| cd product-service node index.js |
Authenticate a user:
| curl -X POST -H “Content-Type: application/json” -d ‘{“username”:”user1″,”password”:”password”}’ http://localhost:3000/login |
This should return a JWT token.
Retrieve Products (requires JWT token):
| curl -H “Authorization: Bearer <JWT_TOKEN>” http://localhost:4000/products |
Replace `<JWT_TOKEN>` with the token obtained from the authentication service.
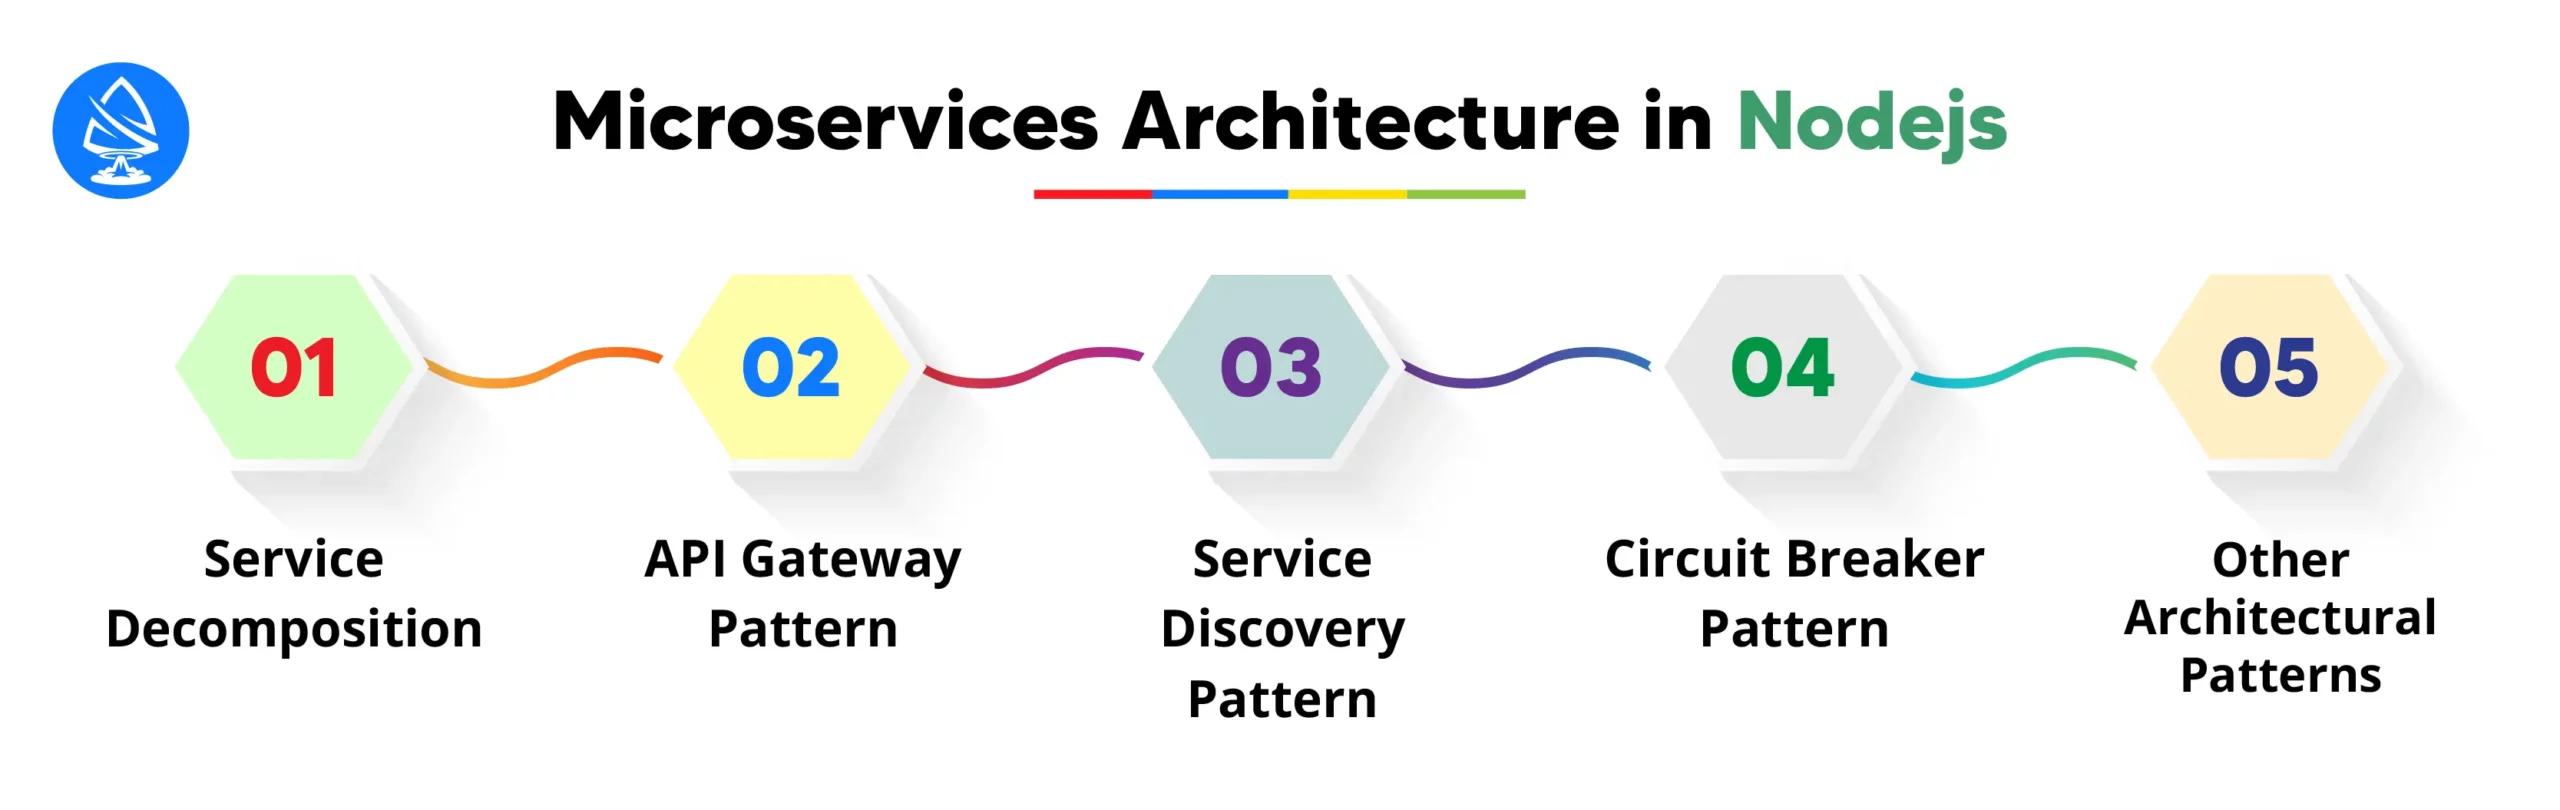
Microservices architecture in Node.js involves breaking down large, monolithic applications into smaller, independent services that can be developed, deployed, and scaled independently. This approach offers numerous benefits, including increased agility, scalability, http status code, and resilience. Here’s a detailed explanation of microservices architecture in Node.js, including various architectural patterns commonly used in microservices-based systems:
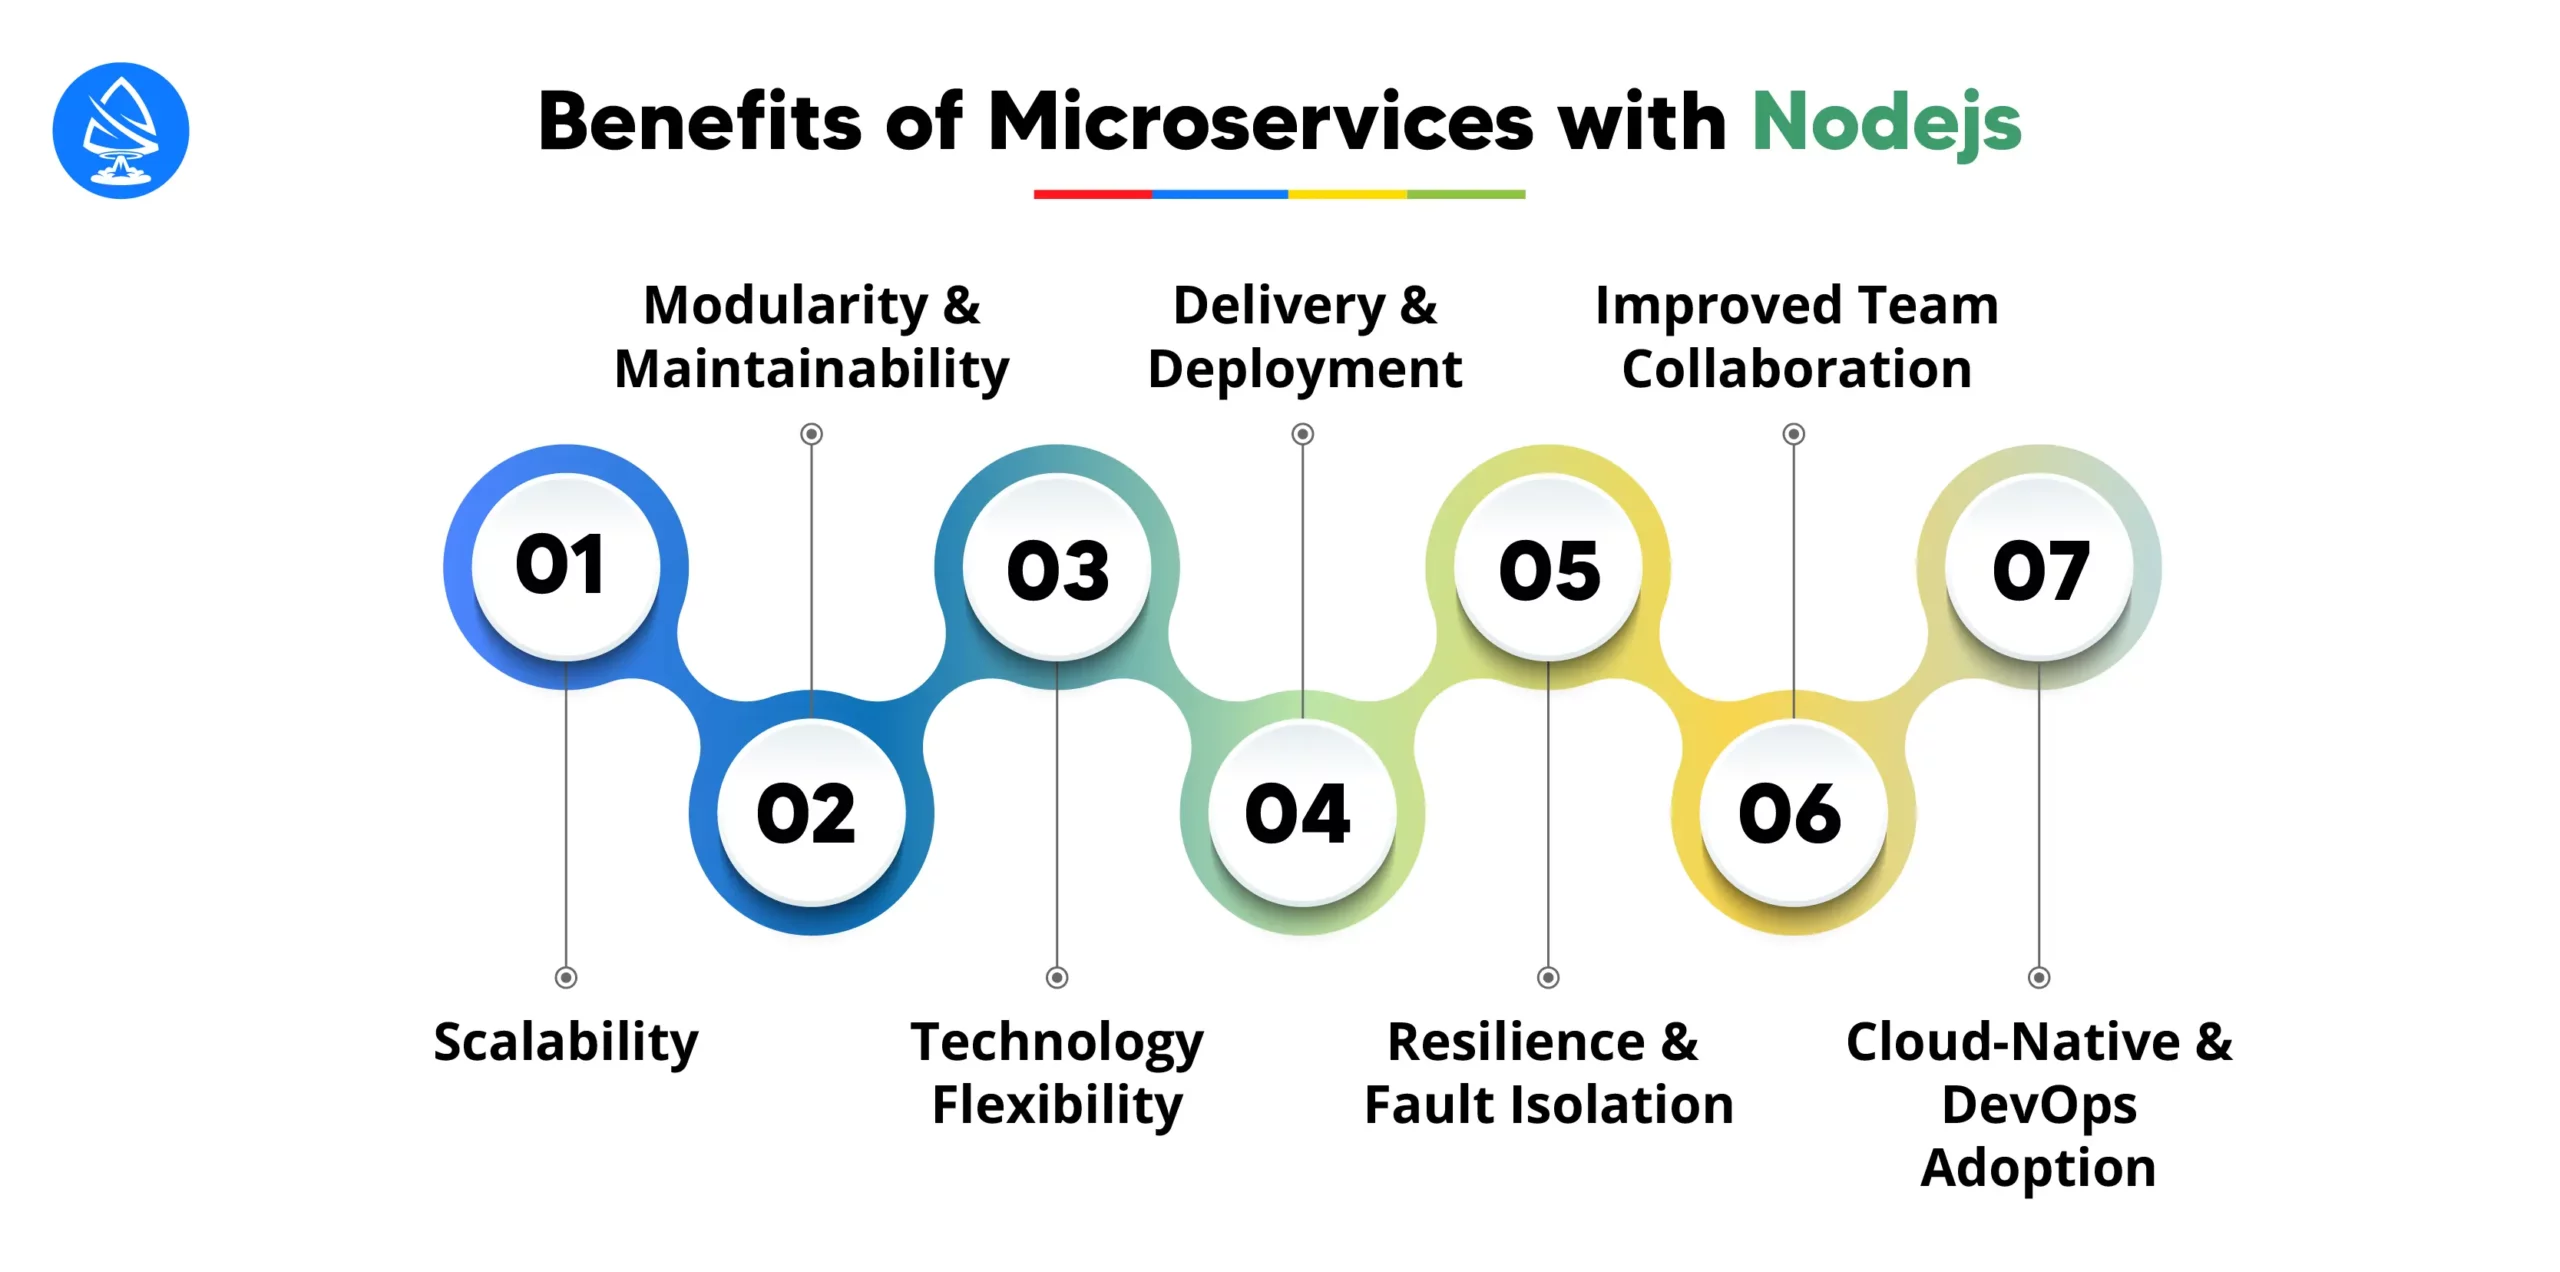
Using microservices in Node offers several benefits, which contribute to the overall agility, scalability, and maintainability of the software system. Here are some of the key benefits:
Mastering microservices in Node JS requires a solid understanding of Node.js fundamentals, express and request packages, microservices architecture, communication patterns, software components, error handling strategies, testing techniques, routes module, monitoring tools, security practices, scaling mechanisms, deployment processes, and popular microservice frameworks.
So, looking for Nodejs development services? Look no further. Select Artoon Solutions as your Nodejs development Company and hire Nodejs developers with proficiency in Node.
Contact Us Now!
Node.js’s event-driven, non-blocking architecture allows it to handle asynchronous operations efficiently in microservices. By leveraging features like callbacks, promises, and async/await, developers can write code that performs tasks concurrently without blocking the main thread.
Some common challenges when building microservices in Node JS include managing service dependencies, ensuring communication reliability between services, handling distributed transactions, monitoring and debugging microservices, and maintaining consistency across multiple services.
To ensure data consistency between microservices in Node JS, you can implement distributed transactions using techniques like two-phase commit or request package or design your services to be idempotent and handle eventual consistency. Using a message queue or event sourcing can also help maintain data integrity.
Popular monitoring tools for Nodejs microservices include Prometheus, Grafana, ELK stack (Elasticsearch, Logstash, Kibana), New Relic, and Datadog. These tools provide insights into service performance, resource utilization, error tracking, and log analysis for effective monitoring and troubleshooting.
Artoon Solutions
Artoon Solutions is a technology company that specializes in providing a wide range of IT services, including web and mobile app development, game development, and web application development. They offer custom software solutions to clients across various industries and are known for their expertise in technologies such as React.js, Angular, Node.js, and others. The company focuses on delivering high-quality, innovative solutions tailored to meet the specific needs of their clients.