- HR:+91-879-9184-787
- Sales:+91-908-163-7774

React Native for website development, an open-source framework developed by Facebook, initially designed for mobile app development, has evolved to support web development through the React Native for Web library. This powerful tool allows developers to leverage a single codebase for both mobile and web applications, streamlining workflows and ensuring consistency across platforms. By integrating react native experts into web development, businesses can significantly reduce development time, optimize performance, and deliver a unified user experience. With benefits such as code reusability, a large supportive community, hot reloading, and strong backing from continuous improvements, React Native stands out as an essential framework for building high-quality, responsive web applications efficiently.

React Native, developed by Facebook, is an open-source framework that allows developers to create mobile applications utilizing JavaScript and React. Unlike traditional mobile development frameworks, which rely on platform-specific languages like Swift for iOS or Java for Android, React Native allows developers to use a single codebase to create applications for both iOS and Android.
React Native translates React components into native widgets, ensuring a smooth user experience on mobile devices. It leverages JavaScript to interact with native APIs, providing access to device features like camera, location, and push notifications.
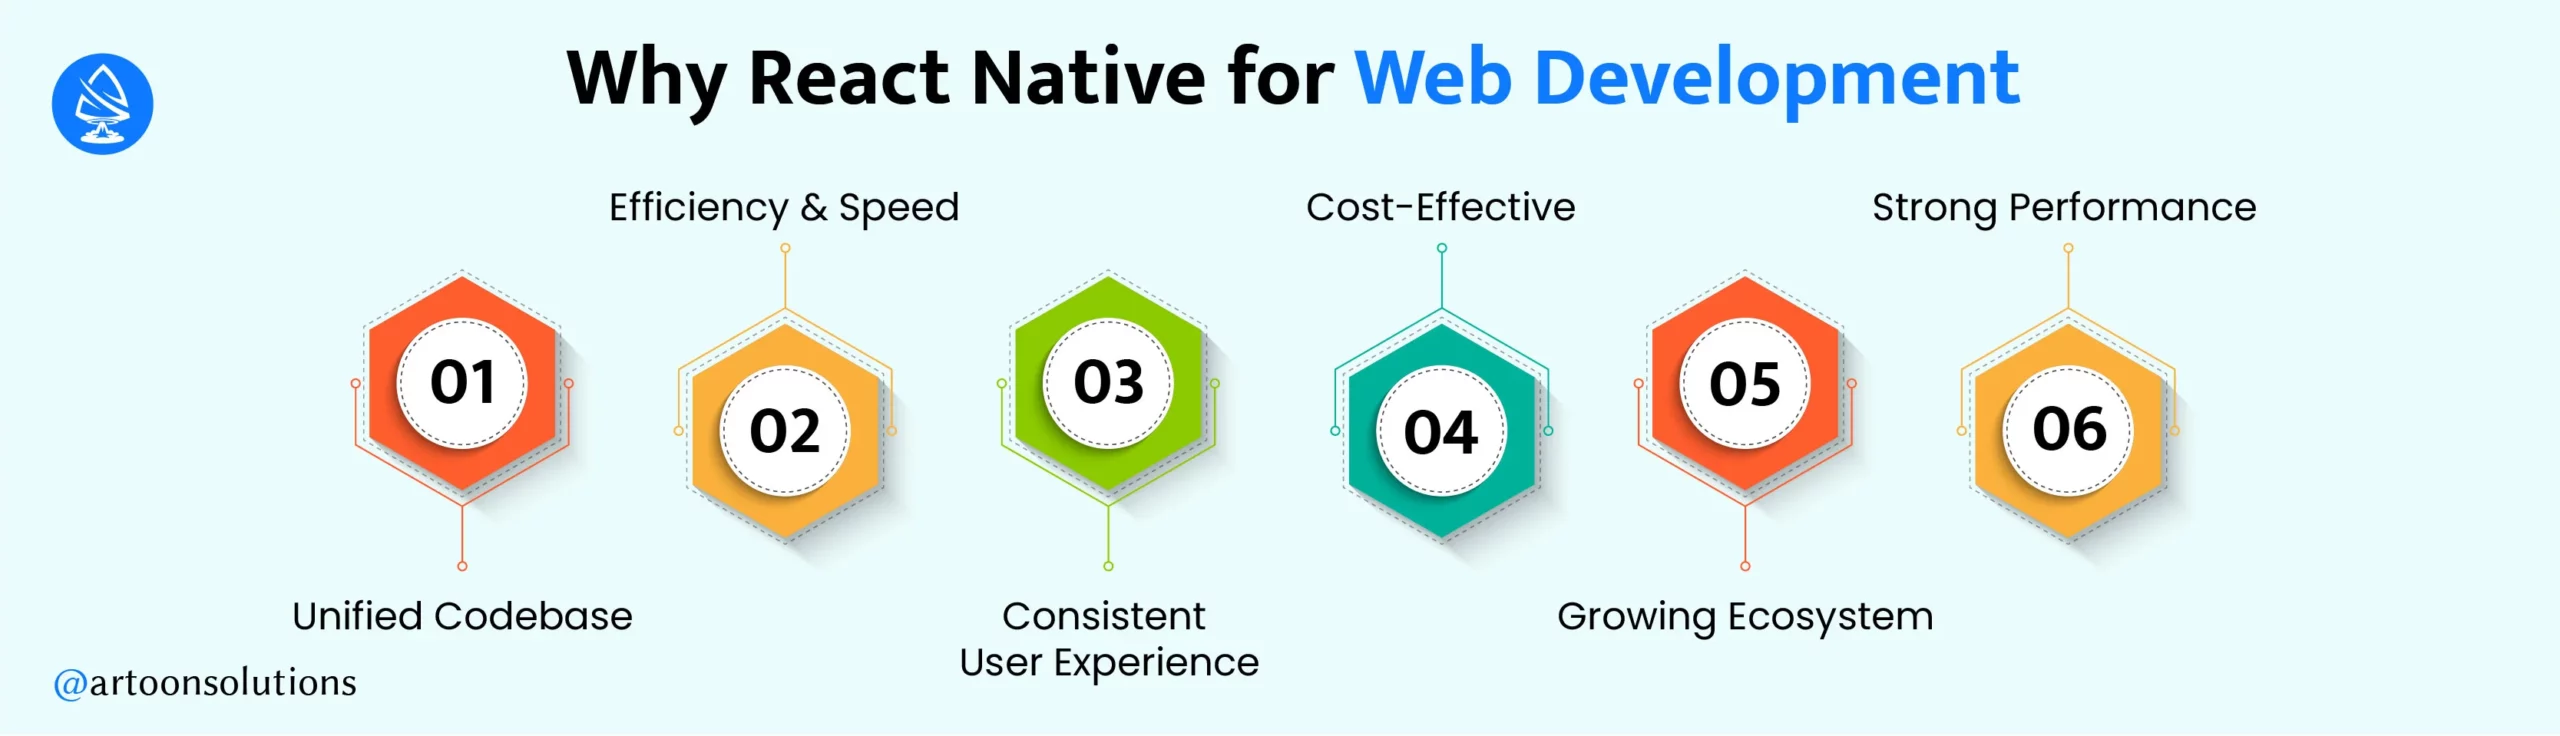
Choosing React Native for website development offers a blend of efficiency, performance, and consistency, making it an ideal choice for businesses looking to develop high-quality applications across multiple platforms without the overhead of managing separate codebases.
Read More : react native apps example
Before diving into React Native web development, there are a few prerequisites to ensure a smooth setup process. You’ll need a basic understanding of JavaScript and familiarity with React for web development. Additionally, having Node.js and npm (Node Package Manager) installed on your machine is essential, as they are fundamental tools for managing packages and running your development environment. A modern code editor like Visual Studio Code is also recommended for writing and managing your code efficiently.
To get started with React Native, you’ll need to install a few essential tools:
| node -v npm -v |
Run the above commands in your terminal to check if Node.js and npm are installed correctly and to verify their versions.
| npm install -g react-native-cli |
| npm install -g expo-cli |
Once you have the necessary tools installed, you can set up your first React Native project. Here are two methods: using React Native CLI and using Expo CLI.
| react-native init MyFirstProject |
b. Navigate to your project directory:
| cd MyFirstProject |
c. Start the development server:
| npx react-native run-android # for Android npx react-native run-ios # for iOS (on macOS) |
| expo init MyFirstProject |
b. Choose a template (e.g., blank, tabs, etc.) and follow the prompts.
c. Navigate to your project directory:
| cd MyFirstProject |
d. Start the development server:
| expo start |
Expo will provide you with a QR code that you can scan using the Expo Go app on your mobile device to see the app in action.
To extend React Native for website development, you’ll need to install react-native-web and configure your project:
| npm install react-native-web |
| “scripts”: { “web”: “react-native-web” } |
| npm run web |
Building website with React Native can be a streamlined process if you follow a structured approach. This step-by-step guide will walk you through setting up your project, creating components and pages, and styling your website using CSS-in-JS and styled-components.
To begin building website with React Native, you first need to set up your project structure. This involves installing necessary tools and libraries that will support your development process. Follow these steps to get started:
| npx react-native init MyWebApp |
| npm install @react-navigation/native styled-components |
| MyWebApp/ ├── src/ │ ├── components/ │ ├── pages/ │ ├── assets/ │ └── styles/ └── package.json |
In React Native for website development, components and pages are the building blocks of your web app. Here’s how to create them effectively:
| // src/components/Button.js import React from ‘react’; import { TouchableOpacity, Text, StyleSheet } from ‘react-native’; const Button = ({ title, onPress }) => ( <TouchableOpacity style={styles.button} onPress={onPress}> <Text style={styles.text}>{title}</Text> </TouchableOpacity> ); const styles = StyleSheet.create({ button: { backgroundColor: ‘#6200ee’, padding: 10, borderRadius: 5, }, text: { color: ‘#fff’, textAlign: ‘center’, }, }); export default Button; |
| // src/pages/Home.js import React from ‘react’; import { View, Text } from ‘react-native’; import Button from ‘../components/Button’; const Home = ({ navigation }) => ( <View> <Text>Welcome to My Web App</Text> <Button title=”Go to About” onPress={() => navigation.navigate(‘About’)} /> </View> ); export default Home; |
Styling in React Native for web development can be efficiently managed using CSS-in-JS libraries like styled-components. This allows you to write actual CSS to style your components.
| npm install styled-components |
| // src/components/StyledButton.js import styled from ‘styled-components/native’; const StyledButton = styled.TouchableOpacity` background-color: #6200ee; padding: 10px; border-radius: 5px; `; const StyledText = styled.Text` color: #fff; text-align: center; `; export { StyledButton, StyledText }; |
| // src/pages/About.js import React from ‘react’; import { View, Text } from ‘react-native’; import { StyledButton, StyledText } from ‘../components/StyledButton’; const About = ({ navigation }) => ( <View> <Text>About My Web App</Text> <StyledButton onPress={() => navigation.navigate(‘Home’)}> <StyledText>Go Back Home</StyledText> </StyledButton> </View> ); export default About; |
By following these steps, you can efficiently build a website with React Native. Whether you’re creating a basic site or a complex web app with React, this guide covers the essential aspects to get you started. Leverage React Native for website development not only leverages its powerful features but also ensures a seamless and responsive user experience.
For effective web development with React, managing navigation is crucial. React Router is a powerful library that enables routing in your React applications, allowing you to handle dynamic navigation efficiently.
| npm install react-router-dom |
Setup Routing: Configure your routes in a central place, typically in the App.js file.
| // src/App.js import React from ‘react’; import { BrowserRouter as Router, Route, Switch } from ‘react-router-dom’; import Home from ‘./pages/Home’; import About from ‘./pages/About’; const App = () => ( <Router> <Switch> <Route exact path=“/” component={Home} /> <Route path=“/about” component={About} /> </Switch> </Router> ); export default App; |
| // src/pages/Home.js import React from ‘react’; import { Link } from ‘react-router-dom’; const Home = () => ( <div> <h1>Welcome to My Web App</h1> <Link to=”/about“>Go to About Page</Link> </div> ); export default Home; |
Managing state is a critical aspect of building a website with React Native. Two popular options are Redux and the Context API.
– Install Redux: Start by installing Redux and React-Redux.
| npm install redux react-redux |
– Configure Redux: Set up your Redux store and reducers.
| // src/store/index.js import { createStore } from ‘redux’; import rootReducer from ‘./reducers’; const store = createStore(rootReducer); export default store; |
– Provide Store: Use the Provider component to pass the store to your app.
| // src/index.js import React from ‘react’; import ReactDOM from ‘react-dom’; import { Provider } from ‘react-redux’; import store from ‘./store’; import App from ‘./App’; ReactDOM.render( <Provider store={store}> <App /> </Provider>, document.getElementById(‘root’) ); |
– Create Context: Define your context and provider.
| // src/context/MyContext.js import React, { createContext, useState } from ‘react’; const MyContext = createContext(); const MyProvider = ({ children }) => { const [state, setState] = useState({}); return ( <MyContext.Provider value={[state, setState]}> {children} </MyContext.Provider> ); }; export { MyContext, MyProvider }; |
– Use Context: Access context values in your components.
| // src/pages/Home.js import React, { useContext } from ‘react’; import { MyContext } from ‘../context/MyContext’; const Home = () => { const [state, setState] = useContext(MyContext); return ( <div> <h1>Home Page</h1> <p>State: {JSON.stringify(state)}</p> </div> ); }; export default Home; |
Integrating APIs and fetching data is a vital part of web development with React. Here’s how you can do it efficiently:
| // src/pages/DataPage.js import React, { useEffect, useState } from ‘react’; const DataPage = () => { const [data, setData] = useState(null); useEffect(() => { fetch(‘<https://api.example.com/data>’) .then(response => response.json()) .then(data => setData(data)); }, []); return ( <div> <h1>Data Page</h1> {data ? <pre>{JSON.stringify(data, null, 2)}</pre> : <p>Loading…</p>} </div> ); }; export default DataPage; |
| // src/pages/DataPage.js import React, { useEffect, useState } from ‘react’; const DataPage = () => { const [data, setData] = useState(null); const [error, setError] = useState(null); const [loading, setLoading] = useState(true); useEffect(() => { fetch(‘<https://api.example.com/data>’) .then(response => response.json()) .then(data => { setData(data); setLoading(false); }) .catch(error => { setError(error); setLoading(false); }); }, []); if (loading) return <p>Loading…</p>; if (error) return <p>Error: {error.message}</p>; return ( <div> <h1>Data Page</h1> <pre>{JSON.stringify(data, null, 2)}</pre> </div> ); }; export default DataPage; |
Performance optimization is essential when building websites with React Native. Here are some strategies to consider:
| // src/App.js import React, { lazy, Suspense } from ‘react’; import { BrowserRouter as Router, Route, Switch } from ‘react-router-dom’; const Home = lazy(() => import(‘./pages/Home’)); const About = lazy(() => import(‘./pages/About’)); const App = () => ( <Router> <Suspense fallback={<div>Loading…</div>}> <Switch> <Route exact path=”/” component={Home} /> <Route path=”/about” component={About} /> </Switch> </Suspense> </Router> ); export default App; |
2. Optimize Images: Ensure images are optimized for the web.
| // src/components/Image.js import React from ‘react’; const OptimizedImage = ({ src, alt }) => ( <img src={src} alt={alt} loading=“lazy” /> ); export default OptimizedImage; |
Use Memoization: Utilize React.memo and useMemo to prevent unnecessary re-renders.
| // src/components/ExpensiveComponent.js import React, { memo } from ‘react’; const ExpensiveComponent = memo(({ data }) => { // Expensive calculations or rendering return <div>{data}</div>; }); export default ExpensiveComponent; |
Writing clean and maintainable code is crucial for long-term success in web development with React. Here are some practices to follow:
| // Example component with consistent coding style import React from ‘react’; import PropTypes from ‘prop-types’; const Greeting = ({ name }) => ( <div> <h1>Hello, {name}!</h1> </div> ); Greeting.propTypes = { name: PropTypes.string.isRequired, }; export default Greeting; |
| // src/components/Button.js import React from ‘react’; import PropTypes from ‘prop-types’; const Button = ({ children, onClick }) => ( <button onClick={onClick}> {children} </button> ); Button.propTypes = { children: PropTypes.node.isRequired, onClick: PropTypes.func.isRequired, }; export default Button; |
| // src/hooks/useFetch.js import { useState, useEffect } from ‘react’; const useFetch = (url) => { const [data, setData] = useState(null); const [loading, setLoading] = useState(true); const [error, setError] = useState(null); useEffect(() => { fetch(url) .then((response) => response.json()) .then((data) => { setData(data); setLoading(false); }) .catch((error) => { setError(error); setLoading(false); }); }, [url]); return { data, loading, error }; }; export default useFetch; |
Ensuring the reliability of your web app with React Native involves rigorous testing and debugging. Here’s how to do it effectively:
| // Example test with Jest import React from ‘react’; import { render, screen } from ‘@testing-library/react’; import Greeting from ‘./Greeting’; test(‘displays the correct greeting message’, () => { render(<Greeting name=“John” />); expect(screen.getByText(‘Hello, John!’)).toBeInTheDocument(); }); |
| // Example integration test import React from ‘react’; import { render, fireEvent } from ‘@testing-library/react’; import App from ‘./App’; test(‘navigates to About page’, () => { const { getByText } = render(<App />); fireEvent.click(getByText(/go to about page/i)); expect(getByText(/about my web app/i)).toBeInTheDocument(); }); |
| // Use console.log statements for debugging useEffect(() => { console.log(data); }, [data]); |
Creating a website with React that is both responsive and accessible ensures a broader reach and better user experience.
| // Example of responsive styles const Container = styled.div` padding: 1rem; @media (min-width: 768px) { padding: 2rem; } `; |
– Semantic HTML: Use semantic HTML tags to convey meaning and structure.
| // Example of semantic HTML <header> <nav> <ul> <li><a href=“/”>Home</a></li> <li><a href=“/about”>About</a></li> </ul> </nav> </header> |
– ARIA Attributes: Use ARIA (Accessible Rich Internet Applications) attributes to enhance accessibility.
| // Example of ARIA attributes <button aria-label=“Close” onClick={handleClose}> × </button> |
– Keyboard Navigation: Ensure all interactive elements are keyboard accessible.
| // Example of ensuring keyboard navigation <a href=“/contact” tabIndex=“0”>Contact Us</a> |
Optimizing your React Native websites for search engines is essential for improving visibility and attracting organic traffic.
| // Example of SSR with Next.js import React from ‘react’; const Home = ({ data }) => ( <div> <h1>Welcome to My Web App</h1> <p>{data.message}</p> </div> ); export async function getServerSideProps() { const res = await fetch(‘<https://api.example.com/data>‘); const data = await res.json(); return { props: { data }, }; } export default Home; |
| // Example of using React Helmet import React from ‘react’; import { Helmet } from ‘react-helmet’; const SEO = () => ( <Helmet> <title>My Web App</title> <meta name=”description” content=”This is my web app built with React.” /> <meta name=“keywords” content=“react, web development, react native” /> </Helmet> ); export default SEO; |
| // Example of clean URLs with React Router <Route path=“/about-us” component={About} /> |
| // Example of content optimization const About = () => ( <div> <h1>About My Web App</h1> <p>Learn more about how we use React Native for web development to build scalable and efficient web applications.</p> </div> ); export default About; |
By following these best practices, you can create a React Native website that is not only clean and maintainable but also well-optimized for performance, accessibility, and SEO. For businesses looking to leverage cutting-edge technology, opting for next js development in USA can further enhance your web app’s capabilities. This approach will ensure a high-quality user experience and improve the discoverability of your web app with React.
Preparing your React Native app for production involves several important steps to ensure it runs efficiently and securely in a live environment.
| npm run build |
This command generates an optimized production build of your application.
| // Example of removing console logs if (process.env.NODE_ENV !== ‘production’) { console.log(‘This will only log in development mode’); } |
Environment Variables: Use environment variables to manage configuration settings without hardcoding them.
| // .env file REACT_APP_API_URL=https://api.example.com |
| // Accessing environment variables const apiUrl = process.env.REACT_APP_API_URL; |
| // Example of enforcing HTTPS with an .htaccess file RewriteEngine On RewriteCond %{HTTPS} !=on RewriteRule ^ https://%{HTTP_HOST}%{REQUEST_URI} [L,R=301] |
Deploying your React Native website can be simplified using modern deployment platforms like Vercel and Netlify.
| npm install -g vercel |
| vercel |
– Setup Netlify: Sign up for a Netlify account if you don’t have one, and install the Netlify CLI.
| npm install -g netlify-cli |
– Build Your Project: Ensure your project is built and ready for deployment.
| npm run build |
– Deploy to Netlify: Use the Netlify CLI to deploy your project.
| netlify deploy |
– Production Deployment: When ready to go live, deploy to the production environment.
| netlify deploy –prod |
– Automatic Deployments: Netlify also supports continuous deployment from Git repositories. Connect your repository to Netlify, and it will handle deployments on push.
Implementing continuous integration (CI) and continuous deployment (CD) ensures that your web app with React Native is always in a deployable state and that new features and fixes are delivered promptly.
| # .github/workflows/deploy.yml name: Deploy on: push: branches: – main jobs: build: runs-on: ubuntu-latest steps: – name: Checkout code uses: actions/checkout@v2 – name: Install dependencies run: npm install – name: Build project run: npm run build – name: Deploy to Vercel run: vercel –prod env: VERCEL_TOKEN: ${{ secrets.VERCEL_TOKEN }} |
| # netlify.toml [build] command = “npm run build” publish = “build” |
– Setup Jenkins Pipeline: Define a Jenkins pipeline script in your repository.
| // Jenkinsfile pipeline { agent any stages { stage(‘Checkout’) { steps { checkout scm } } stage(‘Install Dependencies’) { steps { sh ‘npm install’ } } stage(‘Build’) { steps { sh ‘npm run build’ } } stage(‘Deploy’) { steps { sh ‘netlify deploy –prod’ } } } } |
| # Example of monitoring integration with GitHub Actions – name: Monitor Deployment uses: actions/http@v1 with: url: ‘<https://statuspage.example.com/deployment-status>’ method: ‘POST’ data: ‘{“status”:”success”}’ |
React Native for web development has gained traction among various high-profile companies, leveraging its capabilities to create dynamic and responsive web applications. Some notable examples include:
These examples and case studies illustrate the power and flexibility of using React Native for website development. By adopting this technology, companies can create robust, efficient, and user-friendly web applications that cater to modern demands.
If you’re looking to create a dynamic and responsive web application, Artoon Solutions offers expert React Native application development services. Our team specializes in leveraging React Native for both web and mobile platforms, including React Native for iOS, to deliver seamless and efficient solutions tailored to your business needs. Whether you’re starting a new project or looking to enhance an existing one, Artoon Solutions provides comprehensive support from initial concept to final deployment. Contact us today to learn how we can help you achieve your web development goals with our top-notch React Native expertise.

React Native for website development offers a robust, flexible, and efficient solution for building high-quality web applications that deliver a seamless user experience across multiple platforms. By leveraging its powerful features, such as component reusability, state management, and responsive design, developers can create scalable and maintainable websites. To start building your next web project with React Native and tap into its full potential, consider reaching out to React Native experts from Artoon Solutions.
Yes, React Native can be used for website development through the React Native for Web library, allowing developers to use a single codebase for both mobile and web applications.
Yes, using React Native for web is a good idea as it streamlines development, reduces costs, and ensures consistency across platforms.
The best UI library for React Native is often considered to be React Native Paper due to its comprehensive set of components and consistent design.
React Native is a frontend framework used for building user interfaces.
The most used React Native package is React Navigation, which provides robust navigation solutions for mobile apps.
Artoon Solutions
Artoon Solutions is a technology company that specializes in providing a wide range of IT services, including web and mobile app development, game development, and web application development. They offer custom software solutions to clients across various industries and are known for their expertise in technologies such as React.js, Angular, Node.js, and others. The company focuses on delivering high-quality, innovative solutions tailored to meet the specific needs of their clients.