Node js projects has revolutionized web development with its efficient, event-driven architecture, making it a popular choice for building a wide range of projects, from web applications to APIs and microservices. In this post, we’ll explore the fundamentals of Node.js projects and delve into the importance of adhering to best practices throughout the development process.
Following best practices is essential for ensuring the success and sustainability of Nodejs apps. By establishing a solid foundation from the outset, developers can mitigate common pitfalls, enhance code quality, and streamline the development workflow. Let’s dive into the world of Node.js projects and discover the key principles that drive success in this dynamic ecosystem.
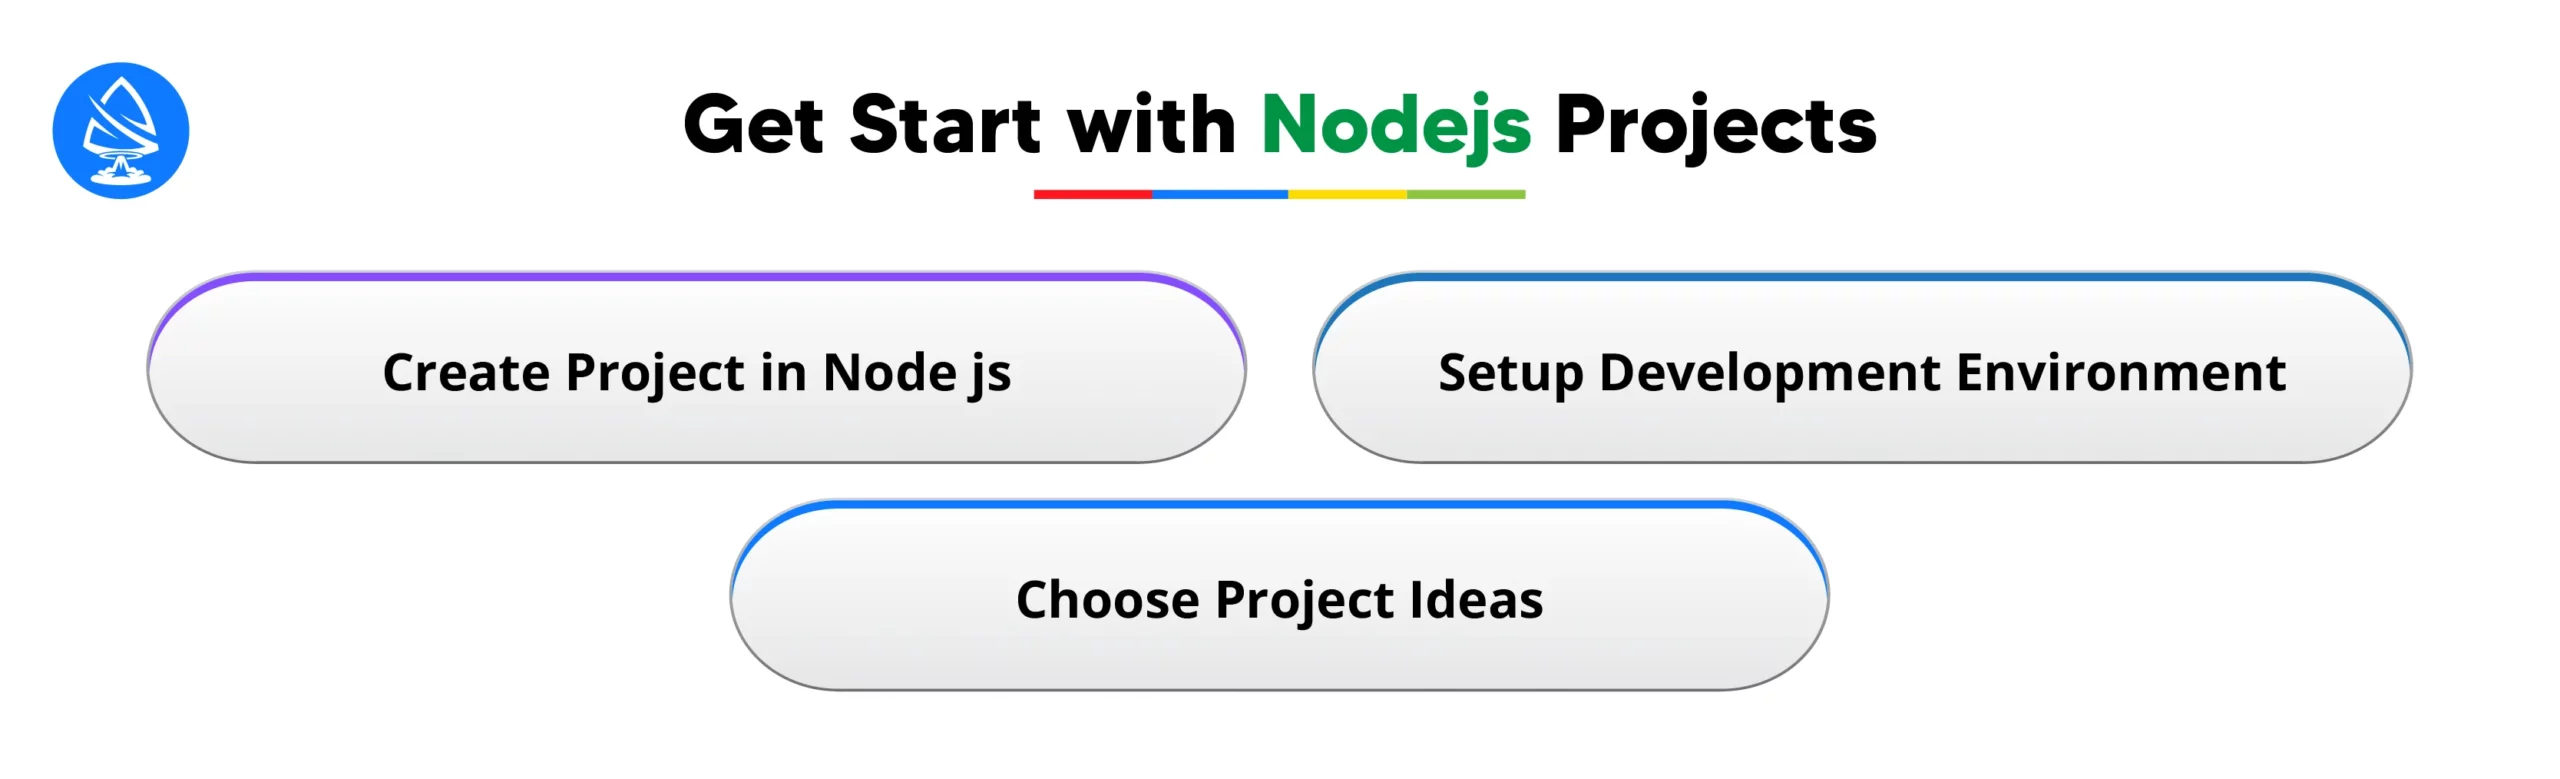
Getting Started with Node js Projects
To create Node js project is the first step towards building innovative applications and solutions. Here’s a comprehensive guide to kickstart your journey:
Create Project in Node js
Begin by initializing a new Node js project using npm or yarn. Navigate to your desired directory in the terminal and run npm init or yarn init to generate a package.json file. Follow the prompts to set up your project details such as name, version, description, entry point, etc.
Setting Up a Development Environment
When you start Node js project, Install Node.js and npm or yarn on your machine if you haven’t already. You can download and install Node.js from the official website or use a version manager like nvm for managing multiple Node.js versions.
Choose a code editor or IDE that suits your preferences and workflow. Popular options include Visual Studio Code, Sublime Text, Atom, and WebStorm.
Consider setting up additional tools and utilities such as version control (e.g., Git), linting tools (e.g., ESLint), and debugging tools to streamline your development process.
Choosing Project Ideas
Selecting the right project idea is crucial for your Node.js journey. Consider your interests, skills, and goals when brainstorming project ideas.
Start with a simple project to get acquainted with Node.js concepts and gradually move on to more complex projects as you gain confidence.
Some Node js project ideas to consider include:
Building a RESTful API with Express.js.
Creating a real-time chat application using Socket.IO.
Developing a blogging platform with MongoDB and Express.js.
Building a task management tool with authentication and authorization features.
Exploring IoT projects using Node.js for device communication and data processing.
By following these steps, you’ll be well-equipped to embark on your Node.js journey and start building exciting projects that showcase your skills and creativity.
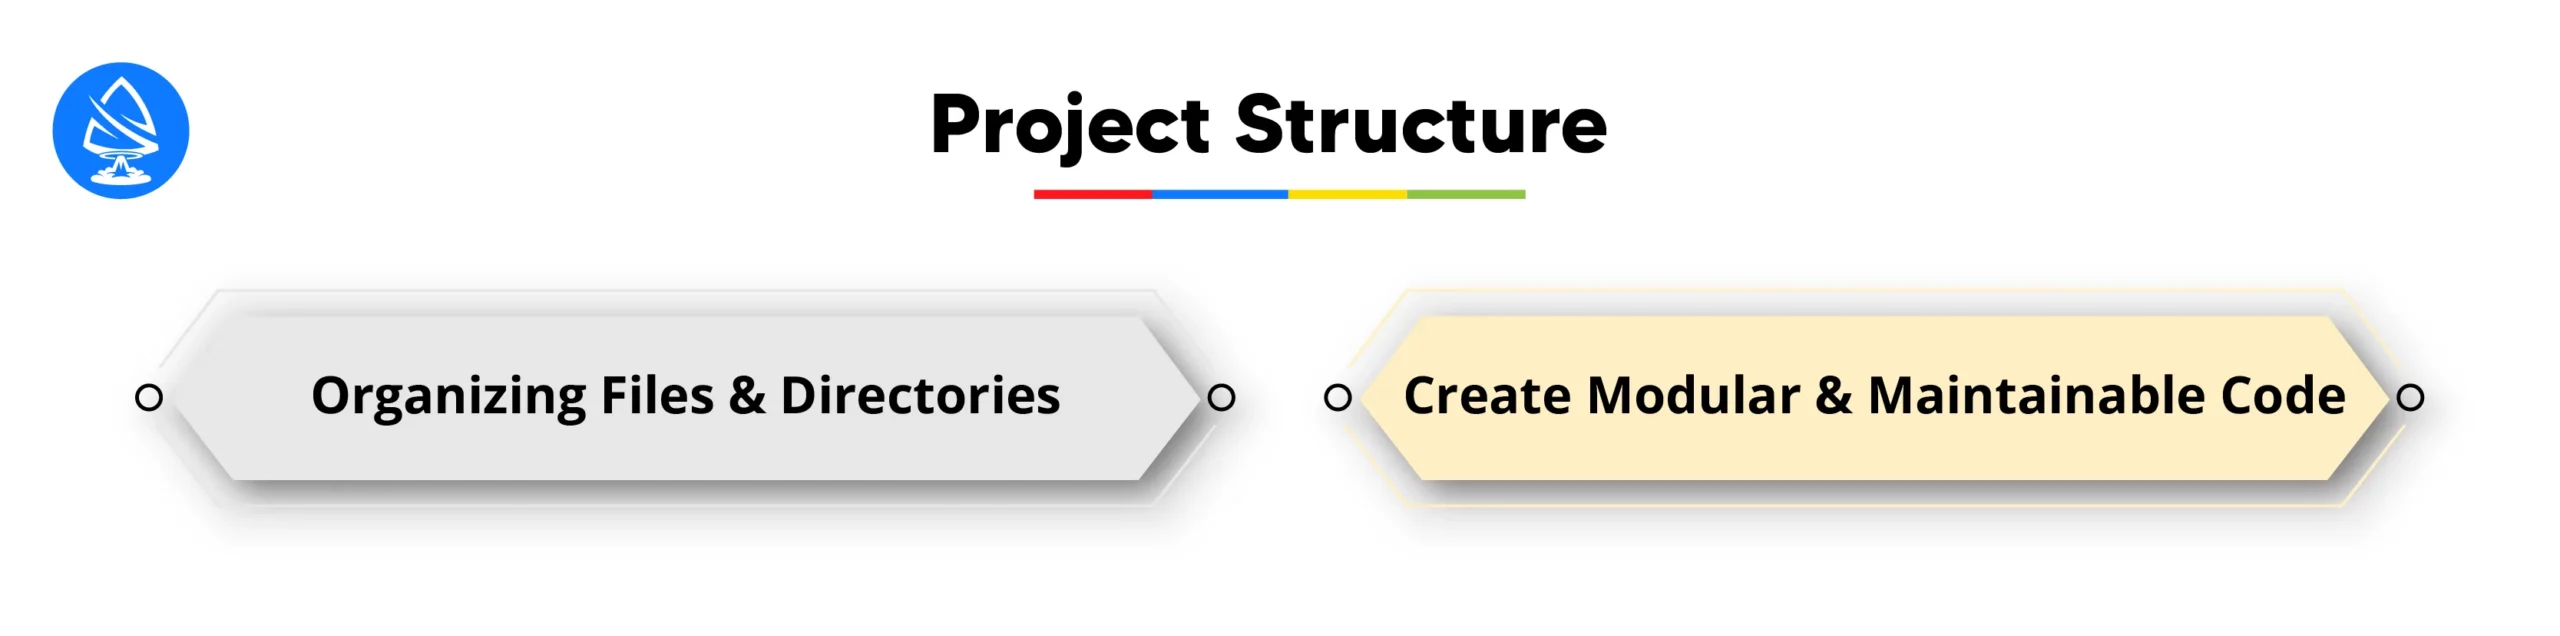
Establishing Node js Projects Structure
When you create project with Node js, Establishing a clear and organized Node js project structure is essential for maintaining code readability, scalability, and collaboration among team members. Here are some best practices to consider when structuring your Node.js project:
Organizing Files and Directories:
Separate your project Node js into logical modules and directories based on functionality. Common directories include src for source code, public for static assets (e.g., HTML, CSS, images), and test for unit tests.
Utilize a consistent naming convention for files and directories to enhance readability and maintainability. Consider using descriptive names that reflect the purpose of each module or component.
Group related files together within directories. For example, place all route handlers in a routes directory and all database-related code in a models directory.
Keep configuration files separate from source code to facilitate environment-specific configurations and reduce clutter in the main codebase.
Creating Modular and Maintainable Code:
When you start a Node js project, Embrace the principles of modularity and separation of concerns to keep your codebase clean and manageable. Break down complex functionalities into smaller, reusable modules that focus on specific tasks.
Use the CommonJS or ES6 module system to encapsulate code and prevent global namespace pollution. Export functions, classes, or objects from modules and import them only where needed.
Favor functional programming principles such as immutability, pure functions, and composition to write clean and predictable code. Avoid side effects and strive for code that is easy to reason about and test.
Implement design patterns such as MVC (Model-View-Controller) or middleware patterns to structure your application’s architecture and promote separation of concerns.
Regularly refactor and optimize your codebase to eliminate duplication, improve performance, and adhere to best practices. Keep your codebase agile and adaptable to changes in requirements or technology.
By following these best practices for organizing files and directories and creating modular, maintainable code, you can create new Node js project that are scalable, robust, and easy to maintain over time.
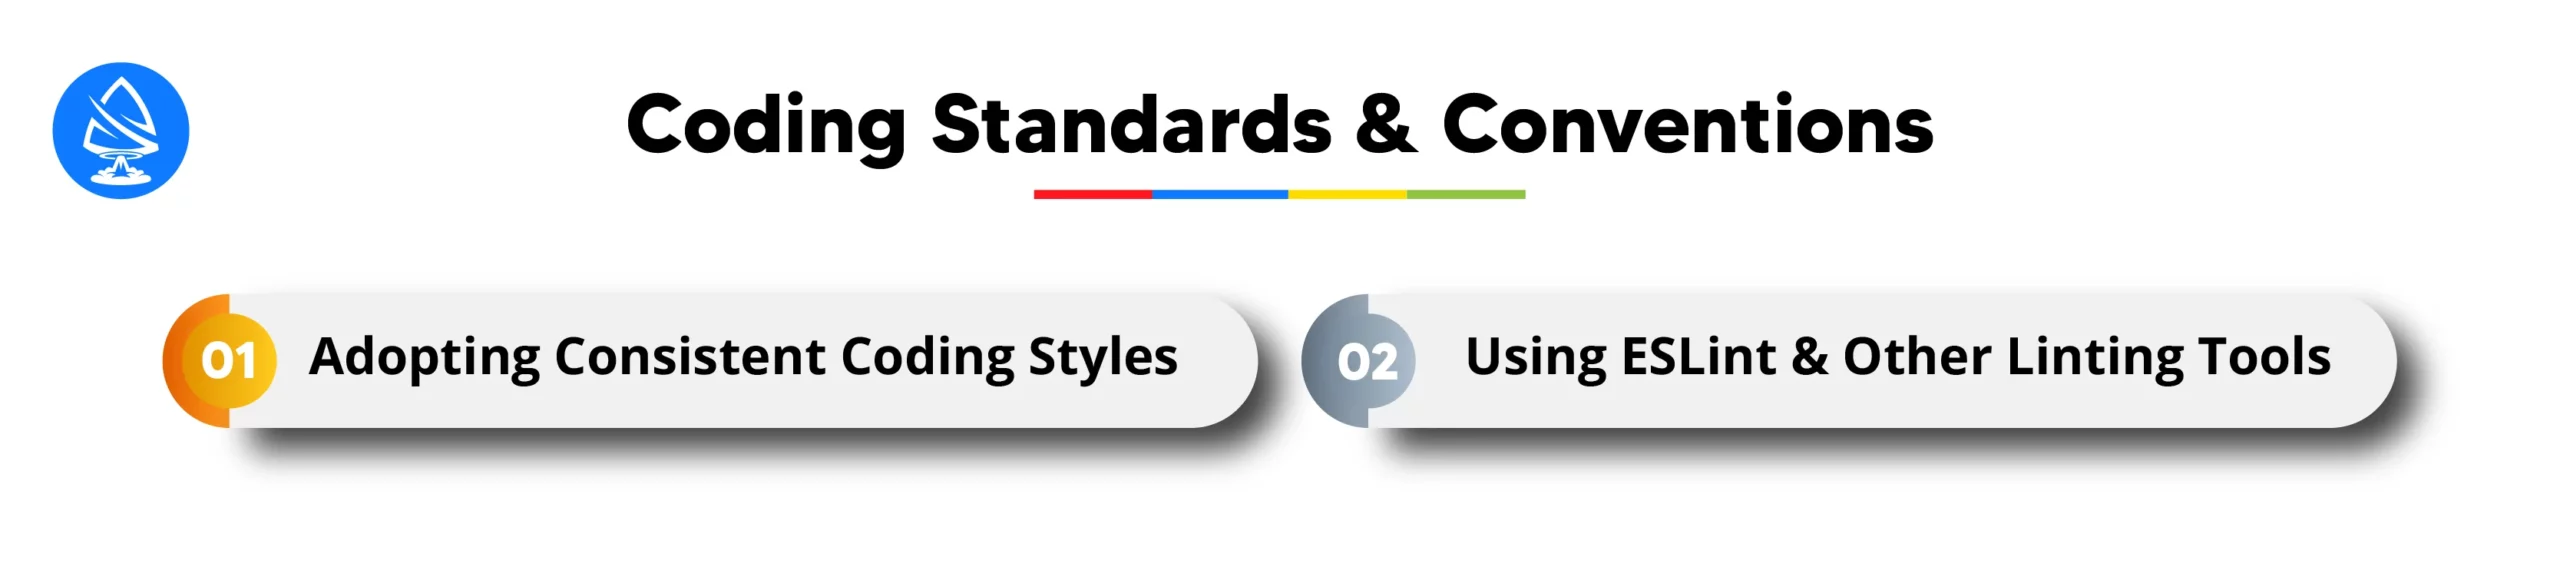
Coding Standards and Conventions
When you setup Node js project, Maintaining consistent coding styles and adhering to coding standards is crucial for improving code readability, collaboration, and maintainability in Node.js projects. Here’s how you can enforce coding standards and conventions effectively:
Adopting Consistent Coding Styles
Choose a coding style guide that aligns with your team’s preferences and project requirements. Common style guides include the Airbnb JavaScript Style Guide, Google JavaScript Style Guide, and StandardJS.
Define coding conventions for aspects such as indentation, variable naming, function declaration, and code formatting. Ensure that all team members are familiar with and follow these conventions consistently.
Consider using tools like Prettier to automatically format your code according to predefined style rules. Integrating Prettier into your development workflow can save time and reduce friction over style-related issues.
Using ESLint and Other Linting Tools
ESLint is a popular JavaScript linter that helps identify and enforce coding standards and best practices in your codebase. Configure ESLint to use your chosen style guide and ruleset to catch potential errors and stylistic inconsistencies.
Customize ESLint rules to fit your project’s specific requirements and preferences. ESLint offers a wide range of rules that cover various aspects of code quality, including potential errors, stylistic preferences, and best practices.
Integrate ESLint into your development workflow using build tools like webpack, gulp, or npm scripts. Set up pre-commit hooks to run ESLint checks automatically before committing code changes to version control.
Consider using additional linting tools and plugins to complement ESLint and catch additional issues specific to Node.js development, such as security vulnerabilities, performance bottlenecks, or deprecated APIs.
By adopting consistent coding styles and leveraging tools like ESLint, you can ensure that your Node.js projects maintain high code quality standards, improve collaboration among team members, and minimize potential errors and issues in the codebase.
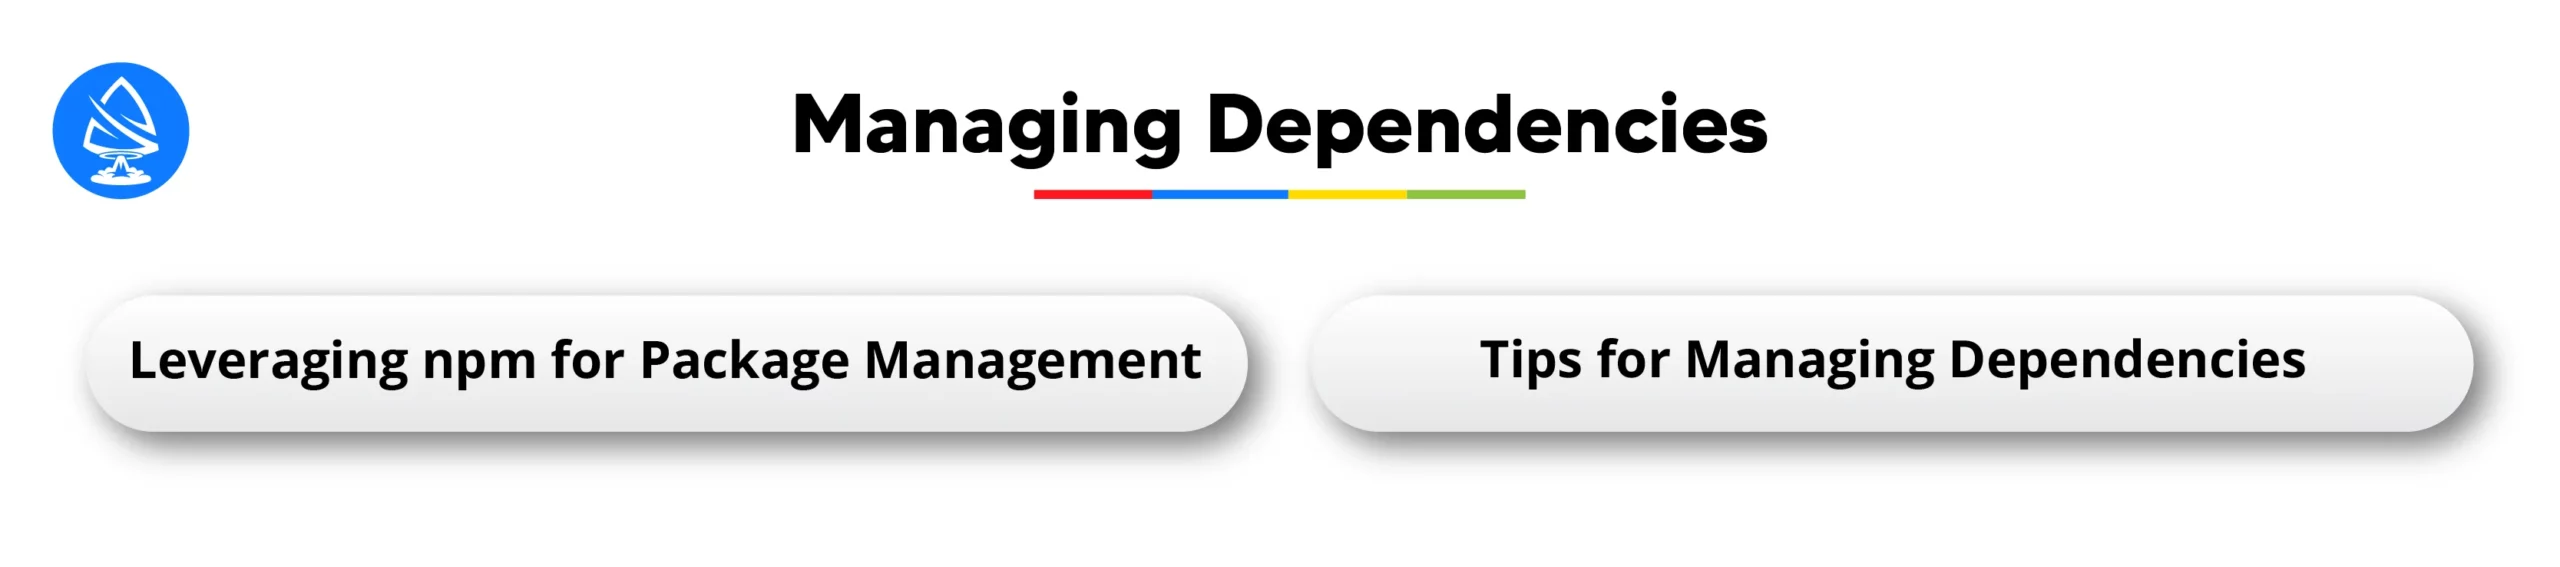
Efficiently managing dependencies is essential for maintaining the stability, performance, and security of your Node.js projects. Here’s how you can leverage npm for package management and optimize your dependency management process:
Leveraging npm for Package Management
npm (Node Package Manager) is the default package manager for Node.js and offers a vast repository of open-source packages for various functionalities.
Use npm to install, update, and remove dependencies for your project. Run npm install <package-name> to install a new dependency or npm update <package-name> to update an existing one.
Leverage the package.json file to define project metadata, including dependencies, devDependencies, scripts, and other configurations. Use semantic versioning (semver) to specify version ranges for dependencies and ensure compatibility with future updates.
Tips for Managing Dependencies Efficiently
Regularly audit your project’s dependencies to identify and address security vulnerabilities, outdated packages, or unnecessary dependencies. Tools like npm audit and npm outdated can help automate this process.
Minimize dependency bloat by only including essential packages that directly contribute to your project’s functionality. Avoid unnecessary dependencies to reduce the risk of compatibility issues, security vulnerabilities, and performance overhead.
Consider using lock files (e.g., package-lock.json or yarn.lock) to lock dependency versions and ensure deterministic installs across different environments. Lock files help prevent version mismatches and ensure consistent behavior when installing dependencies on different machines or during CI/CD pipelines.
Utilize npm scripts to automate common tasks related to dependency management, such as installing dependencies, running tests, and building production assets. Define custom scripts in the package.json file to streamline your development workflow and improve project maintainability.
By leveraging npm for package management and following these tips for managing dependencies efficiently, you can ensure that your Node.js projects remain well-organized, secure, and performant throughout their lifecycle. Regularly review and update dependencies to stay up-to-date with the latest advancements and best practices in the Node.js ecosystem.
Performance Optimization in Node js Projects
Optimizing the performance of your Node.js applications is crucial for delivering fast and responsive user experiences. Here are some techniques for improving performance and implementing effective caching strategies:
Techniques for Improving Node.js Application Performance
Utilize asynchronous I/O operations and non-blocking event-driven architecture inherent in Node.js to handle concurrent requests efficiently. Avoid blocking operations that can degrade performance, such as synchronous file I/O or CPU-bound tasks.
Implement code optimizations to reduce response times and enhance scalability. Use techniques like code minification, bundling, and tree shaking to optimize client-side JavaScript code. For server-side code, consider optimizing database queries, reducing unnecessary computations, and optimizing algorithmic complexity.
Leverage built-in Node.js performance monitoring tools like console.time() and console.timeEnd() to measure the execution time of specific code blocks and identify performance bottlenecks. Use profiling tools like Node.js Profiler or Chrome DevTools to analyze CPU and memory usage and identify areas for optimization.
Consider using clustering or load balancing techniques to distribute incoming requests across multiple Node.js processes or instances. This can help maximize CPU utilization and improve throughput and responsiveness for high-traffic applications.
Caching Strategies and Performance Monitoring
Implement caching mechanisms to store frequently accessed data or expensive computations in memory or external caches (e.g., Redis or Memcached). Use caching strategies like in-memory caching, client-side caching (e.g., browser caching), or server-side caching (e.g., caching HTTP responses) to reduce latency and improve performance.
Monitor key performance metrics such as response times, throughput, error rates, and resource utilization using monitoring tools like New Relic, Datadog, or Prometheus. Set up alerts and thresholds to proactively identify performance issues and take corrective actions before they impact users.
Regularly review and optimize your caching strategies based on usage patterns, data volatility, and performance requirements. Monitor cache hit rates, eviction rates, and cache invalidation patterns to ensure optimal cache performance and minimize cache-related bottlenecks.
By implementing these performance optimization techniques and caching strategies, you can enhance the speed, scalability, and responsiveness of your Node.js applications, providing a seamless user experience for your users while maximizing resource utilization and minimizing infrastructure costs.
Security Measures in Node js Projects
Ensuring the security of your Node.js applications is paramount to protect sensitive data, prevent unauthorized access, and maintain user trust. Here are key security measures to implement and protect against common vulnerabilities:
Implementing Security Best Practices
Enforce strong authentication and authorization mechanisms to control access to sensitive resources and endpoints. Utilize robust authentication methods like OAuth 2.0, JWT (JSON Web Tokens), or session-based authentication with secure cookies.
Apply the principle of least privilege to limit user permissions and access rights based on their roles and responsibilities. Avoid granting unnecessary privileges that could be exploited by attackers to escalate privileges or access unauthorized resources.
Encrypt sensitive data both at rest and in transit using industry-standard encryption algorithms and protocols (e.g., AES for data encryption, TLS/SSL for secure communication over the network). Implement secure data storage mechanisms and protect encryption keys and credentials from unauthorized access.
Implement input validation and output encoding to prevent injection attacks such as SQL injection, XSS (Cross-Site Scripting), and CSRF (Cross-Site Request Forgery). Sanitize user inputs, validate data formats, and encode output data to mitigate the risk of injection vulnerabilities.
Keep your Node.js dependencies up-to-date to address security vulnerabilities and vulnerabilities in third-party libraries. Regularly review and patch known vulnerabilities using vulnerability scanning tools like npm audit or third-party security scanners.
Protecting Against Common Vulnerabilities
Harden your Node.js application environment by implementing security headers, CSP (Content Security Policy), and CSRF protection mechanisms to mitigate common web application security risks. Configure server security settings to prevent information disclosure, directory traversal, and other common attack vectors.
Monitor and log security-related events and anomalies using centralized logging and monitoring solutions. Implement logging and auditing mechanisms to track user activities, detect suspicious behavior, and investigate security incidents effectively.
Conduct regular security assessments, code reviews, and penetration testing to identify and address security weaknesses in your Node.js applications. Follow secure coding practices, perform threat modeling, and adhere to security standards and guidelines (e.g., OWASP Top 10) to minimize the risk of security breaches.
By implementing these security measures and protecting against common vulnerabilities, you can strengthen the security posture of your Node.js applications and mitigate the risk of security breaches, data leaks, and unauthorized access. Prioritize security throughout the development lifecycle and stay vigilant against emerging threats to safeguard your applications and protect user data effectively.
Testing and Quality Assurance in Node js Projects
Effective testing and quality assurance practices are essential for ensuring the reliability, functionality, and performance of your Node.js applications. Here’s how you can enhance the quality of your codebase through comprehensive testing and CI/CD pipelines:
Writing Unit Tests with Frameworks like Jest or Mocha
Embrace a test-driven development (TDD) approach by writing unit tests before implementing new features or making changes to existing code. Use testing frameworks like Jest, Mocha, or Jasmine to write and run unit tests for individual components, functions, or modules.
Create test suites that cover different aspects of your application, including edge cases, error handling, and boundary conditions. Write descriptive test cases with meaningful assertions to validate the behavior and outputs of your code under various scenarios.
Use mocking and stubbing techniques to isolate dependencies and simulate external interactions (e.g., database queries, API requests) during unit testing. Mock external dependencies using libraries like Sinon.js or Jest’s mocking utilities to ensure test determinism and independence.
Integrating Continuous Integration (CI) Pipelines
Set up CI/CD pipelines to automate the testing, building, and deployment processes of your Node.js applications. Use popular CI/CD platforms like Jenkins, Travis CI, CircleCI, or GitHub Actions to configure automated workflows that trigger on code commits or pull requests.
Integrate unit tests, integration tests, and end-to-end (E2E) tests into your CI pipeline to validate code changes and prevent regressions. Run test suites in parallel across different environments to expedite feedback and ensure faster time-to-resolution.
Utilize code quality analysis tools like SonarQube or Codecov to measure code coverage, detect code smells, and identify potential areas for improvement. Monitor test results and code quality metrics in your CI dashboard to track progress and identify trends over time.
Implement continuous deployment practices to automate the deployment of tested and validated code changes to production environments. Use deployment strategies like blue-green deployments or canary releases to minimize downtime and mitigate risks during deployment.
By incorporating unit testing with frameworks like Jest or Mocha and integrating CI/CD pipelines into your development workflow, you can enhance the quality, reliability, and maintainability of your Node.js applications. Adopting a test-driven approach and embracing automation will help you deliver high-quality software with confidence and efficiency.
Documentation in Node js Projects
Thorough documentation is essential for ensuring the usability, maintainability, and scalability of your Node.js projects. Here’s why documentation is important and how you can effectively document your projects:
Importance of Thorough Documentation
Documentation serves as a comprehensive guide for developers, stakeholders, and users to understand the architecture, functionality, and usage of your Node.js projects. It provides valuable context and insights into the project’s design decisions, implementation details, and API contracts.
Well-documented code promotes collaboration and knowledge sharing among team members by providing clear explanations, code examples, and usage instructions. It enables developers to onboard quickly, troubleshoot issues efficiently, and make informed decisions when extending or modifying the codebase.
Documentation enhances the maintainability and longevity of your projects by facilitating code review, refactoring, and future enhancements. It acts as a roadmap for navigating the codebase, identifying dependencies, and tracing the flow of data and control within the application.
Comprehensive documentation improves the user experience by providing user guides, tutorials, and troubleshooting resources. It empowers users to leverage the full capabilities of your Node.js applications, configure settings, and troubleshoot common issues independently.
Tools and Strategies for Documenting Node.js Projects
Choose the appropriate documentation format based on your project’s requirements and audience preferences. Common documentation formats include README files, API documentation, developer guides, and tutorials.
Use Markdown or reStructuredText syntax to write README files and documentation pages. These lightweight markup languages offer a simple yet expressive way to format text, include code snippets, and add hyperlinks and images.
Leverage documentation generators and tools to automate the process of generating API documentation from code comments and annotations. Popular documentation generators for Node.js projects include JSDoc, Swagger, and API Blueprint.
Integrate documentation into your development workflow using version control systems like Git and hosting platforms like GitHub or GitLab. Keep documentation up-to-date with code changes and leverage collaborative editing features to facilitate contributions from team members.
Include key sections in your documentation such as project overview, installation instructions, usage examples, configuration options, API reference, troubleshooting tips, and contribution guidelines. Organize content logically and provide clear navigation to help users find relevant information quickly.
By prioritizing thorough documentation and leveraging tools and strategies to document your Node.js projects effectively, you can enhance transparency, collaboration, and usability, ultimately leading to a more successful and sustainable development process.
Version Control and Collaboration in Node js Projects
Version control and collaboration are integral aspects of successful software development projects, enabling teams to work together efficiently and track changes effectively. Here’s how you can leverage Git for version control and collaborate with teams using platforms like GitHub or GitLab:
Using Git for Version Control
Git is a distributed version control system (VCS) widely adopted in the software development community for tracking changes to codebases, coordinating collaborative work, and managing project history.
Initialize a Git repository in your Node.js project directory using the git init command. Commit your initial codebase using git add . to stage changes and git commit -m “Initial commit” to create a new commit.
Leverage Git’s branching and merging capabilities to manage feature development, bug fixes, and releases effectively. Create feature branches for implementing new features or fixing bugs, and merge them back into the main branch (e.g., master or main) using pull requests or merge requests.
Use Git tags to mark important milestones or releases in your project history. Tag releases with version numbers (e.g., v1.0.0) to track releases and facilitate deployment and rollback procedures.
Collaborating with Teams using Platforms like GitHub or GitLab
Platforms like GitHub and GitLab provide centralized hosting and collaboration features for Git repositories, making it easier for teams to collaborate, review code, and manage project workflows.
Create a remote repository on GitHub or GitLab and push your local Git repository to the remote repository using the git remote add origin <remote-url> and git push -u origin <branch-name> commands.
Use pull requests (GitHub) or merge requests (GitLab) to propose changes, review code, and discuss modifications with team members. Request reviews from colleagues, address feedback, and iterate on changes before merging code into the main branch.
Leverage collaboration features such as issue tracking, project boards, and wikis to coordinate tasks, prioritize work, and document project progress. Use labels, milestones, and assignees to categorize and track issues effectively.
Integrate third-party tools and services with GitHub or GitLab using webhooks, API integrations, or built-in marketplace apps. Automate repetitive tasks, such as continuous integration, code analysis, and deployment, to streamline your development workflow.
By using Git for version control and collaborating with teams using platforms like GitHub or GitLab, you can streamline your development process, foster collaboration among team members, and ensure the integrity and reliability of your Node.js projects.
Deployment in Node js Projects
Deploying Node.js applications effectively is crucial for making them accessible to users and ensuring their availability, scalability, and performance. Here are strategies for deploying Node.js applications and hosting options along with deployment best practices:
Strategies for Deploying Node.js Applications
Choose deployment strategies based on your project requirements, scalability needs, and infrastructure preferences. Common deployment strategies include:
Self-hosted deployment: Deploy Node.js applications on your own servers or virtual machines using tools like Docker, Kubernetes, or traditional web servers (e.g., Nginx, Apache).
Platform-as-a-Service (PaaS) deployment: Utilize cloud platforms like Heroku, AWS Elastic Beanstalk, Google App Engine, or Microsoft Azure App Service to deploy and manage Node.js applications without worrying about infrastructure management.
Serverless deployment: Embrace serverless architectures using AWS Lambda, Azure Functions, Google Cloud Functions, or other Function-as-a-Service (FaaS) platforms to run Node.js code in response to events without managing servers or infrastructure.
Implement blue-green deployments, canary releases, or rolling updates to minimize downtime and risk during deployment. Use deployment automation tools like Jenkins, Travis CI, or CircleCI to orchestrate and automate deployment pipelines.
Hosting Options and Deployment Best Practices
Choose hosting providers and services that align with your project requirements, budget, and performance expectations. Consider factors such as uptime guarantees, scalability options, geographic locations, security features, and pricing models.
Optimize your Node.js application for deployment by configuring environment variables, optimizing dependencies, and bundling assets for production. Use environment-specific configurations to customize behavior across different deployment environments (e.g., development, staging, production).
Monitor and measure key performance metrics such as response times, throughput, error rates, and resource utilization after deployment. Use monitoring tools like New Relic, Datadog, or Prometheus to detect anomalies, troubleshoot issues, and optimize performance.
Implement security best practices to protect your deployed applications from common threats and vulnerabilities. Use HTTPS for secure communication, implement access controls and authentication mechanisms, and regularly update dependencies and patches to address security vulnerabilities.
Implement automated backups, disaster recovery plans, and rollback procedures to mitigate risks and ensure data integrity and availability in case of deployment failures or unforeseen incidents.
By leveraging deployment strategies, hosting options, and deployment best practices, you can deploy Node.js applications efficiently, minimize downtime and risks, and provide users with reliable, scalable, and secure experiences. Stay informed about emerging technologies and best practices in deployment to continuously optimize and enhance your deployment processes.
Get in Contact with Artoon Solutions
Artoon Solutions stands out as a leading Node js development company, renowned for its expertise and proficiency in crafting innovative solutions. With a dedicated team of skilled developers, Artoon Solutions excels in leveraging the power of Node.js to build robust and scalable applications tailored to meet diverse business needs.
With a reputation for reliability, transparency, and innovation, Artoon Solutions emerges as the go-to partner for businesses seeking cutting-edge Node.js solutions. Whether you’re a startup, SME, or enterprise, partnering with Artoon Solutions guarantees access to top-notch Node.js development services tailored to drive your business forward.
Wrapping Up!
Successful Node js projects hinge on adherence to best practices across coding standards, project structure, documentation, performance optimization, security measures, and testing. Leveraging version control, collaboration tools, effective deployment strategies, and hosting options is essential. By prioritizing these practices, developers can ensure the efficiency, reliability, and scalability of their applications, ultimately meeting user and stakeholder needs both presently and in the future. Hire Node js programmers from Artoon Solutions as we’re the best Node.js development company.
FAQs
1. How do I structure my Node js projects?
Organize your project into separate modules for routes, controllers, models, and middleware to maintain a clean and scalable codebase.
2. Is Node.js good for big projects?
Yes, Node.js is suitable for big projects due to its asynchronous, non-blocking nature, which allows for handling large volumes of concurrent requests efficiently.
3. How to optimize Node.js performance?
Optimize performance by minimizing blocking I/O operations, caching frequently accessed data, and leveraging clustering or load balancing for scalability.
4. What do you do to ensure proper use of Node?
Follow best practices, such as modularizing code, implementing error handling, conducting code reviews, and utilizing performance monitoring tools.
5. What are the best practices for securing a Node.js application?
Implement authentication and authorization mechanisms, sanitize user input, use HTTPS for secure communication, keep dependencies updated, and conduct regular security audits.
Written By :
Artoon Solutions
Artoon Solutions is a technology company that specializes in providing a wide range of IT services, including web and mobile app development, game development, and web application development. They offer custom software solutions to clients across various industries and are known for their expertise in technologies such as React.js, Angular, Node.js, and others. The company focuses on delivering high-quality, innovative solutions tailored to meet the specific needs of their clients.