- HR:+91-879-9184-787
- Sales:+91-908-163-7774

This is a comprehensive guide on create a game in unity. From importing game assets to setting up the game environment, scripting, testing, and optimization techniques, we cover every step of the game development process. Explore the fundamentals and advanced strategies for bringing your game ideas to life in Unity.
Are you keen on create a game in Unity? Unity game engine stands as one of the top gaming engines worldwide and empowers developers to build games for different platforms.
Unity ranks among the top choices for game development, widely used by both experts and newcomers. Its intuitive interface, robust features, and extensive support community make game development achievable for all skill levels. Whether you’re an experienced coder or a beginner, Unity makes game development accessible to everyone.
In this article, we’ll explore the process of creating a game in Unity, starting with setting up your project and culminating in showcasing your final creation. Let’s dive into the exciting journey of create a game in Unity!

To create a game in Unity, you first need to download and install the Unity Hub. The Unity Hub is a centralized management tool that allows you to manage your Unity projects, installations, and more. Once you have installed Unity Hub, you can create a new project and select the desired settings for your game.
The Unity interface consists of various panels and windows that allow you to design and develop your game. Familiarize yourself with the Scene view, Game view, Hierarchy, Project, and Inspector panels to navigate through your project efficiently. The Unity Editor interface consists of various panels, windows, and menus that allow developers to create, edit, and manage game assets, scenes, scripts, and settings.
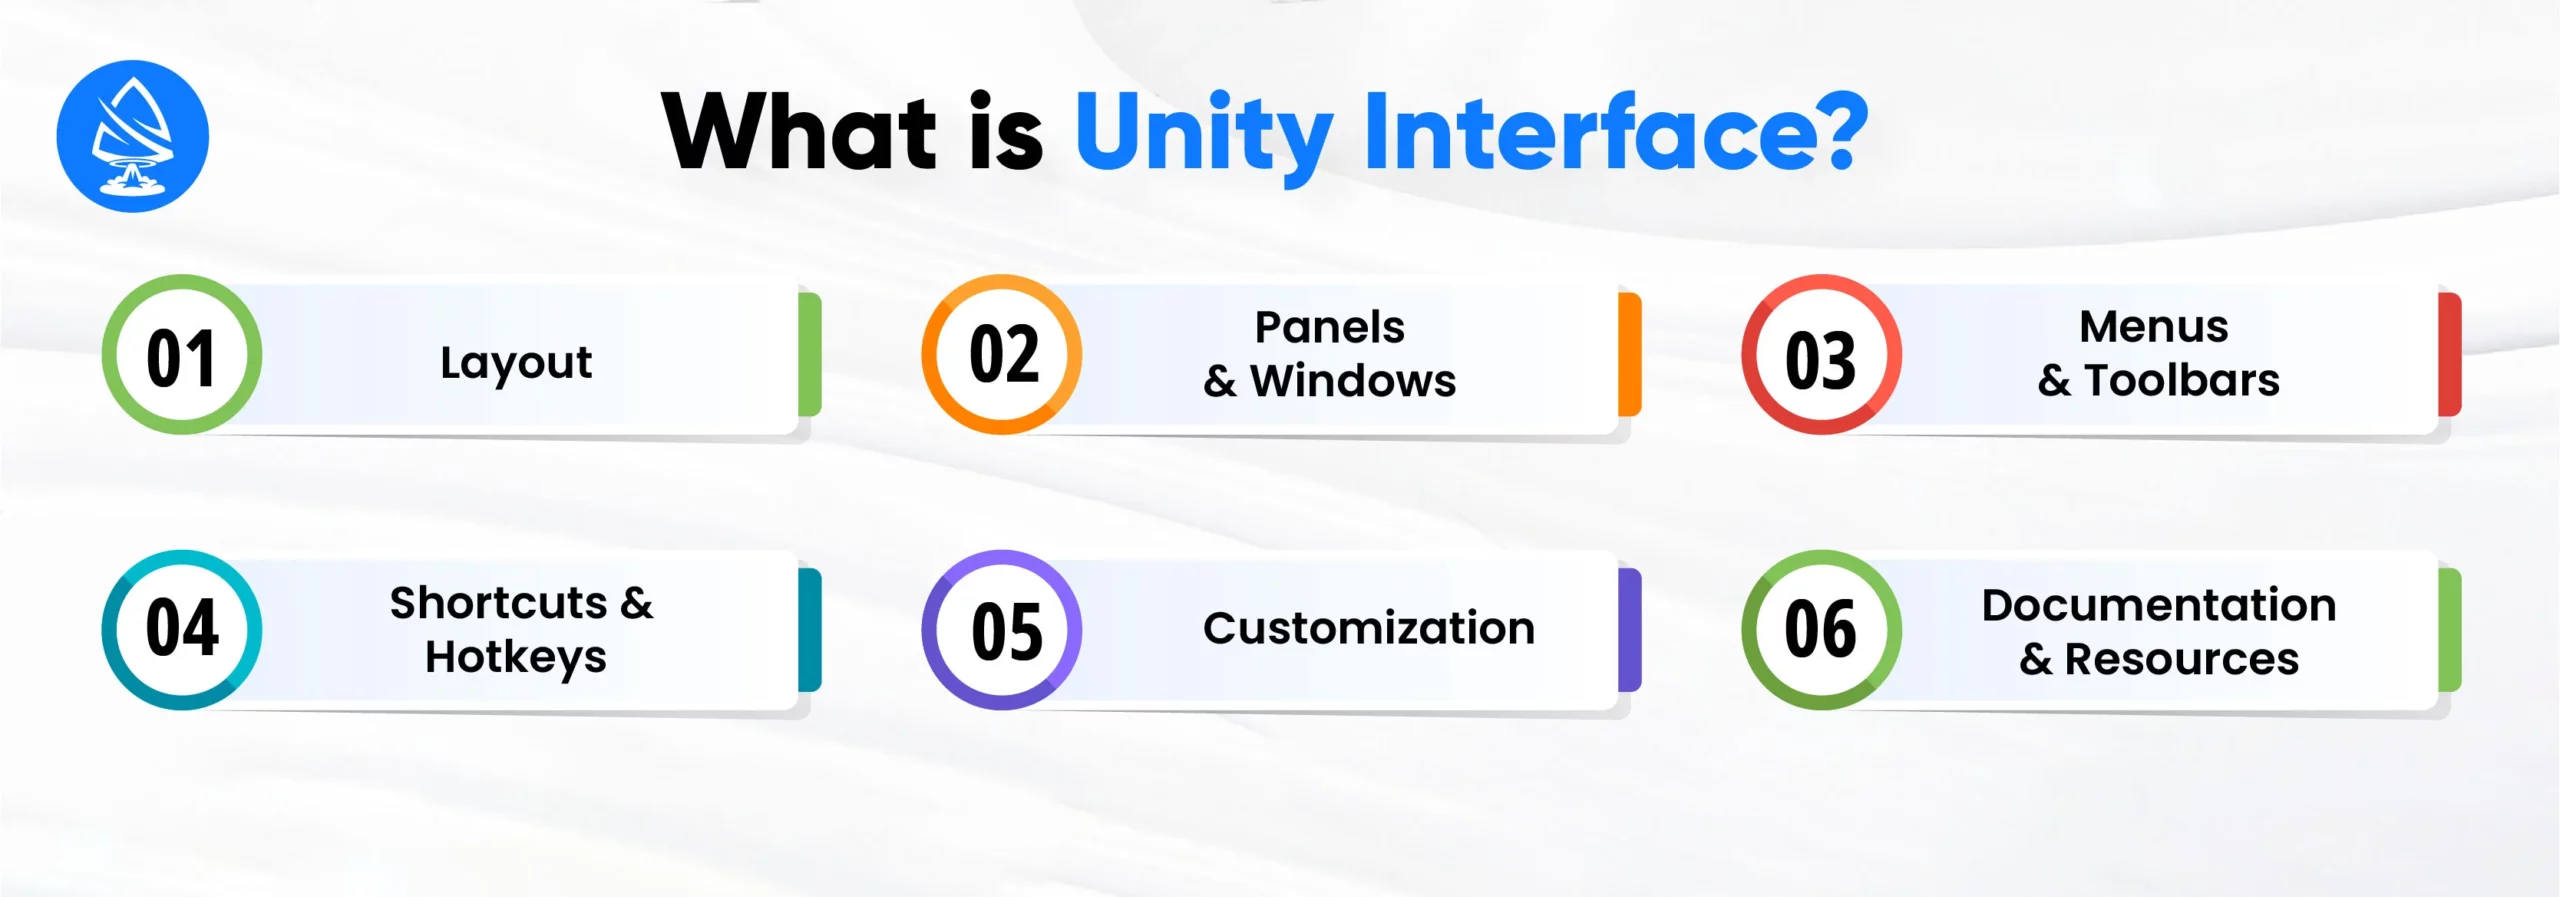
Here are some key aspects of understanding the Unity interface:
Familiarize yourself with the layout of the Unity Editor, including the Scene view, Game view, Hierarchy window, Project window, Inspector window, and Console window. Understanding how these elements are organized and interact with each other is essential for efficient navigation and workflow.
Learn about the different panels and windows in the Unity Editor and their respective purposes. For example, the Scene view allows you to manipulate and visualize scenes in 3D space, while the Inspector window displays properties and settings of selected GameObjects.
Explore the various menus and toolbars in the Unity Editor, such as the Main Menu, Toolbar, and GameObject menu. These menus provide access to a wide range of commands, tools, and functionalities for game development tasks.
Get acquainted with common shortcuts and hotkeys used in the Unity Editor to streamline your workflow and perform tasks more efficiently. Learning keyboard shortcuts for frequently used commands can significantly speed up your development process.
Customize the Unity Editor interface to suit your preferences and workflow. Unity allows you to rearrange panels, create custom layouts, and save layout presets to optimize your workspace for different tasks and projects.
Take advantage of Unity’s documentation, tutorials, and online resources to deepen your understanding of the Unity interface and its features. Unity’s official documentation provides detailed information and tutorials on using various editor features and functionalities.
When creating a new project in Unity, you have the option to choose between a 2D or 3D project. Select the appropriate project template based on the type of game you want to create. You can always switch between 2D and 3D settings later in the project. Creating a 2D game in Unity can be a tough ask if you haven’t set up the project well.
This is the initial step in the game development process using Unity. It involves setting up a new project in the Unity Editor, defining project settings, and organizing project files and folders. Here’s a detailed explanation of each step:
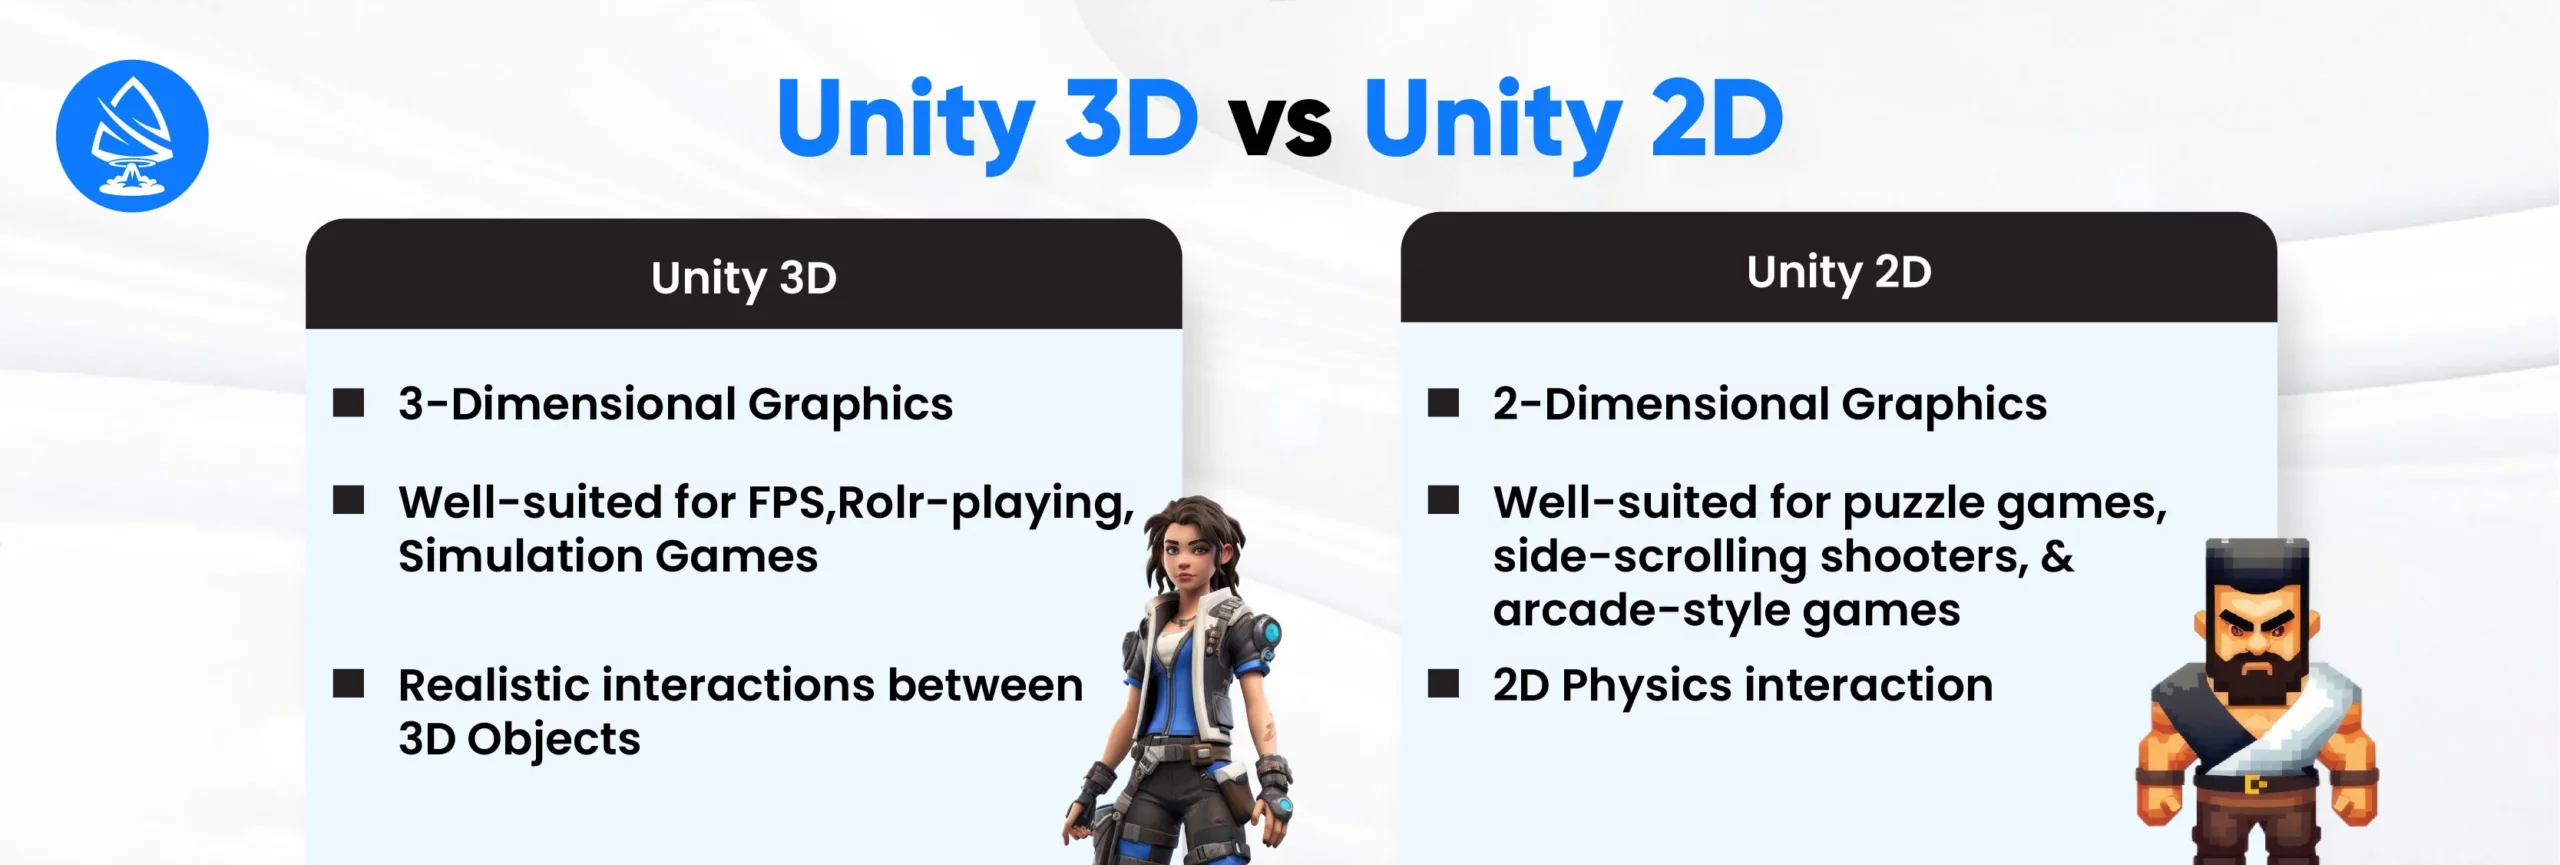
Unity supports both 2D and 3D game development. While 2D games focus on flat graphics and side-scrolling gameplay, 3D games offer a more immersive experience with depth and life-like visuals. Choose the dimension that best suits your game concept. Here’s a brief difference between Unity 3D and Unity 2D:
Once you decide between Unity 3D or Unity 2D game, now you will have to import game assets into Unity. Importing game assets into Unity is a fundamental aspect of game development. It allows developers to use external resources to create engaging and immersive gaming experiences.
The process of importing game assets into Unity involves the following steps:
Before importing assets into Unity, they need to be prepared in a compatible format. For example, 3D models should be exported in a file format supported by Unity (e.g., .fbx, .obj) and textures should be saved in appropriate image formats (e.g., .png, .jpg).
Launch the Unity Editor and open the Unity project where you want to import the assets.
Drag and drop the asset files (e.g., 3D models, textures) directly into the Unity Editor window, or
Use the “Import” button in the Unity Editor to browse for asset files on your computer and import them into the project.
Unity provides various import settings for different types of assets. These settings allow you to configure how assets are imported and processed in the Unity project.
For example, when importing 3D models, you can adjust settings such as scale, rotation, and normals to ensure proper alignment and appearance in the Unity scene.
Once imported, assets are stored in the “Assets” folder of the Unity project. It’s important to organize assets into appropriate folders and subfolders to maintain a structured project hierarchy.
Unity provides features such as labels, tags, and filters to help organize and manage assets effectively.
After importing assets into Unity, you can use them in your game scenes by dragging and dropping them from the “Assets” folder into the Scene view or Hierarchy window.
Assets can be manipulated, positioned, and configured within the Unity Editor to create the desired visual and auditory elements of the game.
Once the game assets are created and set to be added, set up the game environment for game development. It includes creating and organizing scenes, setting up cameras, defining lighting conditions, and configuring other environmental elements to establish the desired atmosphere and gameplay experience. We will explore everything in detail.
Now comes the coding part, or the scripting part. It involves writing code to define the behavior, functionality, and interactions of game objects within a Unity project. Game made in Unity use C# as their primary scripting language, although it also supports JavaScript (UnityScript) and Boo.
Here’s an explanation of scripting in Unity:
In Unity, scripts are written in text files with a .cs (C#), .js (JavaScript), or .boo (Boo) extension.
You can create scripts directly within the Unity Editor by right-clicking in the Project window and selecting ‘Create > C# Script’ (or the relevant language), or by using an external code editor like Visual Studio or Visual Studio Code.
Once a script is created, it can be attached to GameObjects within the Unity scene.
Scripts define the behavior and functionality of the GameObject to which they are attached. For example, a script attached to a player character might control movement, input handling, and interactions.
Unity executes scripts at runtime based on predefined events and functions provided by the MonoBehaviour class, which is the base class for scripts in Unity.
MonoBehaviour functions such as Start() (which the system calls when it initializes the script instance), Update() (which the system calls once per frame), FixedUpdate() (which the system calls at fixed intervals for physics calculations), and various event-based functions like OnCollisionEnter() and They OnTriggerExit() are commonly used.
Scripts can access and interact with components that you attach to the GameObject.
You can access and manipulate components such as Rigidbody, Collider, Renderer, AudioSource, and others through script code to control the behavior and appearance of game objects.
You write scripts in the chosen scripting language (e.g., C#) using standard programming constructs such as variables, loops, conditionals, functions, and classes.
Unity’s API (Application Programming Interface) provides a wide range of classes and functions for interacting with the Unity engine, GameObjects, components, physics, input, audio, and more.
Unity provides tools for debugging and testing scripts during development.
Developers can use Unity’s built-in Debug class for logging messages, breakpoints, and stepping through code to identify and fix errors and issues in scripts.
Optimizing scripts for performance is important for maintaining smooth and responsive gameplay.
Best practices for script optimization include minimizing unnecessary calculations, reducing the use of expensive operations (e.g., complex physics calculations), and avoiding excessive allocations and memory usage.
After completing the coding part, the team tests and performs QA checks on the game, rigorously testing it across multiple devices and OS platforms to ensure the game is bug-free and provides a seamless experience to gamers. Testing is an essential part of the game development lifecycle and involves various techniques and approaches to identify and address issues and bugs.
Games made in Unity must go through all the testing processes as follows. Without these tests, the game can’t be completed.
Functional testing is crucial as it ensures that the core gameplay mechanics, features, and interactions of the game work as intended.
Test cases should cover essential gameplay elements such as player movement, combat, interaction with objects, AI behavior, level progression, and win/lose conditions.
Ensuring the functionality of these core aspects is essential for delivering a playable and enjoyable game experience.
Performance testing is critical for optimizing the game’s performance and ensuring smooth and responsive gameplay.
Test cases should focus on monitoring and improving frame rate, responsiveness to player input, loading times, and resource usage (CPU, GPU, memory).
Addressing performance issues early in development helps prevent gameplay disruptions, lag, and stuttering, which can negatively impact player immersion and satisfaction.
Compatibility testing ensures that the game works correctly on different hardware configurations, operating systems, and platforms.
Test cases should cover compatibility with various devices (PCs, consoles, mobile devices), operating systems (Windows, macOS, iOS, Android), and platform-specific requirements (input methods, screen resolutions, performance capabilities).
Ensuring broad compatibility expands the reach of the game and maximizes its accessibility to players across different environments.
Game developers consider functional, performance, and compatibility testing the most important because these directly impact the game’s core functionality, quality, and accessibility. By prioritizing these test cases and addressing any issues or deficiencies identified during testing, developers can ensure that their game meets quality standards, performs well, and provides an engaging and enjoyable experience for players.
Optimizing a Unity game maker is crucial to ensure smooth performance and responsiveness across various platforms and devices. By implementing optimization techniques, Unity developers can ensure that games run smoothly, perform well, and provide an optimal gameplay experience for players across different platforms and devices. Here are some of the optimization strategies used in Unity game development.
Texture Compression, Texture Atlas, and Mesh Optimization are essential for reducing memory usage and improving rendering performance by optimizing textures and 3D models.
Implementing Level of Detail (LOD), Batching, and Occlusion Culling helps minimize rendering workload and improve frame rates by dynamically adjusting object detail, combining draw calls, and preventing rendering of invisible objects.
Utilizing Unity’s Profiler tool and Frame Debugger allows developers to analyze CPU usage, GPU usage, memory usage, and rendering overhead to identify and address performance bottlenecks in the game.
Code Profiling and Memory Management techniques optimize script performance by identifying and optimizing CPU-intensive operations, loops, and memory usage in script code.
Configuring platform-specific build settings and stripping unused assets from the final build reduces build size and improves loading times for target platforms.
Compressing audio files and streaming audio dynamically minimize memory usage and improve audio performance by reducing file sizes and avoiding loading all audio files into memory simultaneously.
Implementing UI Batching and optimizing UI elements for responsiveness improves UI rendering performance by reducing draw calls and ensuring efficient layout techniques for UI elements.

Publishing your game is the final step in the game development process, where you prepare your game for distribution and release to players. Here’s an overview of the process of publishing your game:
Before publishing your Unity 3D game, ensure that your game meets the Unity 3D minimum requirements for the target platform. Consider factors such as hardware specifications, graphics capabilities, and performance standards to reach a broader audience.
Game development is a creative process that allows you to bring your ideas to life. With Unity’s powerful tools and resources, you can unleash your imagination and create games that captivate players worldwide. The points mentioned above are a roadmap to create a game in unity. So, in this ever-popular gaming market, are you looking forward to create game with unity? If so, then you are at the right place.
Artoon Solutions, one of the leading game development companies worldwide with experience of over 14+ years is here to help. Tell us your project requirements and take your game application to new heights. Hire Unity Developers Now!

The time it takes to create a game in Unity varies depending on the complexity of the game, your experience level, and the resources available. Simple games can be developed in a matter of weeks, while more elaborate projects may take several months or even years to complete.
Yes, Unity supports both 2D and 3D game development. You can choose the dimension that best suits your game concept and easily switch between 2D and 3D settings within the Unity platform.
Unity is highly beginner-friendly and is a popular choice for novice game developers. It provides extensive documentation, tutorials, and a supportive community to help beginners get started with game development. With dedication and practice, beginners can create impressive games using Unity.
The system requirements for Unity 3D game development depend on the complexity of your game and the target platform. Generally, you will need a computer with a decent CPU, GPU, and RAM to run Unity smoothly. Ensure that your system meets the minimum requirements specified by Unity for optimal performance.
There are several ways to monetize your Unity game, including in-app purchases, advertisements, sponsorships, and selling your game on digital platforms. You can also consider implementing a freemium model, offering premium content for purchase within the game. Explore different monetization strategies to generate revenue from your Unity game.
Artoon Solutions
Artoon Solutions is a technology company that specializes in providing a wide range of IT services, including web and mobile app development, game development, and web application development. They offer custom software solutions to clients across various industries and are known for their expertise in technologies such as React.js, Angular, Node.js, and others. The company focuses on delivering high-quality, innovative solutions tailored to meet the specific needs of their clients.