- HR:+91-879-9184-787
- Sales:+91-908-163-7774

React is a widely used JavaScript framework for building front-end applications. Created by Facebook, React has established a strong foothold in the developer community for constructing fast applications using an intuitive programming approach that combines JavaScript with an HTML-like syntax called JSX. ReactJS is a popular and extensively used front-end library for developing single-page apps. As a library, it can be installed via Create-React-App to facilitate the development of these applications.
Now, without further delay, let’s delve into what Create-React-App is.
Create-React-App is a tool or generator designed for new developers. It enables them to develop and run React projects without manual configuration. In other words, it eliminates the need to set up a build system like Webpack manually.
Create React App packages with all necessary dependencies, such as Babel and Webpack, for a React project. This allows you to focus solely on coding the React application. Furthermore, Create React App provides an excellent developer experience, sets up the development environment, and optimizes the production application.
Different toolchains are also used to meet various requirements in Reactjs web development. For example, Next.js is perfect for creating server-rendered websites, while Gatsby is best for building static websites focused on content, like blogs and newsletters.
Before diving into creating a React application, it’s crucial to ensure your development environment is correctly set up. Here are the essential prerequisites:
Node.js and npm Create-React-App: You must have Node.js and npm (Node Package Manager) installed on your desktop. Node.js can be downloaded from its official website, but ensure you have at least Node 14.0.0 installed, as Create React App requires Node 14 or higher. If you already have Node.js installed, make sure it is updated to the latest version, which is Node.js 21 at the time of writing.
Upgrade npm: To create a React app, you need npm version 5.2 or higher. Verify your npm version and upgrade it if necessary using the npm CLI.
Code Editor: A good code editor is essential for working with your project files. Visual Studio Code is highly recommended due to its powerful features and extensive range of extensions, making it an excellent choice for developing and managing React applications.
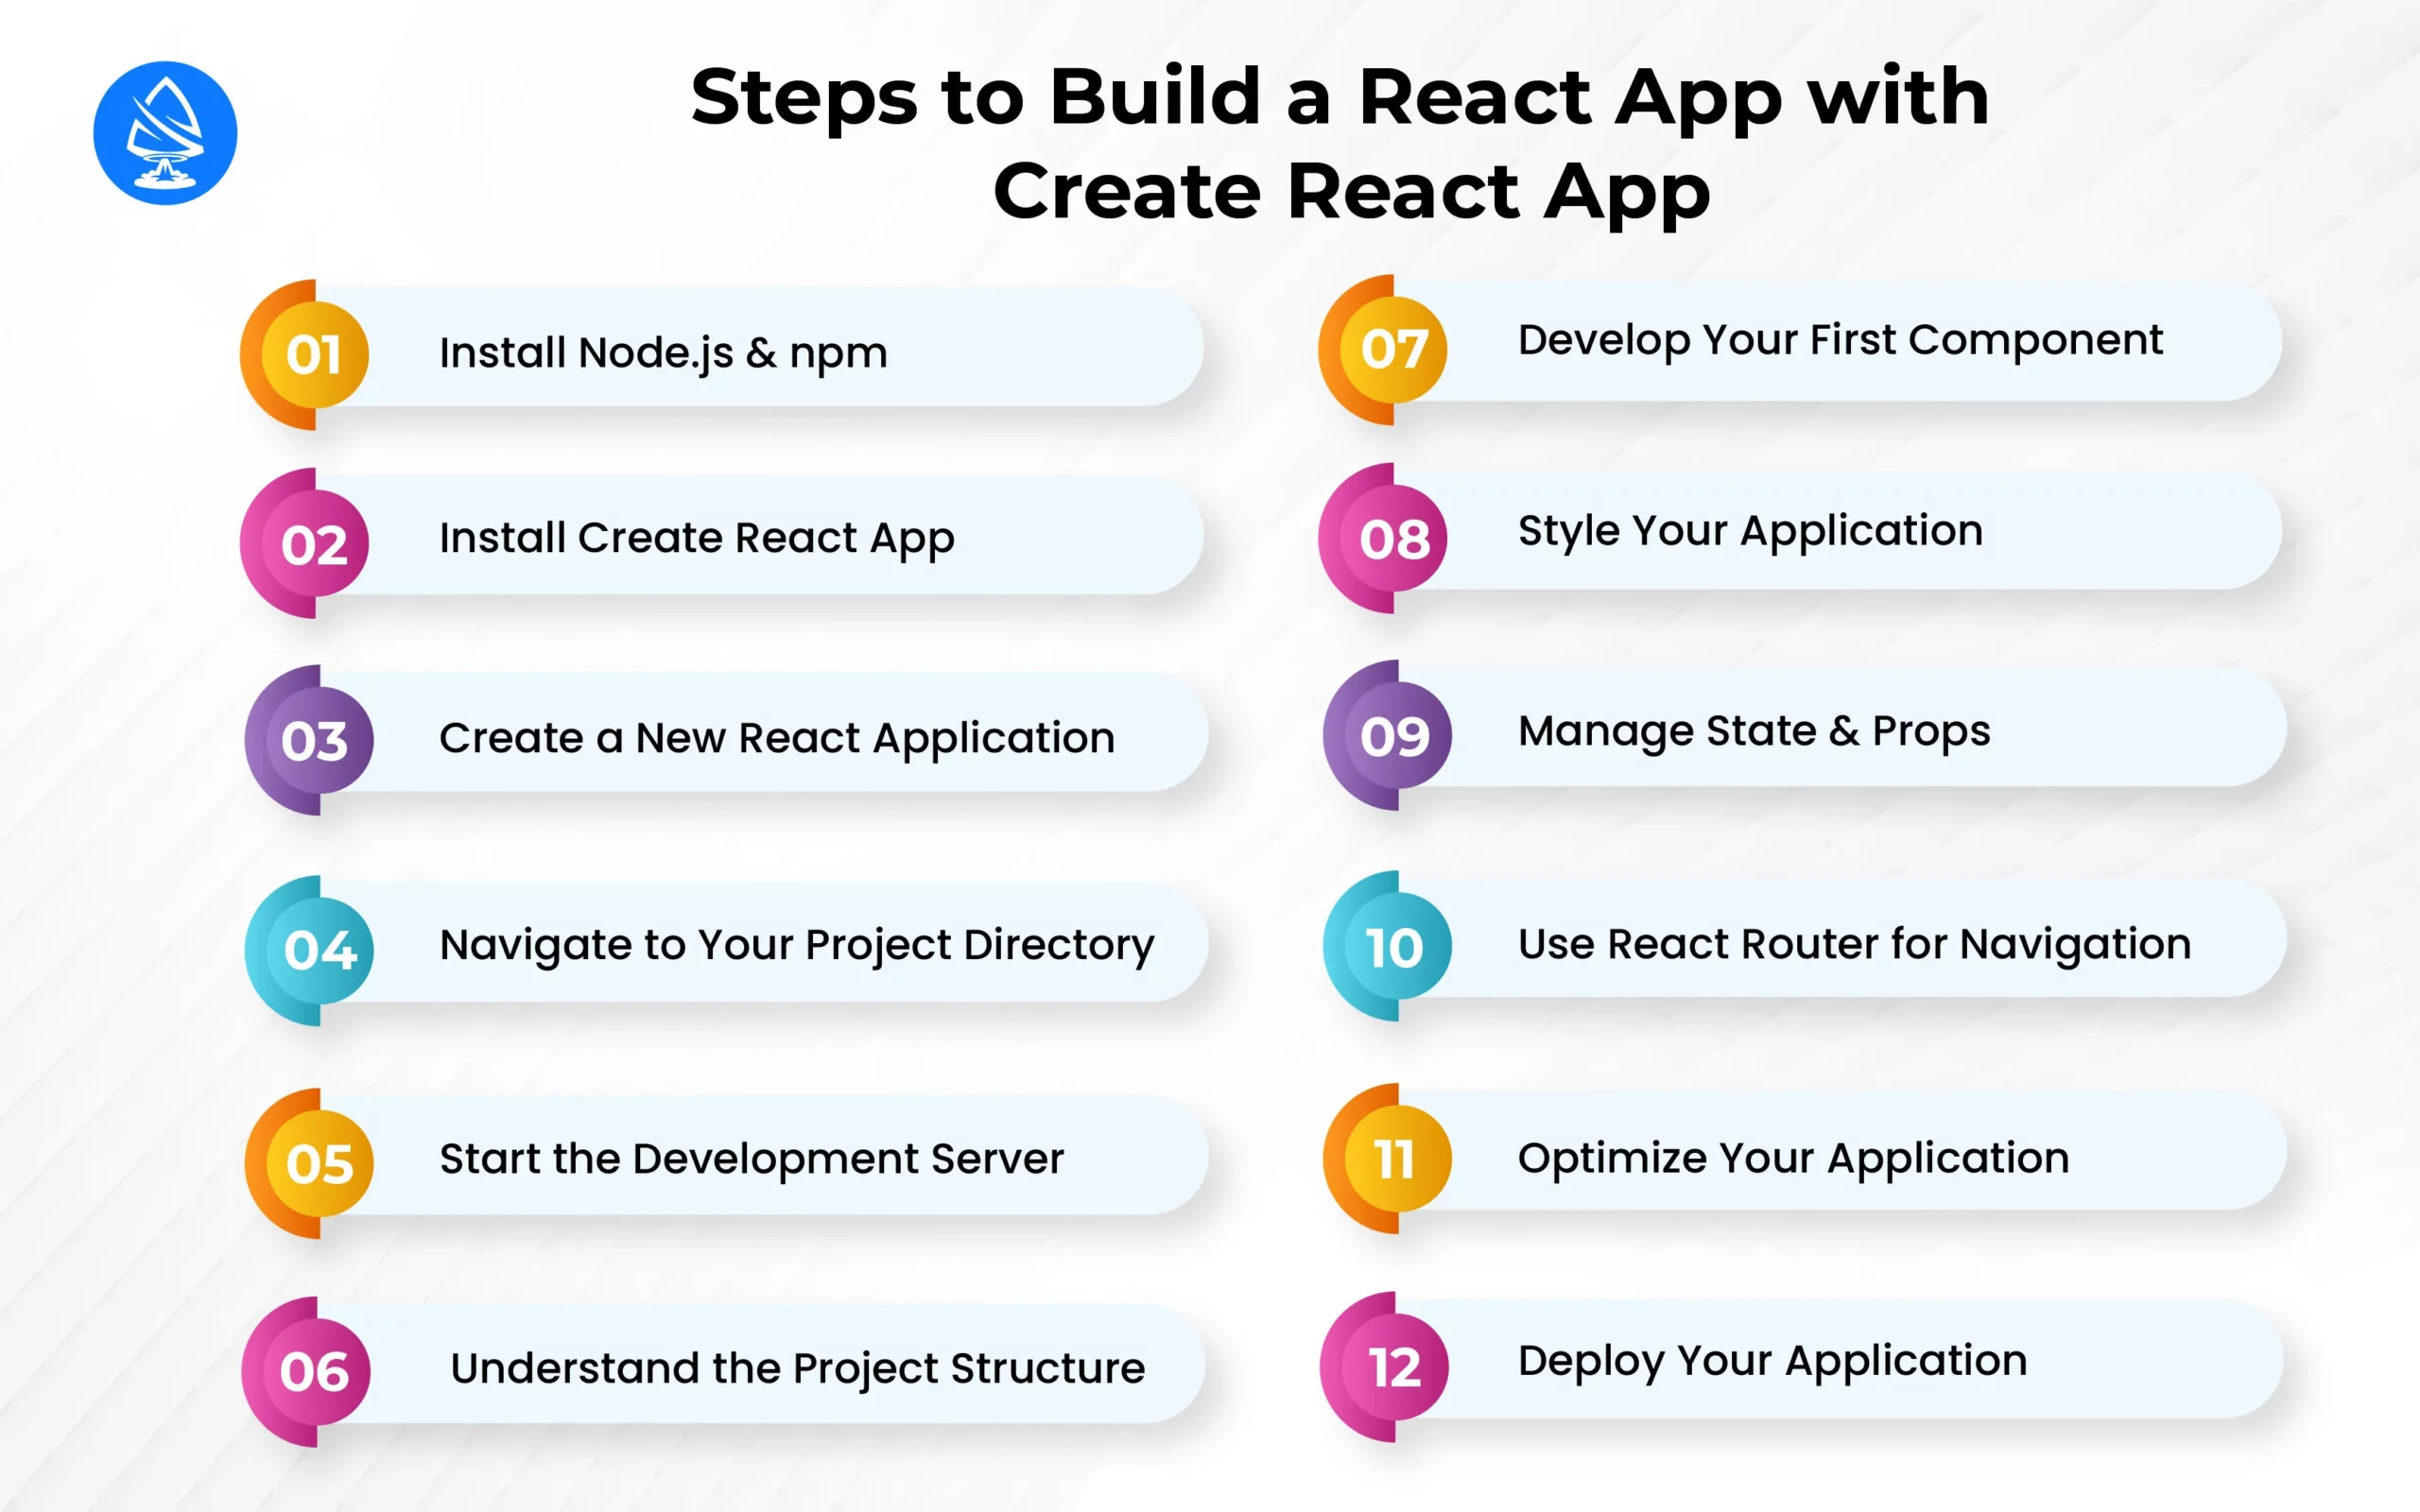
Building a React application using the Create React App is a simple process. Here are the detailed steps to build app with React:
Node.js and npm are essential tools for running and managing JavaScript packages. Follow these steps to ensure you have them installed:
Create React App is a command-line tool that simplifies the setup of a new React project. To install it globally on your system:
Global Installation: Install Create React App globally so you can use it to initialize new React projects from anywhere on your system.
Installation Process: The installation will configure your environment with the necessary build tools and dependencies required for React development.
With Create React App installed, you can create React application:
After creating the new project using the React Create app build, you need to navigate to the project directory:
To see your new React application in action, you need to start the development server. This server provides a local environment where you can develop and test your application. Here’s how to get it running when you create React application:
Navigate to your project directory using your terminal or command prompt.
Execute the command to start the server. This command initiates a local development server that serves your React application.
Once the server is running, it will automatically open a new browser window or tab.
Your React application will be loaded in this browser window, allowing you to see it in action.
The development server supports hot reloading, which means any changes you make to your code will be immediately reflected in the browser without needing a manual refresh.
This feature greatly enhances the development experience by providing instant feedback on your changes.
Starting the development server is a crucial step. It allows you to test your application in real-time, ensuring everything works as expected.
Once your application is up and running, take a moment to familiarize yourself with the project structure. Understanding the layout of your project files is essential for efficient development and maintenance. Here are the essential directories and files:
index.js, where the system renders the root component andApp.js, which functions as the main component of your application.
React applications are built using components, which are reusable pieces of the user interface. Here’s how to get started with developing your first component:
When you start with Create React App, a default component named App.js is provided.
This component serves as the main entry point for your application and is a good starting point for understanding how React components work.
Styling is an essential aspect of any web application. With Create React App, you have several options for styling your components. Here’s how you can approach styling your React application:
By choosing the right styling approach and organizing your styles effectively, you can build apps with React, ensuring a polished and professional style.
One of the core concepts in React is managing state and props. Here’s how to effectively use them:
Refers to the data managed within a component. It dictates the rendering and behavior of the component.
Props, short for properties, serve as data transmitted from one component to another, enabling communication and data sharing among components.
Understanding how to use state and props effectively is crucial for building dynamic and interactive applications. Create React App provides a robust environment in which to practice and implement these concepts seamlessly.
Navigate is key to building React single-page applications. React Router is a library that helps you manage navigation and rendering of components based on URL routes. Here’s how to use it:
Install React Router: Integrate React Router into your Create React App project.
Configure Routes: Define routes and their corresponding components to create a smooth and intuitive navigation experience for your users.
Optimization is essential for ensuring your React application runs efficiently. Here’s how to optimize your application when you build an app with React:
Code Splitting: Split your code into smaller chunks to load only the necessary parts of your application.
Lazy Loading: Load components only when they are needed, reducing the initial load time.
Optimize Images and Assets: Use optimized images and assets to improve loading times and overall performance.
Once your application is ready, deploying it to a web server is the final step. Here’s how to deploy your React application:
Build the Application: Use Create React App’s built-in scripts to build your application for production.
Choose a Deployment Platform: Follow specific deployment instructions for each platform to deploy to various services like GitHub Pages, Netlify, or traditional web servers.
Still confused about what is React? And how to build a web project? Artoon Solutions can help you to simplify the web development project.
Artoon Solutions is committed to providing top-notch ReactJS Development Services. As a leading React Development Company, we prioritize delivering exceptional solutions that meet and exceed our clients’ expectations. Whether you need assistance with project planning, development, or ongoing maintenance, our team of experienced React developers can help you achieve your objectives.
As a trusted next js development agency, we specialize in creating high-performance, scalable web applications using the latest Next.js features. Our expertise ensures that your projects benefit from server-side rendering, optimized SEO, and seamless user experiences, all tailored to your unique business needs.
Ready to turn your ideas into reality with Artoon Solutions? Call +91-832-0329-068 to schedule a free consultation. Let’s collaborate to bring your vision to life and craft innovative solutions that drive your business’s success! Hire React.js Developers from Artoon Solutions for your next react app development.
Create React App is used to set up a new React JS app development project with a modern build setup. It handles the configuration and setup needed to start a React application, allowing developers to focus on writing code.
Yes, Create React App is ideal for building single-page apps. It provides the necessary tools and setup to create efficient and scalable SPAs with React.
No, you don’t need to know Webpack or Babel to use the Create React App. The tool abstracts these configurations, allowing you to start coding without worrying about the underlying setup.
You can style your components using plain CSS, CSS modules, or libraries like styled components. Create React App provides flexibility in choosing the best styling approach for your project.
Deploying a React application created with Create React App can be done using built-in scripts. You can deploy to various services like GitHub Pages, Netlify, or traditional web servers by following the specific deployment instructions for each platform.
Artoon Solutions
Artoon Solutions is a technology company that specializes in providing a wide range of IT services, including web and mobile app development, game development, and web application development. They offer custom software solutions to clients across various industries and are known for their expertise in technologies such as React.js, Angular, Node.js, and others. The company focuses on delivering high-quality, innovative solutions tailored to meet the specific needs of their clients.