- HR:+91-879-9184-787
- Sales:+91-908-163-7774

Are you ready to delve into the intricacies of the Nodejs event loop and uncover the best practices to optimize its performance in 2024? As a developer working with Node.js, understanding how the event loop operates is crucial for building efficient and scalable applications. In this comprehensive guide, we will explore the various phases of the Node js event loop, discuss best practices for enhancing its efficiency, and highlight the importance of considering the event loop in your development process.
Before we dive into the specifics, let’s start with a brief overview of what the event loop is in the context of Node.js. The event loop is a fundamental part of Node.js that allows it to handle asynchronous operations efficiently. It ensures that your application remains responsive by processing tasks in a non-blocking manner.
To grasp how the event loop functions, it’s essential to understand its underlying mechanism. Node event loop continuously checks for tasks in the event queue and processes them one by one. This asynchronous processing enables Node.js to handle multiple operations executing simultaneously without getting bogged down by blocking tasks.
Node event loop is a fundamental concept that enables asynchronous, non-blocking I/O operations. It is essentially a mechanism that allows Node.js to perform tasks in a non-blocking manner, efficiently managing I/O operations and handling events.
Here is how it works:
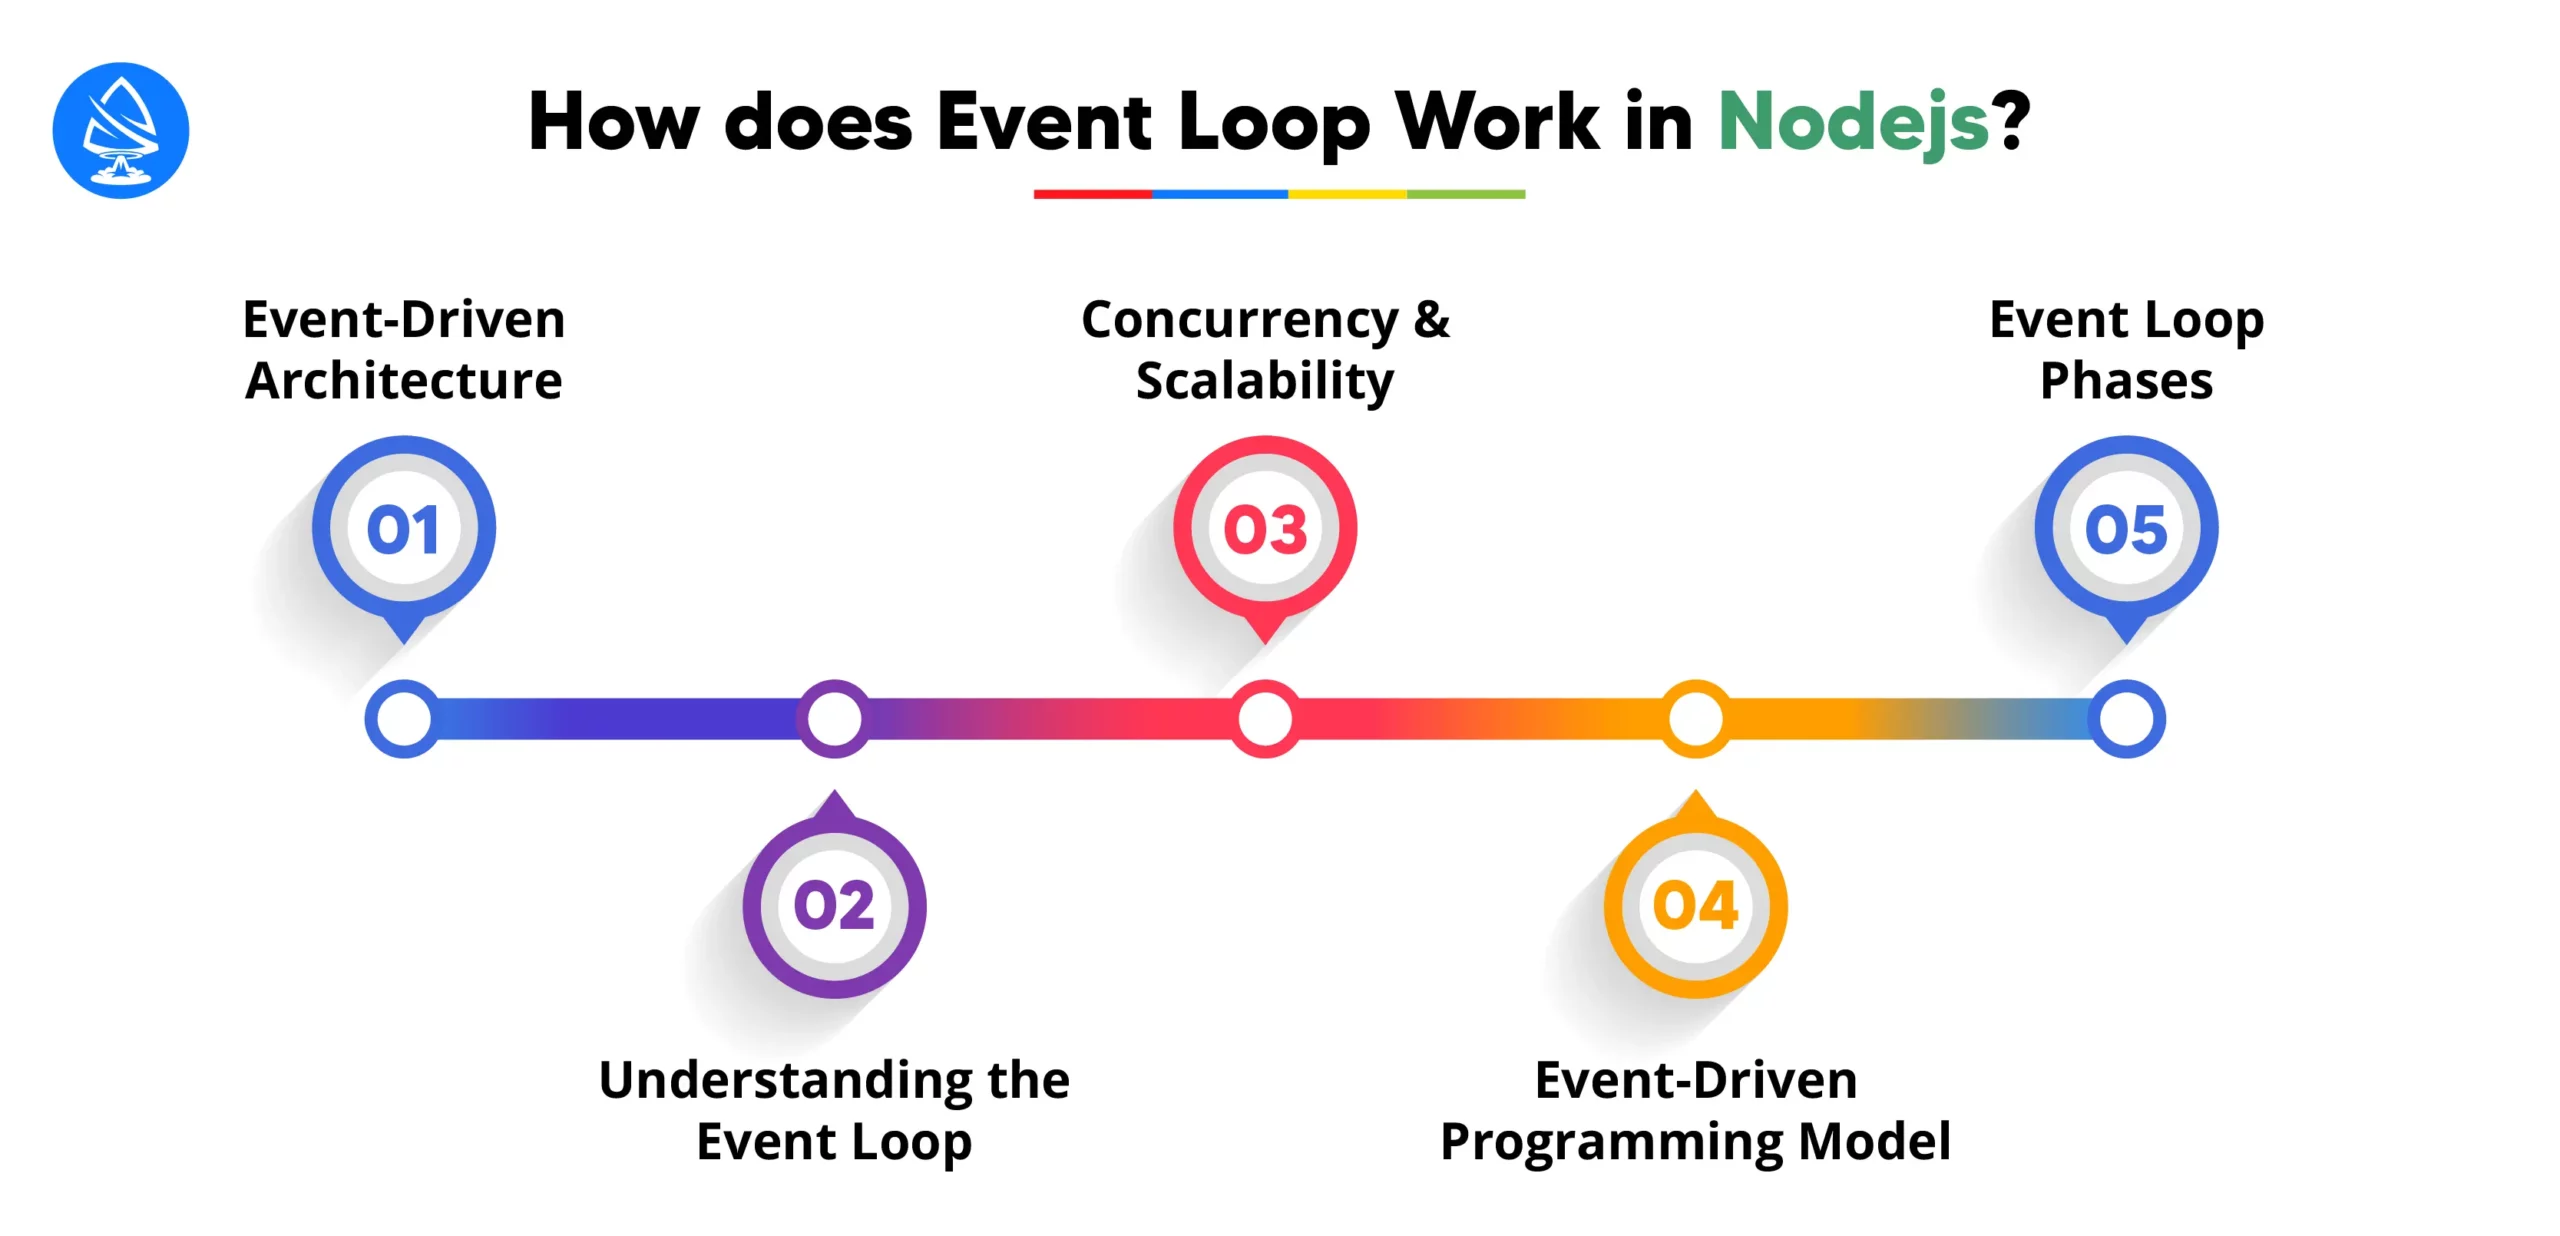
At its core, Node.js is built on an event-driven architecture. This means that instead of following a traditional sequential execution model, where one operation is executed after another, Node.js operates by responding to events. These events can be triggered by various sources, such as incoming HTTP requests, pending events, file system operations, database queries, timers, and more.
The event loop is a key concept in Node.js that allows it to efficiently handle these events and execute associated callback functions. Here’s how it works:
By efficiently managing asynchronous operations and events, Node.js can handle a large number of concurrent connections and scale well. This is particularly important for applications that need to serve many clients simultaneously, such as web servers or real-time applications.
Node.js applications are typically written using an event-driven programming model. Developers define event handlers to respond to various events, such as incoming HTTP requests, database queries, or user interactions. These event handlers are asynchronous and non-blocking, allowing the application to remain responsive while performing I/O operations.
The node event loop executes in multiple phases, each responsible for different tasks such as polling for I/O events, executing timers, or handling set immediate callbacks. These phases ensure that different types of tasks are processed in a timely and efficient manner.
The event loop is a fundamental component of Node.js that enables it to achieve high performance, concurrency, and scalability by efficiently managing asynchronous operations and events in an event-driven architecture. Understanding how the node event loop works is essential for writing efficient and responsive Node.js applications.
We will explore each phase of the event loop in comprehensive detail. However, prior to that examination, it is pertinent to explore the “next tick” and microtask queues, which are positioned at the core of the event loop. It is important to note that, from a technical standpoint, these queues are distinct from the event loop exits itself.
Read More: Nodejs Performance Monitoring Techniques
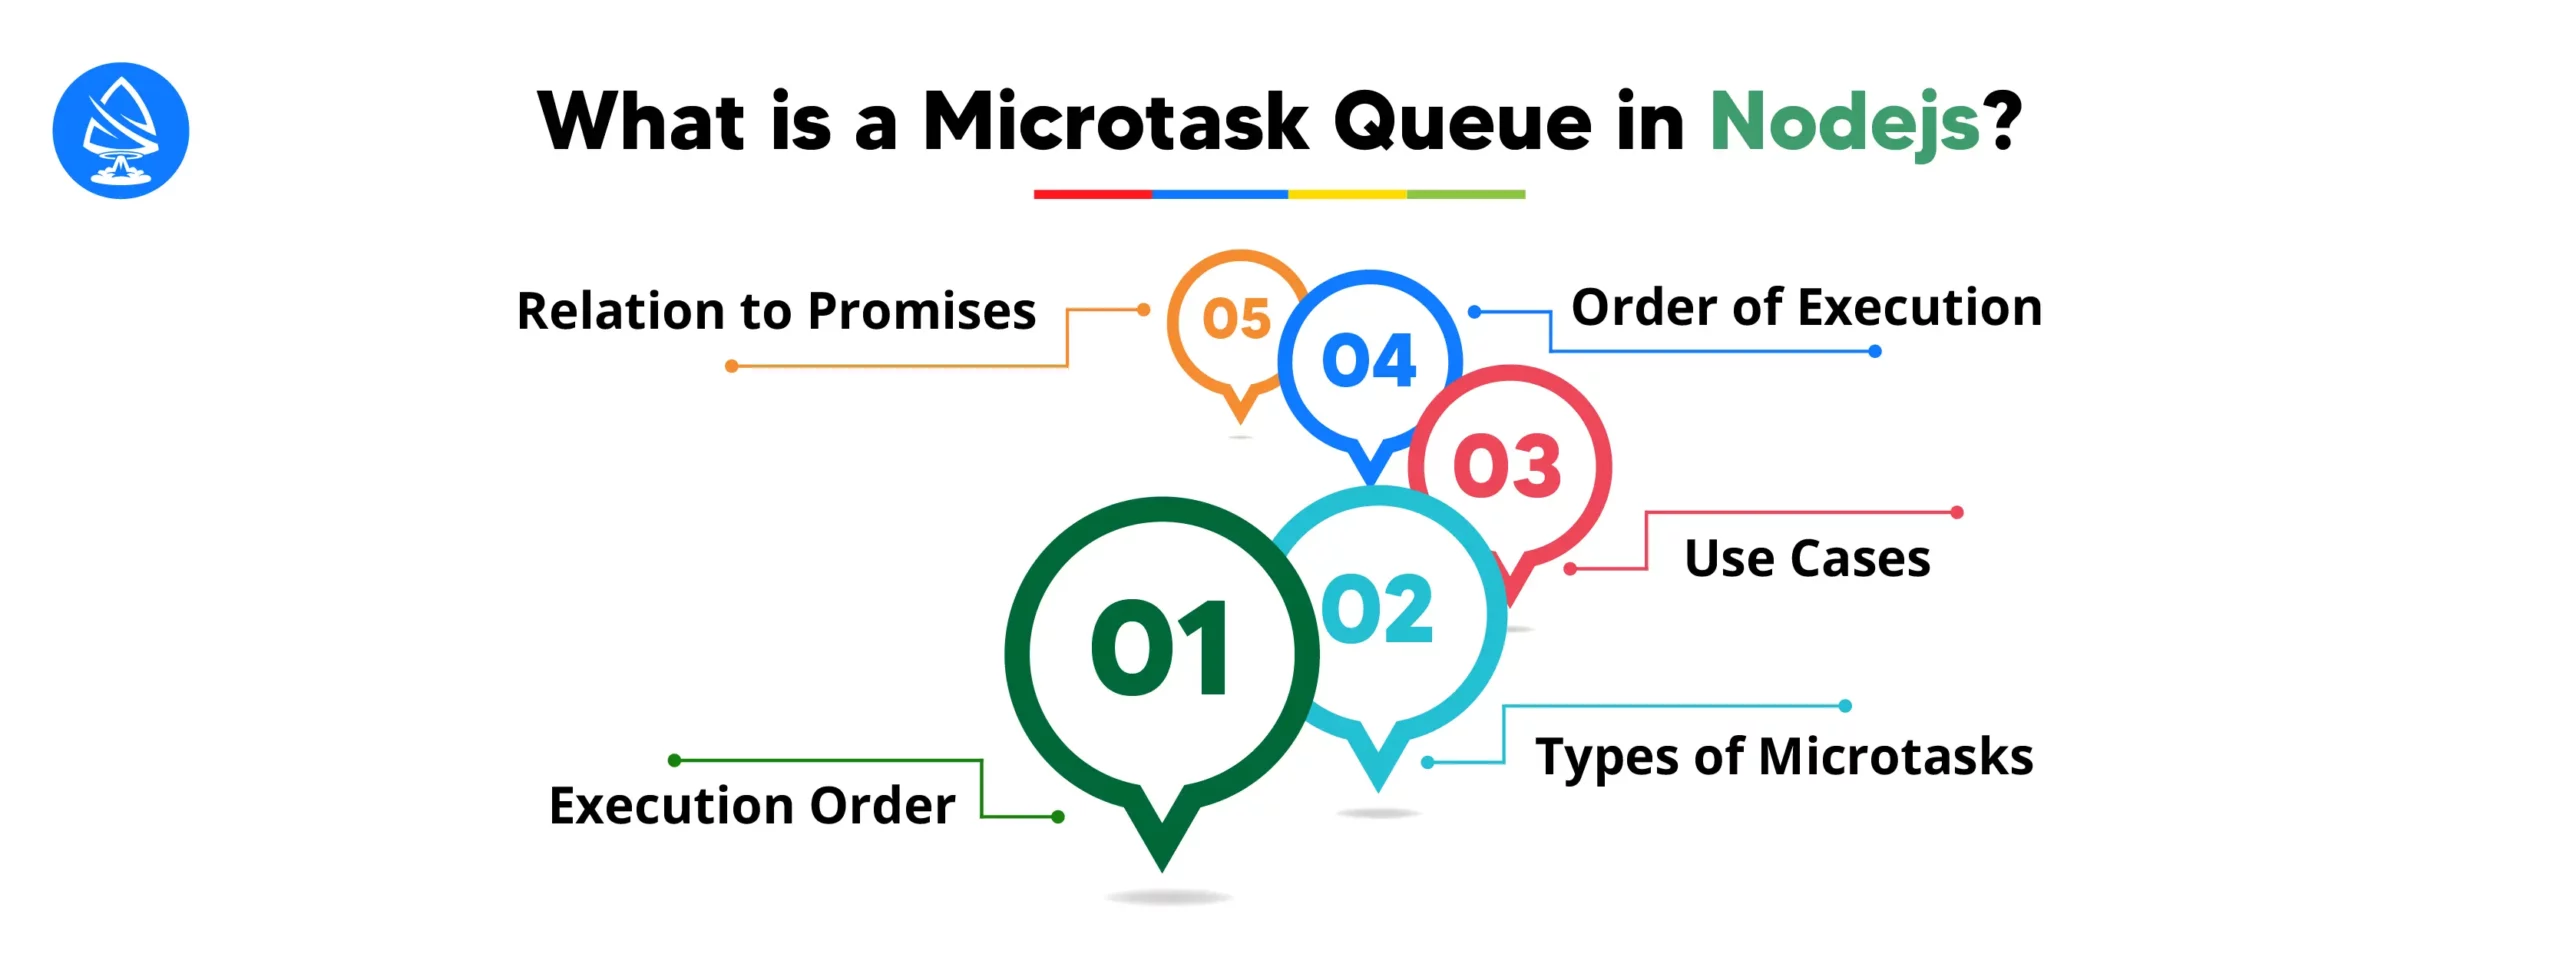
In Node.js, the microtask queue is a crucial component of the event loop that handles microtasks. Microtasks are tasks that need to be executed after the current operation completes but before the event loop continues processing other tasks or events. They are typically used for asynchronous operations that are expected to be resolved quickly, such as promises or certain callback functions.
Let’s understand the microtask queue in detail.
When a microtask is enqueued, it is placed in the microtask queue. The event loop prioritizes the execution of microtasks over other types of tasks, such as I/O operations or timers. This means that once the current execution context is empty, the event loop will process all microtasks in the microtask queue before moving on to the next phase of the event loop.
Microtasks primarily include promises and certain callback functions, such as those registered with `process.nextTick()` in Node.js. Promises are a common way to handle asynchronous operations in JavaScript, providing a clean and consistent syntax for handling success or failure.
Microtasks are particularly useful for scenarios where immediate resolution of asynchronous operations is required. For example:
This is often used to defer the execution of certain tasks until the current execution context is empty, ensuring they are prioritized over other types of tasks.
The microtask queue operates on a first-in-first-out (FIFO) basis, meaning that microtasks are executed in the order they were enqueued. This ensures predictable behavior and helps prevent race conditions or unexpected side effects.
Promises play a significant role in the microtask queue. When a promise is resolved or rejected, its associated `.then()` or `.catch()` callbacks are enqueued as microtasks. This allows developers to ensure that certain actions are taken immediately after a promise is settled, without blocking the event loop or delaying the execution of other tasks.
Here’s a code snippet and example of a microtask queue in Node.js using promises and process.nextTick():
| // Example 1: Using Promises // Create a promise that resolves after a short delay const promise = new Promise((resolve, reject) => { setTimeout(() => { resolve(“Promise resolved”); }, 100); }); // Add a microtask to the microtask queue promise.then((result) => { console.log(result); // Output: Promise resolved }); // This will be logged before the promise is resolved console.log(“Before promise”); // Example 2: Using process.nextTick() // Add a callback to the microtask queue using process.nextTick() process.nextTick(() => { console.log(“Next tick callback executed”); }); // This will be logged after the current operation completes console.log(“After next tick”); // Example 3: Using Promises with process.nextTick() // Create a promise that resolves immediately const immediatePromise = Promise.resolve(“Immediate promise resolved”); // Add a microtask to the microtask queue immediatePromise.then((result) => { console.log(result); // Output: Immediate promise resolved }); // Add another microtask using process.nextTick() process.nextTick(() => { console.log(“Next tick callback executed”); }); // This will be logged before the promises are resolved console.log(“Before promises”); |
| Before promise After next tick Before promises Immediate promise resolved Next tick callback executed Promise resolved |
In Example 1, a promise is created and resolved after a short delay. A `.then()` callback is added to the microtask queue. Despite being logged after the promise is created, “Before promise” is logged before the promise is resolved, demonstrating the asynchronous nature of promises.
In Example 2, a callback is added to the microtask queue using `process.nextTick()`. It’s executed after the current operation completes but before other tasks. “After next tick” is logged before the callback, illustrating the behavior of `process.nextTick()`.
In Example 3, we combine both promises and `process.nextTick()`. Two microtasks are added to the microtask queue, one from the promise and one from `process.nextTick()`. Both are executed before the next phase of the event loop.
Read More: Microservice in Node JS
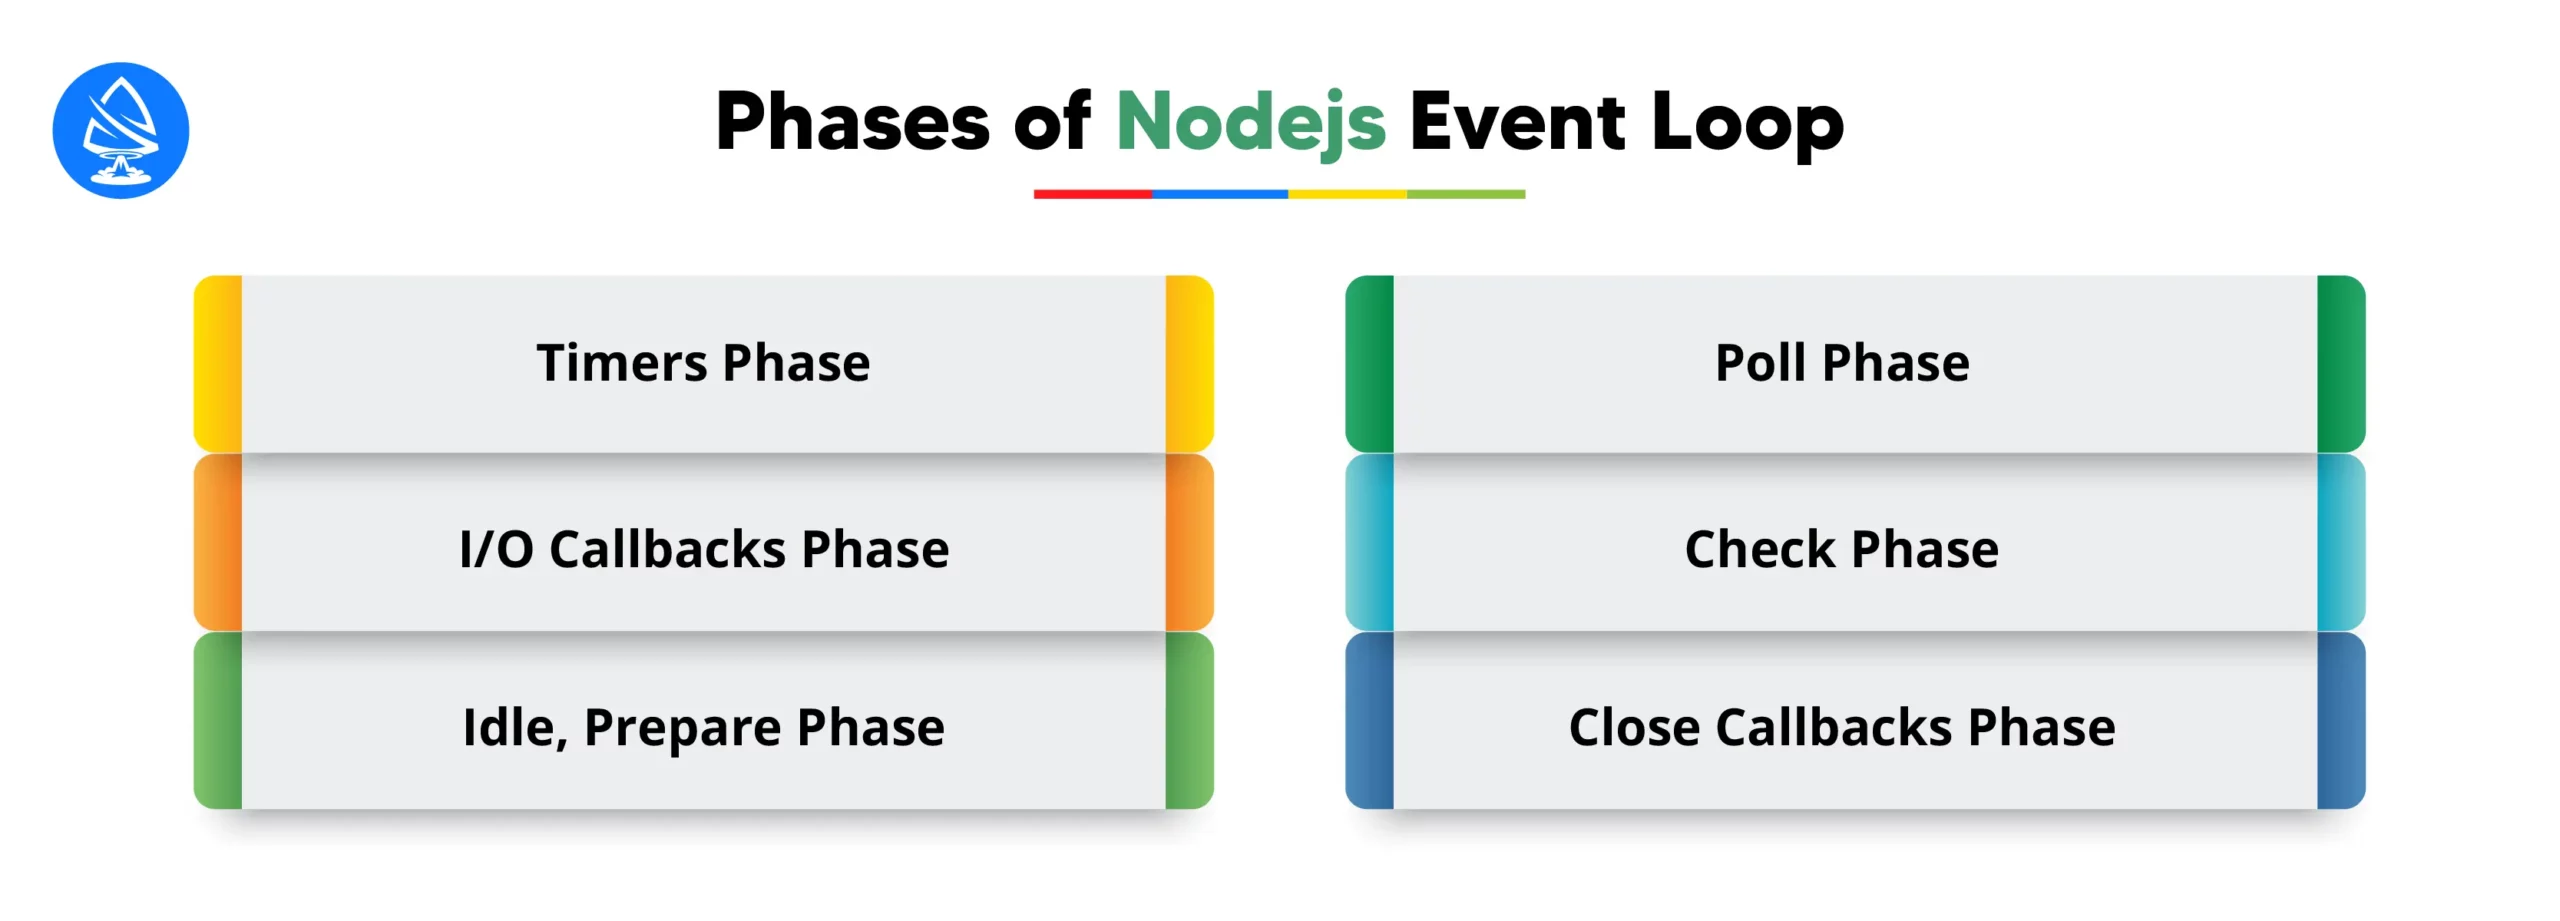
The Node js event loop consists of several phases, each responsible for specific types of tasks. Understanding these phases is crucial for comprehending how Node.js enables asynchronous programming and maintains responsiveness. Let’s explore each phase in detail along with examples:
In the timers phase, Node.js executes callback functions scheduled by the `setTimeout()` and `setInterval()` functions. These functions allow developers to schedule code execution after a specified delay or at regular intervals, respectively. For example, if you set a timer using `setTimeout(() => {…}, 1000)`, the provided callback function will be queued in the timers phase and executed after approximately one second.
Similarly, `setInterval()` schedules the same callback function to be executed at regular intervals until cleared. This phase is crucial for handling time-sensitive operations such as polling for updates, scheduling periodic tasks, or implementing timeouts in network requests.
Example:
| // Example of setTimeout setTimeout(() => { console.log(‘Timer callback executed’); }, 1000); |
The I/O callbacks phase deals with the completion of asynchronous I/O operations such as reading files, making network requests, or interacting with databases. When an asynchronous I/O operation completes, its associated callback function or appropriate callback is queued in this phase to be executed by the event loop.
For example, when you read a file asynchronously using the `fs.readFile()` function, the callback provided to handle the file data or error is enqueued in the I/O callbacks phase upon completion. This phase ensures that I/O operations can be performed asynchronously without blocking the event loop, enabling Node.js to handle concurrent connections and efficiently manage resources for pending callbacks phase. Understanding this phase is essential for writing scalable and responsive Node.js applications that rely heavily on I/O operations.
Example:
| // Example of reading a file asynchronously const fs = require(‘fs’); fs.readFile(‘example.txt’, (err, data) => { if (err) throw err; console.log(data); }); |
The idle and prepare phases are internal to the event loop and don’t directly involve user code. During the idle phase, the event loop waits for any new events or tasks to arrive. If there are no pending tasks or events, Node js for loop remains in the idle state until there’s something to do.
The preparation phase is primarily responsible for preparing the event loop for the next iteration. It performs any necessary internal operations or cleanup tasks to ensure the event loop is ready for the upcoming cycle. Although developers typically don’t interact directly with these phases, they play a crucial role in managing the event loop’s internal state and ensuring its smooth operation.
Example:
These phases are internal and don’t typically involve user code. They are reserved for Node js for loop internal operations and preparations for the next cycle of the event loop.
The poll phase is where the event loop waits for new I/O events to occur. If there are any pending I/O operations, such as incoming network requests or file system operations, Node.js handles them in this phase. If there are no pending I/O events, Node.js will wait for new events to occur.
Additionally, the poll phase also checks for timers that are scheduled to expire during this cycle. If a timer expires, its associated callback function is queued in the timers phase to be executed in the next cycle. The poll phase is crucial for efficiently managing I/O operations and ensuring that Node.js remains responsive to incoming requests and events. Understanding the poll phase is essential for writing high-performance Node.js applications that rely on asynchronous I/O operations.
Example:
| // Example of polling for incoming HTTP requests const http = require(‘http’); const server = http.createServer((req, res) => { res.end(‘Hello World’); }); server.listen(3000); |
In the check phase, Node.js executes callbacks scheduled by the `setImmediate()` function. These callbacks are scheduled to run after the current cycle of the event loop completes but before any I/O events are processed in the next cycle. The check phase ensures that these immediate callbacks are executed promptly, allowing developers to prioritize certain tasks over others.
For instance, if you have critical tasks that need to be executed as soon as possible, you can use `setImmediate()` to schedule their execution in the check phase. This phase is particularly useful for handling time-sensitive operations or ensuring that certain tasks are performed without delay.
Example:
| // Example of setImmediate setImmediate(() => { console.log(‘setImmediate callback executed’); }); |
The close callbacks phase handles callbacks associated with some close events, such as `socket.on(‘close’, …)`. When certain resources, such as sockets or file descriptors, are closed, any registered close event callbacks are executed in this phase. This phase allows developers to perform cleanup operations or handle any finalization tasks related to closing resources.
For example, you might use close event callbacks to release allocated resources, close database connections, or perform logging tasks when a connection is closed. Understanding the close callbacks phase is important for writing robust and resource-efficient Node.js applications that properly manage resources and handle cleanup tasks.
Example:
In this phase, callbacks scheduled by some close events, such as socket.on(‘close’, …), are executed.

Optimizing the event loop in Node js is crucial for ensuring the performance, scalability, and responsiveness of applications. Here are some best practices for optimizing the event loop in Node js:
Node.js is known for its non-blocking I/O model, which allows it to handle a large number of concurrent connections efficiently. Whenever possible, use asynchronous I/O operations provided by Node.js’s built-in modules such as `fs`, `http`, and `net`. This allows the event loop to continue processing other tasks while waiting for I/O operations to complete.
Avoid blocking operations, such as synchronous file system operations or CPU-bound tasks, in the event loop. Blocking operations can cause the event loop to become unresponsive, leading to degraded performance. Instead, use asynchronous alternatives or offload CPU-bound tasks to worker threads or separate processes to keep the event loop-free to handle other tasks.
Monitor and optimize resource utilization, including CPU, memory, and network usage, to ensure optimal performance of Node.js applications. Avoid unnecessary resource-intensive operations and optimize algorithms and data structures to minimize resource consumption.
Consider breaking down monolithic applications into smaller, more manageable microservices. Microservices architecture allows you to scale individual components independently, making it easier to optimize the event loop for each service. Additionally, microservices promote loose coupling and modularity, enabling better isolation and fault tolerance.
Use caching to reduce the frequency of repetitive I/O operations and improve application performance. Cache frequently accessed data in memory using solutions like Redis or Memcached to reduce the load on the event loop and improve response times.
Implement throttling and rate-limiting mechanisms to prevent abuse and ensure fair resource allocation. Throttling limits the rate at which requests are processed, while rate limiting restricts the number of requests allowed within a specific time period. This helps prevent resource exhaustion and ensures the stability and availability of the application.
Continuously monitor application performance using tools like Node.js Profiler, New Relic, or Datadog. Analyze performance metrics such as event loop latency, CPU usage, and memory consumption to identify bottlenecks and areas for optimization. Tune application parameters and configurations based on performance monitoring data to achieve optimal performance.
A user can optimize the event loop in Node js and build high-performance, scalable, and responsive applications by following these methods. Remember that optimizing the event loop requires a holistic approach, considering factors such as application architecture, resource utilization, and performance tuning is vital for the success.
Read More: Multithreading in Node JS
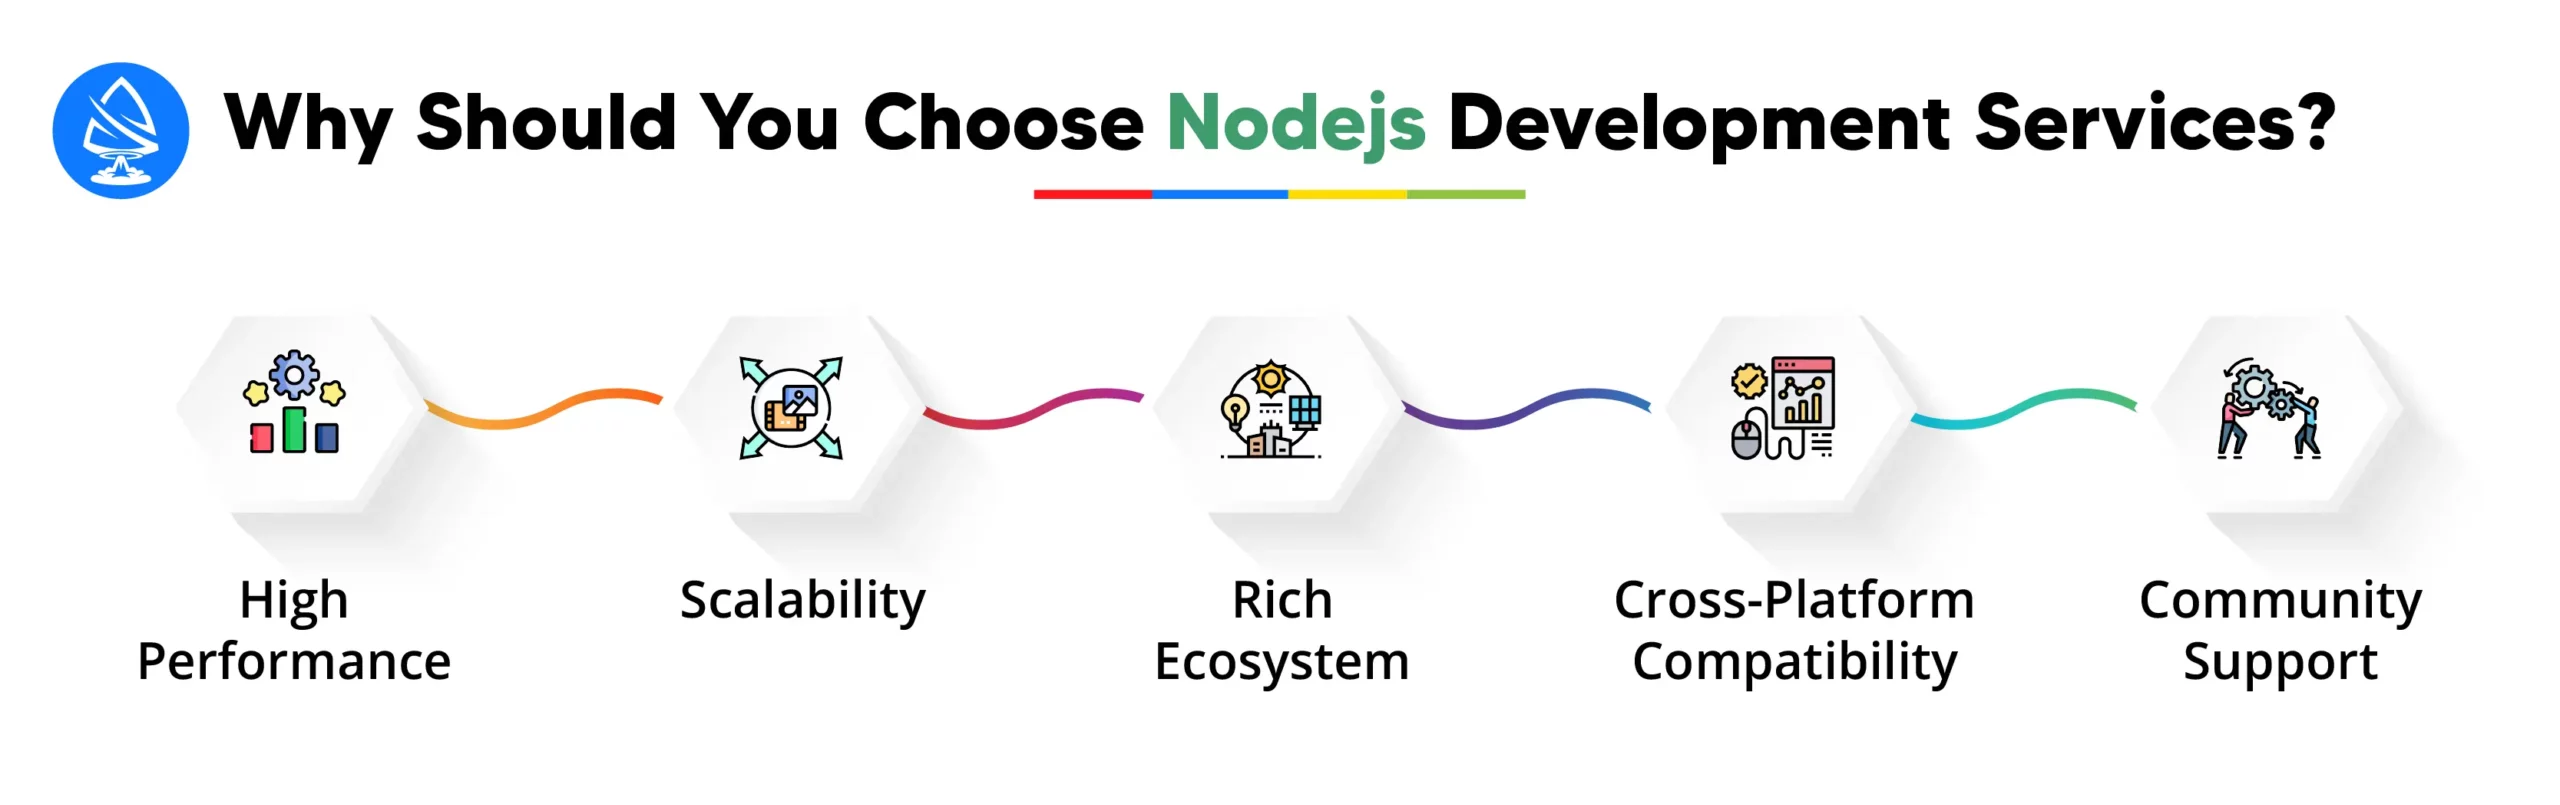
Choosing Node.js development services offers several advantages that make it an attractive option for building modern web applications:
Mastering the Node js event loop is essential for building high-performance applications that can scale to meet the demands of modern computing. By following best practices, optimizing your code, and staying informed about the latest trends in Node.js development, you can harness the full power of the event loop and deliver exceptional user experiences.
Are you looking for Nodejs development services? Look no further. Artoon Solutions, a global tech-giant and renowned Nodejs development company has been delivering high-end Nodejs development services for over 14+ years. Our professional developers make sure we build next-gen mobile apps by focusing on current market trends.
Hire Nodejs Developers from Artoon Solutions!
Contact Us Now!
The event loop in Node js is responsible for handling asynchronous operations and ensuring that your application remains responsive by processing tasks in a non-blocking manner. It plays a crucial role in managing the flow of tasks and events within your Node.js application.
To optimize the performance of the event loop in your Node.js applications, you can follow best practices such as utilizing asynchronous functions, avoiding blocking operations, and structuring your code in an event-driven manner. By prioritizing efficiency and scalability, you can enhance the overall performance of your code.
Common challenges when working with the event loop in Node.js include handling blocking operations, managing asynchronous functions, and ensuring efficient event loop management. By addressing these challenges proactively and implementing effective solutions, you can overcome potential roadblocks in your development process.
Event-driven programming aligns well with the asynchronous nature of Node.js and allows you to structure your code around events and callbacks. By leveraging event-driven architecture, you can create a responsive and scalable application that optimally utilizes the event loop for efficient task processing.
Monitoring and debugging the node js events essential for identifying performance bottlenecks, optimizing code efficiency, and ensuring the smooth operation of your applications. By utilizing tools and techniques for monitoring event loop activity, developers can gain insights into how tasks are processed and improve overall performance.
Artoon Solutions
Artoon Solutions is a technology company that specializes in providing a wide range of IT services, including web and mobile app development, game development, and web application development. They offer custom software solutions to clients across various industries and are known for their expertise in technologies such as React.js, Angular, Node.js, and others. The company focuses on delivering high-quality, innovative solutions tailored to meet the specific needs of their clients.