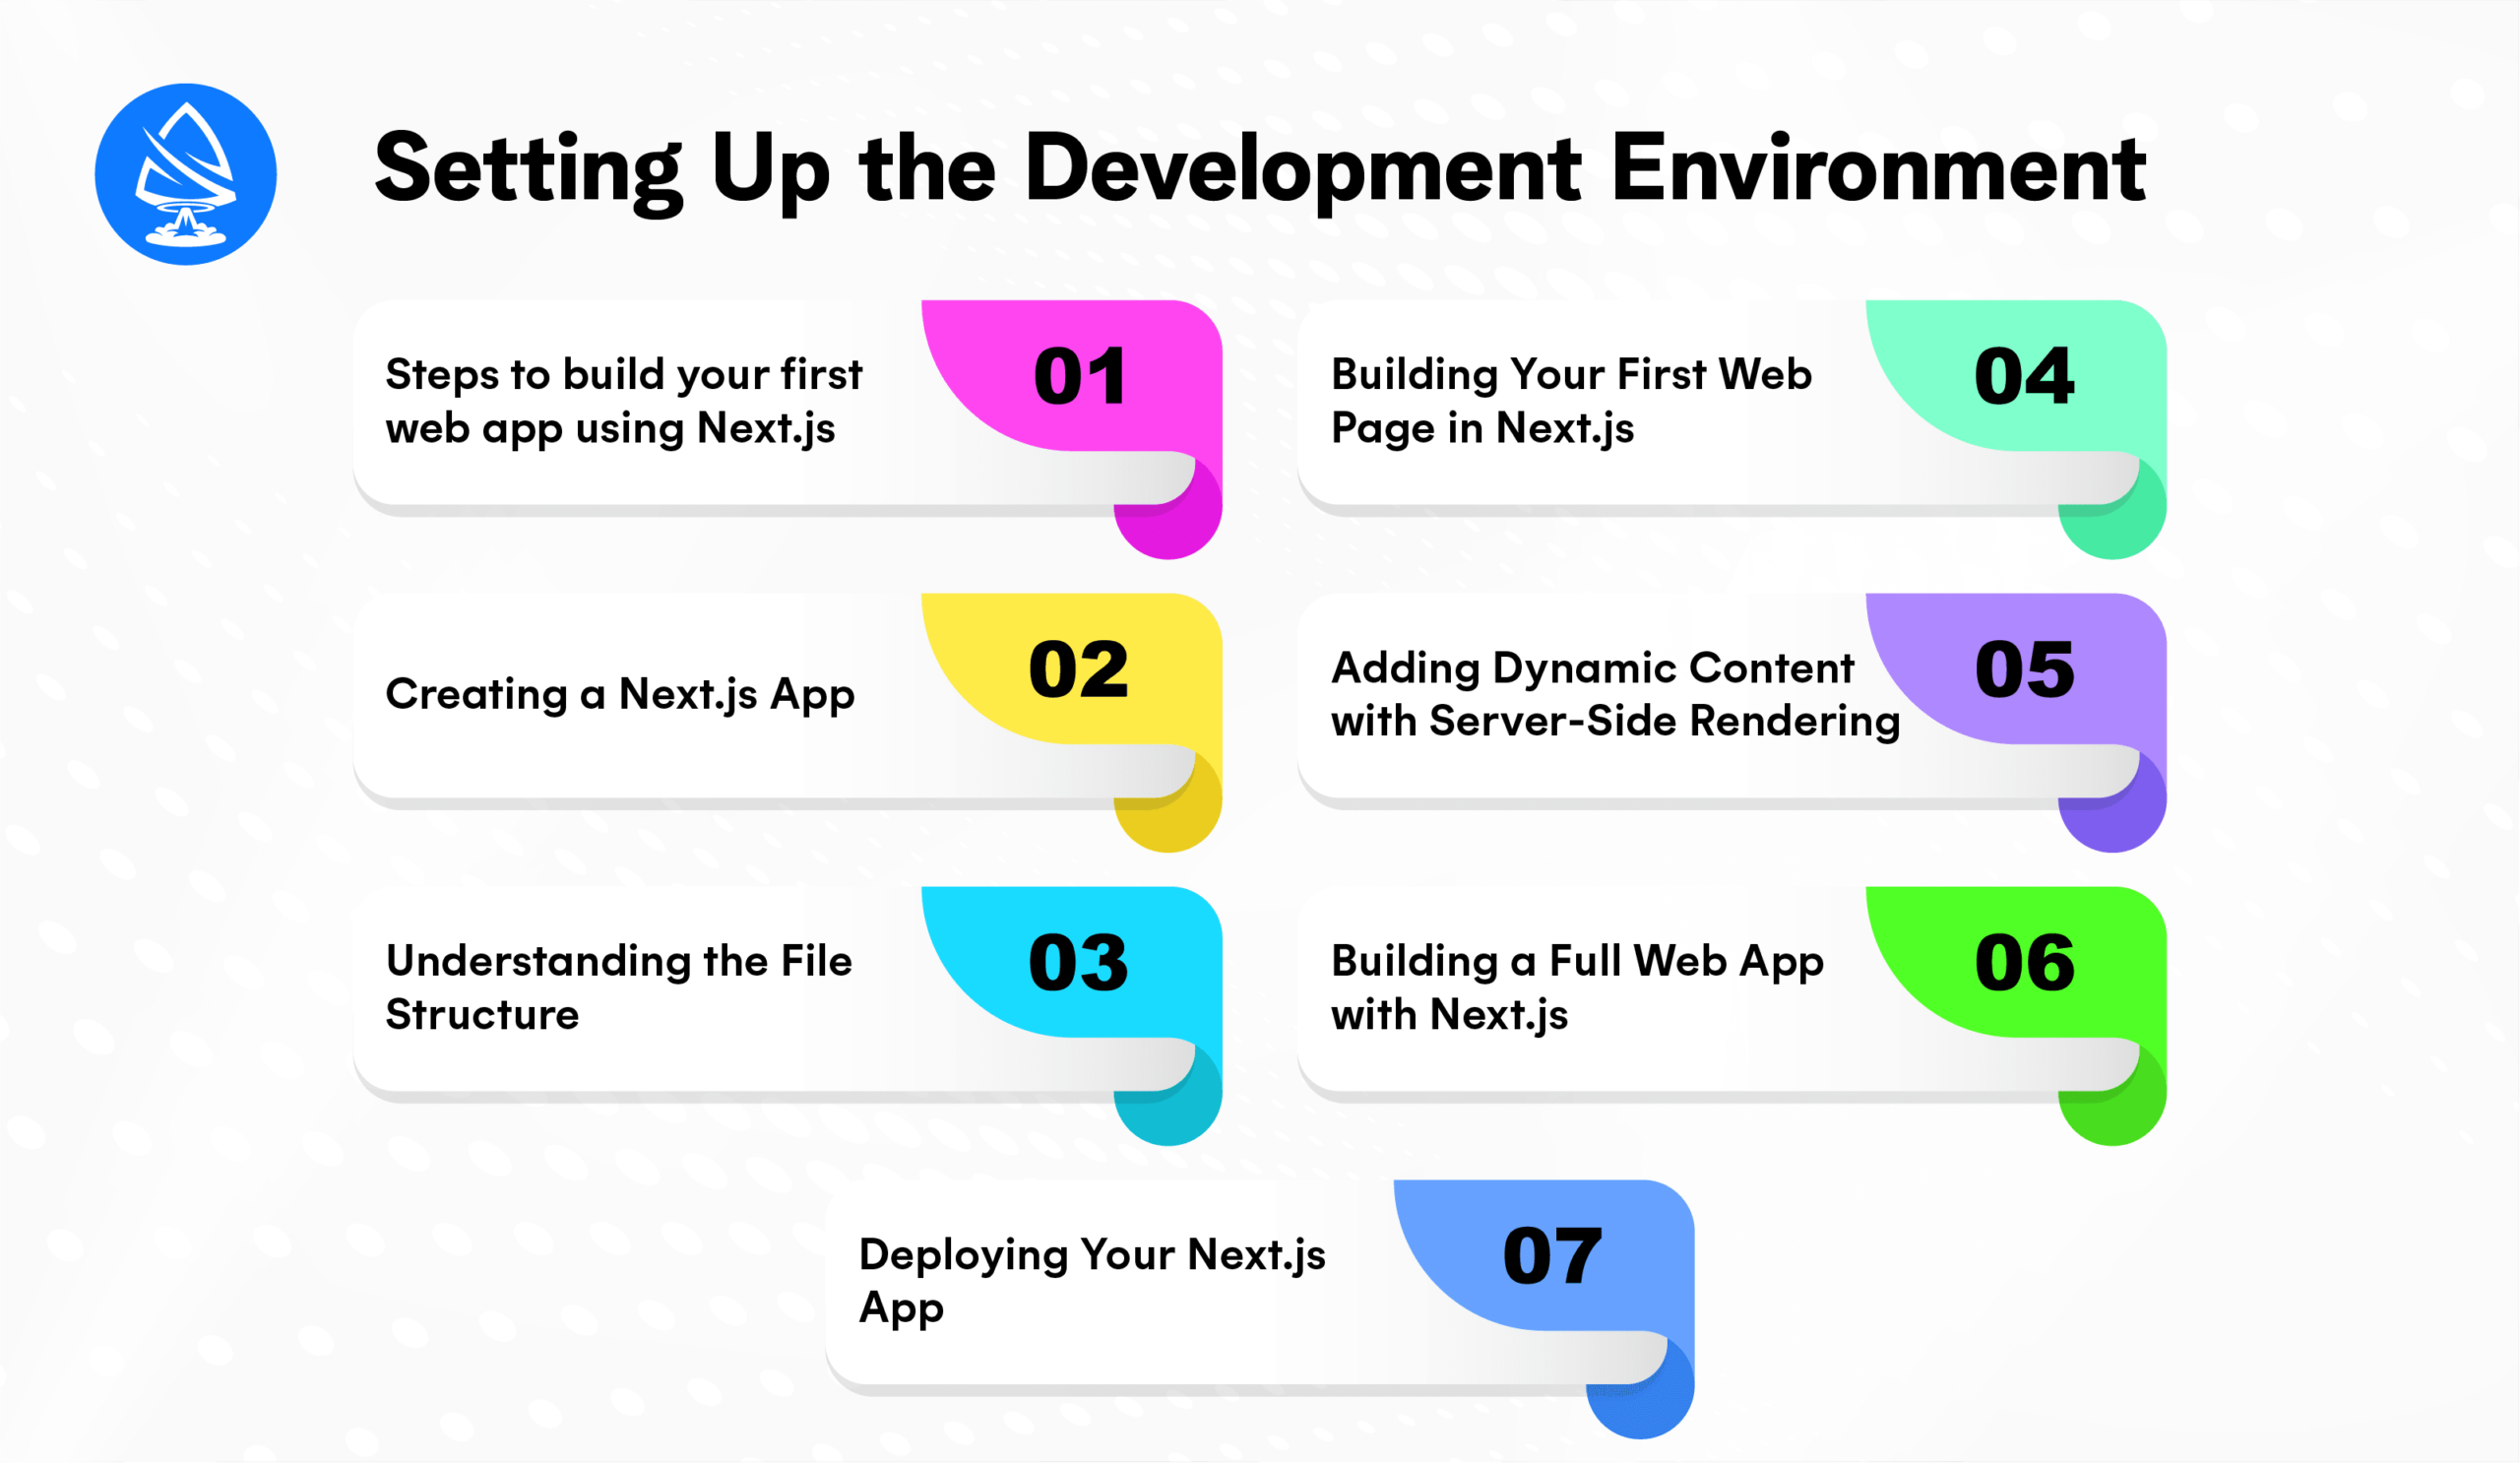
Building modern web applications has never been easier, thanks to frameworks like Next.js. As a React-based framework, Next.js offers a plethora of features designed to streamline the development process, helping developers quickly create production-ready web apps. Whether you’re looking to build a simple static site or a fully dynamic web application, Next.js provides everything you need to get started and scale your project effectively.
For developers who are new to web development or React, Next.js offers an intuitive and powerful experience that takes the complexities out of the development process. It allows for seamless integration of server-side rendering (SSR), static site generation (SSG), and API routes, making it a versatile choice for creating high-performance websites. With features like automatic code splitting, fast navigation, and built-in SEO optimizations, Next.js ensures that your application is optimized for both users and search engines.
Whether you’re working on a small personal project or a large enterprise application, Next.js makes it easy to create fast, scalable, and SEO-friendly applications with minimal effort. If you’re considering building your own Next.js web app, partnering with a Nextjs development company can provide additional expertise and support to ensure your app is developed with industry best practices and cutting-edge technology.
What is Next.js?
Before diving into the process of building a web app, it’s important to understand what Next.js is and why it has become one of the most popular frameworks in modern web development. Next.js is a powerful, full-stack JavaScript framework built on top of React. As a React-based framework, Next.js brings all of React’s flexibility and component-based architecture, while offering a host of built-in features that simplify the development process.
One of the key advantages of Next.js is its ability to handle server-side rendering (SSR), which means that content can be rendered on the server before it’s sent to the browser. This results in faster load times and improved SEO, as search engines can easily crawl and index the content. Additionally, Next.js supports static site generation (SSG), allowing for the creation of static web pages that load almost instantly, making it a great choice for performance-driven projects.
If you’re looking to leverage the power of Next.js but aren’t sure where to start or how to implement best practices, hire Next.js developer can be a great solution. A skilled Next.js developer can guide you through the development process, ensuring that your app is built with the latest industry standards and optimized for both performance and scalability. By partnering with an experienced professional, you can create a high-quality web application that meets your business goals and user needs.
Step 1: Setting Up the Development Environment
To get started with Next.js, you’ll need to set up your development environment. This process is simple and involves the following steps:
Install Node.js: Next.js requires Node.js to run. You can download and install it from the official Node.js website. Make sure to install the latest LTS (Long-Term Support) version.
Install npm (Node Package Manager): npm comes bundled with Node.js, and it’s used to manage your project dependencies.
Verify Installation: After installation, open your terminal (command prompt or shell) and type the following commands to verify everything is installed correctly:
bashnode -v
These commands will display the versions of Node.js and npm installed on your system. If you see the version numbers, you’re all set!
Step 2: Creating a Next.js App
Creating a Next.js app is as simple as running a few commands in your terminal. Follow the steps below to get your project up and running:
Create a New Next.js Project:
Open your terminal and run the following command:
bashnpx create-next-app@latest my-nextjs-app
Replace “my-nextjs-app” with the desired name for your project. This command will create a new directory and install all the necessary dependencies for your Next.js app.
Navigate to the Project Directory:
bashcd my-nextjs-app
Run the Development Server:
Once inside your project folder, start the development server with the following command:
bashnpm run dev
This will start a local server at http://localhost:3000, where you can see your newly created Next.js app running.
Check Your App:
Open your browser and go to http://localhost:3000 to see your app in action. You should see the default Next.js welcome page.
Step 3: Understanding the File Structure
Next.js projects follow a specific folder structure that makes it easier to manage and scale your application. Let’s explore the core folders:
pages/: This is where you’ll create your app’s pages. Each JavaScript file inside this folder automatically becomes a route.
public/: This folder contains static files like images, icons, and other assets that can be accessed publicly.
styles/: This folder contains your CSS files, which are used to style your application.
node_modules/: This folder contains all the npm packages required by your project.
package.json: This file contains metadata about your app, including the dependencies and scripts.
Step 4: Building Your First Web Page in Next.js
Now that you’ve got your development environment set up and understand the basic file structure, it’s time to start creating content for your app. Next.js makes it easy to create pages with its file-based routing system.
Create a New Page:
Inside the pages/ folder, create a new file named about.js. This will be a simple page that displays a message.
jsx// pages/about.jsfunction About() { return ( <div> <h1>About Us</h1> <p>Welcome to the About Page of our Next.js app!</p> </div> );}export default About;
By default, Next.js will map this file to the /about route. You can access it by visiting http://localhost:3000/about in your browser.
Create a Link Between Pages:
Next, let’s add a link to navigate between the homepage and the about page. Open the pages/index.js file and add the following code:
jsx// pages/index.jsimport Link from 'next/link';function Home() { return ( <div> <h1>Welcome to the Home Page</h1> <Link href="/about"> <a>Go to About Page</a> </Link> </div> );}export default Home;
This code uses Next.js’s Link component to add client-side navigation between pages.
Step 5: Adding Dynamic Content with Server-Side Rendering (SSR)
Next.js allows you to fetch data on the server side before rendering a page. This process, known as Server-Side Rendering (SSR), ensures that your page is pre-rendered with the data from the server.
Here’s how to fetch dynamic data using SSR:
Create a Dynamic Page:
Create a file called posts.js inside the pages/ folder. We will fetch data from a sample API and render it on the page.
The getServerSideProps function runs on the server every time a request is made to the page.
Step 6: Building a Full Web App with Next.js
Now that you know the basics of Next.js, you can combine everything you’ve learned to build more complex web applications. You can use features like static site generation (SSG), API routes, image optimization, and more. As your application grows, Next.js scales with you, providing performance optimizations out of the box.
Step 7: Deploying Your Next.js App
When you’re ready to go live with your app, Next.js provides several deployment options. One of the most common ways to deploy Next.js apps is by using Vercel, the platform created by the same team behind Next.js.
Deploy to Vercel:
Simply push your code to GitHub and connect your repository to Vercel. The deployment process is automated, and Vercel will handle things like continuous integration and serverless functions for you.
Conclusion
In this guide, we covered the essential steps to get started with Next.js, including setting up your development environment, creating pages, and adding dynamic content with SSR. As you continue exploring, you’ll find that Next.js offers not only a simple and scalable solution but also powerful tools for building web applications efficiently. Moreover, with built-in performance optimizations and user-friendly features, Next.js makes it easier to create high-quality web apps. Additionally, if you require further expertise, Next.js development in the USA provides specialized solutions, particularly for those looking for custom Next.js development tailored to unique business needs.
Frequently Asked Questions
1. What is Next.js?
Next.js is a React-based framework for building fast, production-ready web applications with built-in server-side rendering, static site generation, and API routes.
2. How do I create a Next.js app?
Run npx create-next-app@latest in your terminal to create a new Next.js project.
3. What is SSR in Next.js?
SSR stands for Server-Side Rendering. It allows you to fetch data on the server before rendering the page.
4. Can I deploy my Next.js app on Vercel?
Yes, Vercel is the preferred platform for deploying Next.js apps and offers features like automatic deployments.
5. What is the purpose of the pages/ directory in Next.js?
The pages/ directory contains files that automatically map to routes in your application.
6. How do I handle dynamic data in Next.js?
You can use getServerSideProps for server-side rendering or getStaticProps for static site generation.
7. What are API routes in Next.js?
API routes allow you to create backend functions within your Next.js app for server-side logic.
8. Can I use Next.js for static sites?
Yes, Next.js supports static site generation, making it ideal for static websites.
9. What’s the difference between getServerSideProps and getStaticProps?
getServerSideProps fetches data on each request (SSR), while getStaticProps fetches data at build time (SSG).
10. Is Next.js suitable for large-scale applications?
Yes, Next.js is highly scalable and can handle large-scale applications with ease.
Written By :
Artoon Solutions
Artoon Solutions is a technology company that specializes in providing a wide range of IT services, including web and mobile app development, game development, and web application development. They offer custom software solutions to clients across various industries and are known for their expertise in technologies such as React.js, Angular, Node.js, and others. The company focuses on delivering high-quality, innovative solutions tailored to meet the specific needs of their clients.